• Email
  • Instagram
  • Skip to primary navigation
  • Skip to main content
  • Skip to primary sidebar
  • Skip to footer
  • Home
  • About
  • Contact
  • Beauty
  • Lifestyle
  • Faith
  • Wellness
  • Holiday

Anna Mae Groves

A vessel sharing positivity through beauty, wellness, and personal style.

  • About
  • Contact
  • Beauty
  • Lifestyle
  • Faith
  • Wellness
  • Holiday
    • Email
    • Instagram

DIY MODERN FLOOR MIRROR

January 26, 2021 By Anna Groves 8 Comments

You guys, I had so much fun making this DIY Modern Floor Mirror. I partnered with Desirae Barnett that day. She also had a DIY Floor Mirror she was doing and it was the best time! Love that woman! You asked for a blog post- here it is! This is how you can make your own DIY Modern Floor Mirror. You can bookmark this post for when you have an old mirror you want to repurpose! All links provided at the end of the post 🙂

REPURPOSE YOUR OLD MIRROR

Builder grade mirror and messy bathroom!

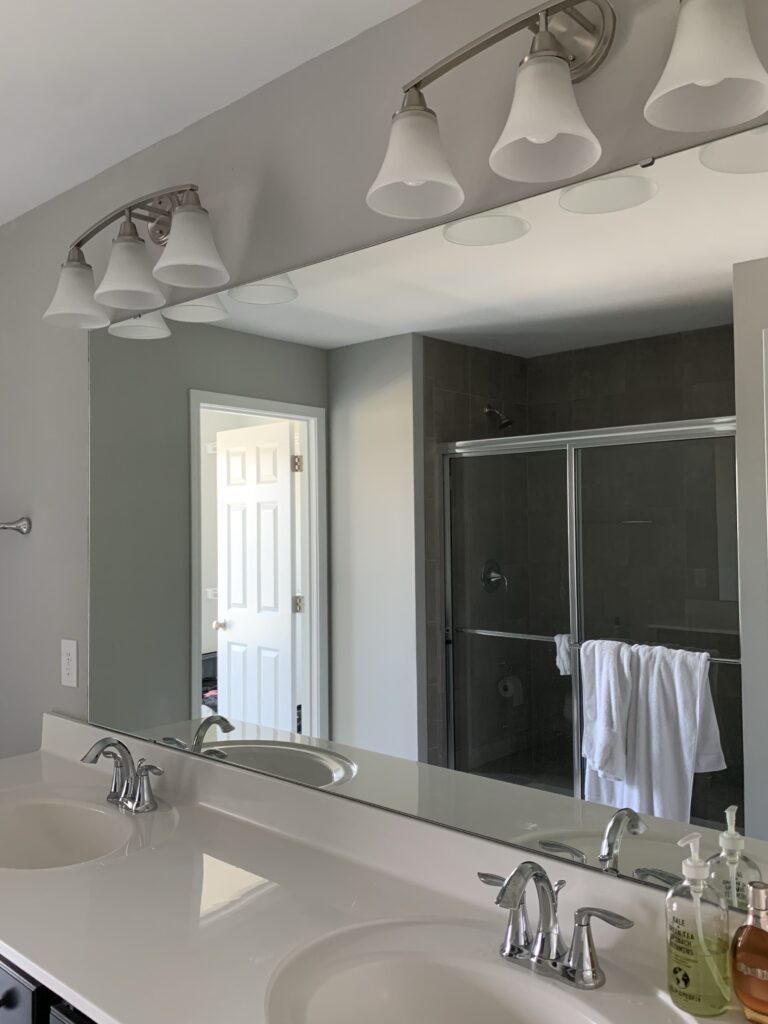
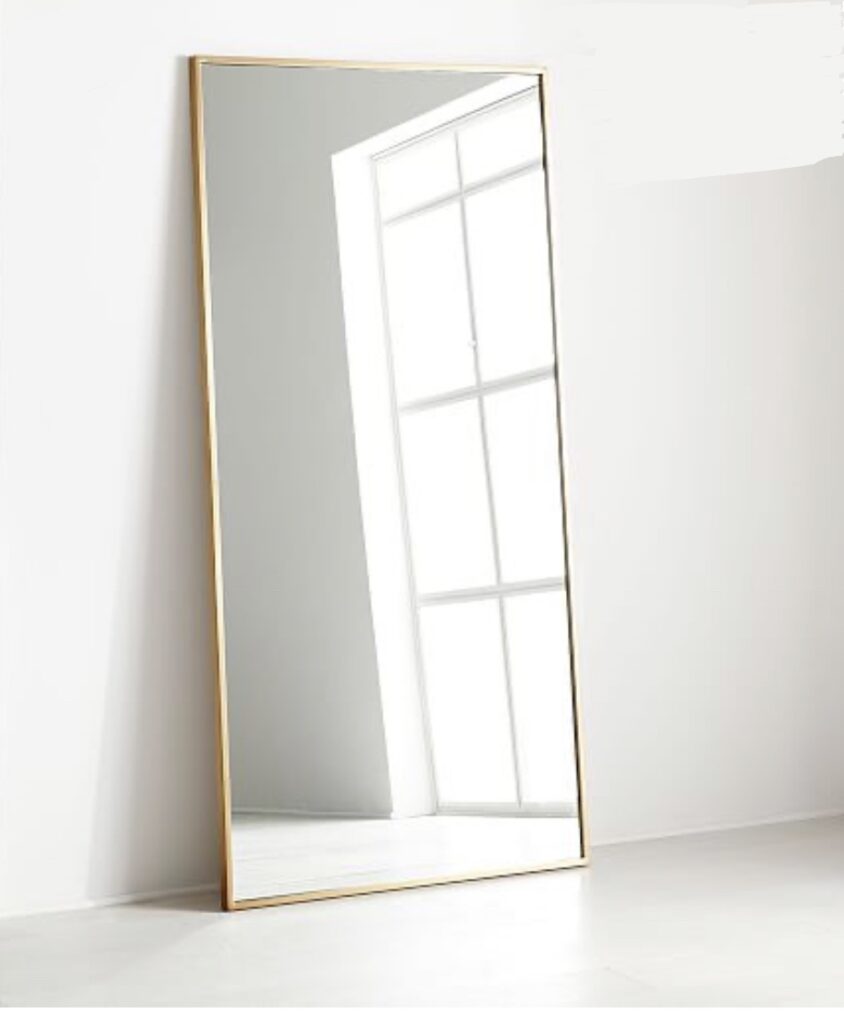
When I updated our bathroom, we very carefully removed our giant builder grade wall mirror since I knew I wanted to re-use it. I had seen a beautiful oversized floor mirror with clean lines that I really loved – I just didn’t want to pay $700 dollars for it. That was my inspiration. 

This gorgeous West Elm mirror is $699

FRAME INSPIRATION

Prior to this project, I made artwork for my bedroom based on a DIY I had seen Angela Rose do. I knew that I wanted to use the same sort of technique for my mirror.  Below is the artwork – I painted some quick art on watercolor paper and glued them onto plywood. I used thin trim to frame it, fastening it to the plywood with my nail gun. 

ARTWORK -glued onto plywood and framed

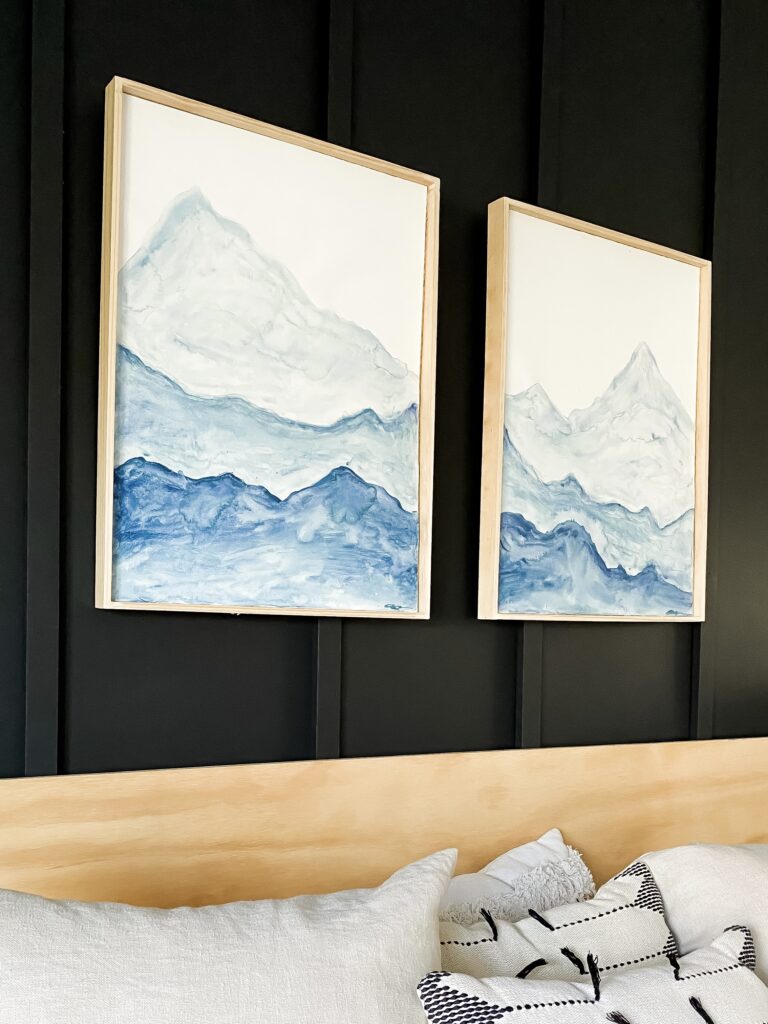
Because I didn’t want the artwork to be too heavy, I chose a piece of plywood that was thin.  That ended up being a mistake because when I went to nail the trim on, the margin of error was so small – I needed to nail right in the center of the thickness of the board and I missed a few times, so the nails came through the front of the art. 

CHOOSE THE RIGHT MATERIALS

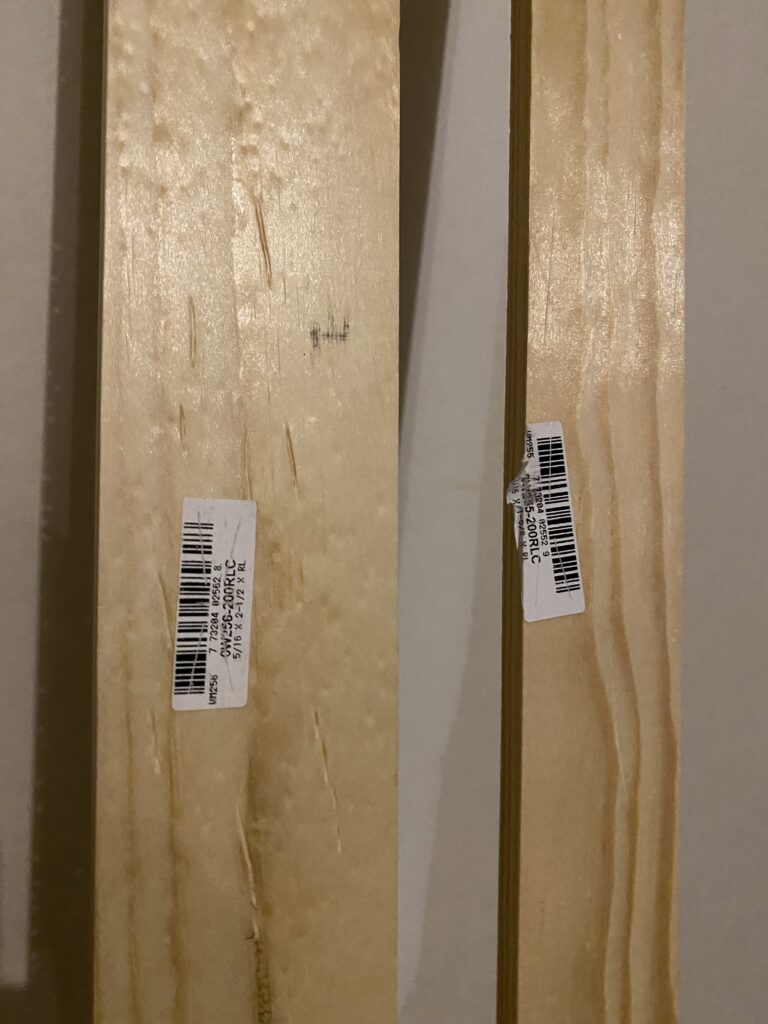
I knew not to make the same mistake with the mirror, so I chose a really nice 3/4 thick piece of hard plywood. This would not only be thick enough to give me a larger margin of error when nailing, but because the mirror was so heavy, it also held the mirror securely without allowing it to curve. For the project I brought two widths of board home- 2 1/2″ and 1 1/8 ” I ended up going with the wider trim, but either would look great!

3/4 inch plywood 4×8 feet
I went with the one on the left so the mirror would have lots of overhang. 2.5″

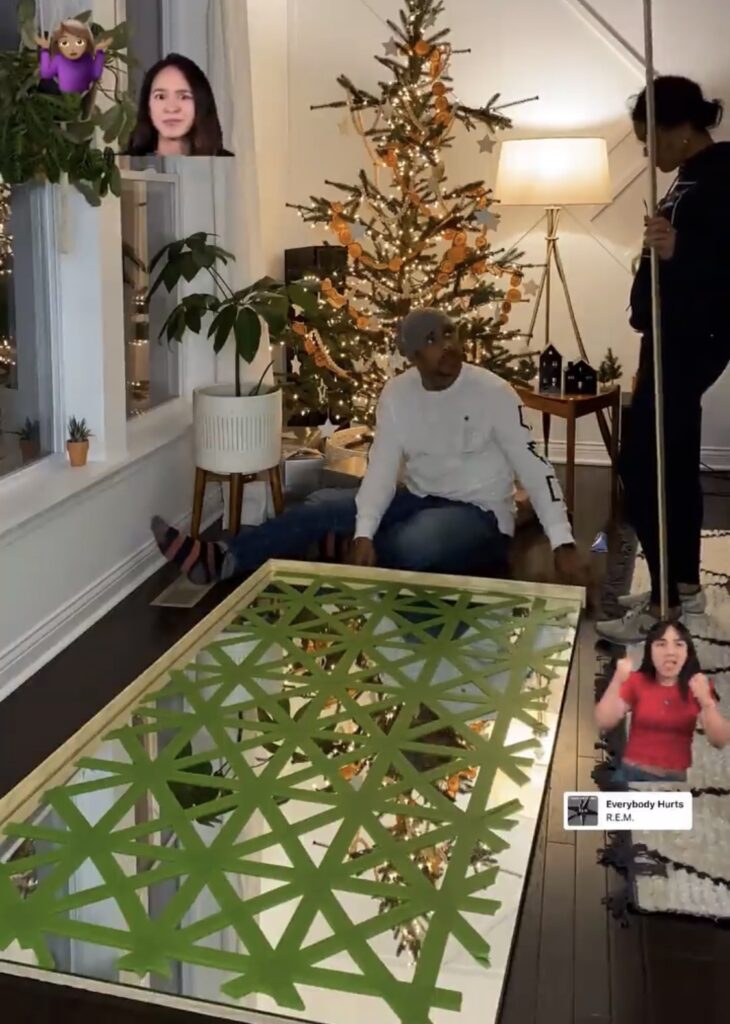
I think it turned out beautifully, although iI accidentally glued and nailed the mirror to the floor in my living room!  The moral of the story is: put your project on a work bench IN THE GARAGE and not on the floor of your living room, even if it is 10 degrees outside! 😂 Better yet, wait for mild weather so your glue will cure properly!

Anyway, here are the steps I took to make this DIY modern floor mirror!

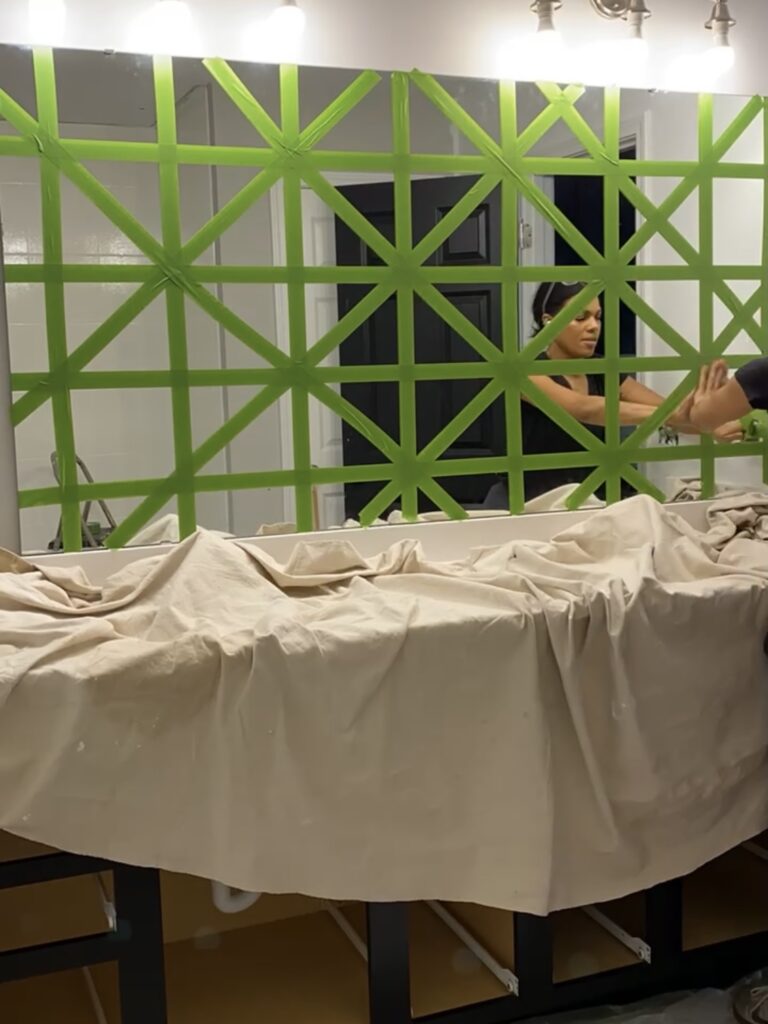
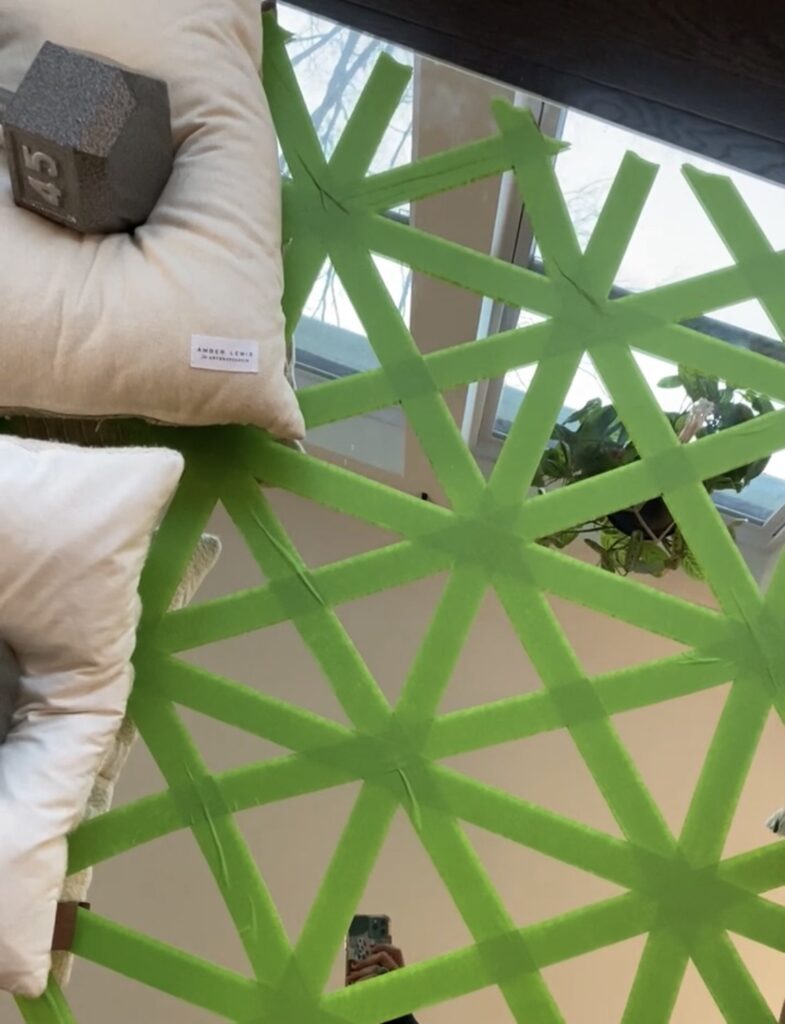
1. REMOVE THE MIRROR

When removing a mirror, you want to be extra careful in case it shatters.  So tape it multiple times with painters tape in all directions so that if it shatters, the pieces won’t fly everywhere.  Our mirror was not glued to the wall, so you may not be able to do this if yours is.  We removed the clips and lifted the mirror.  Be careful- it is heavy!

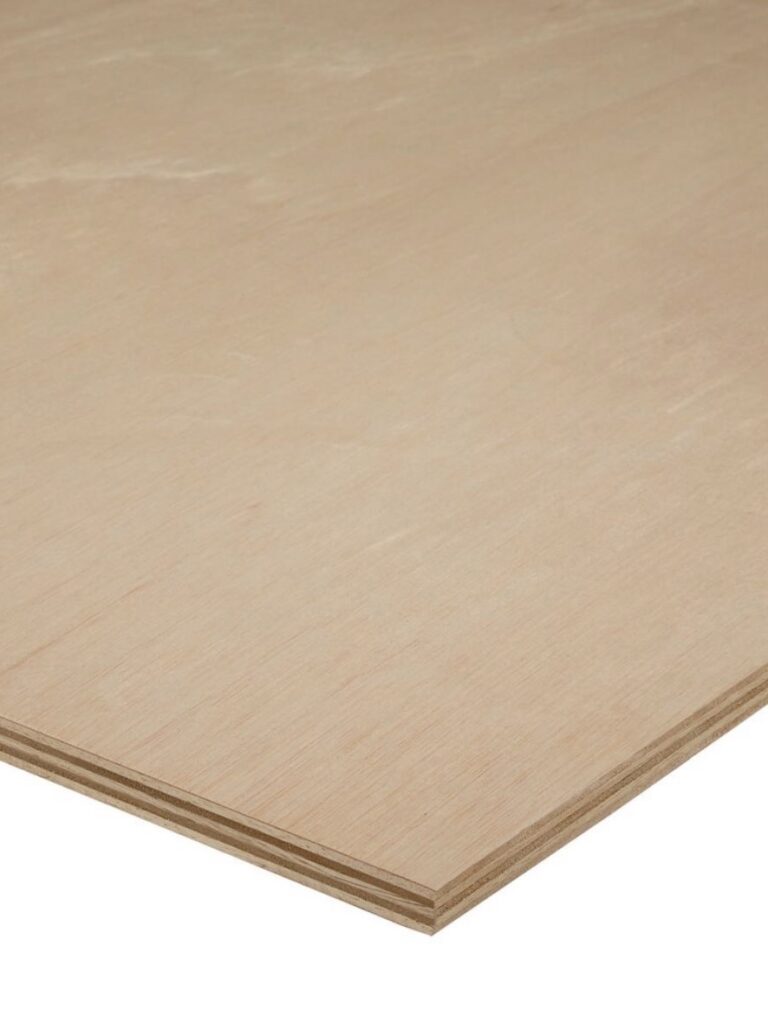
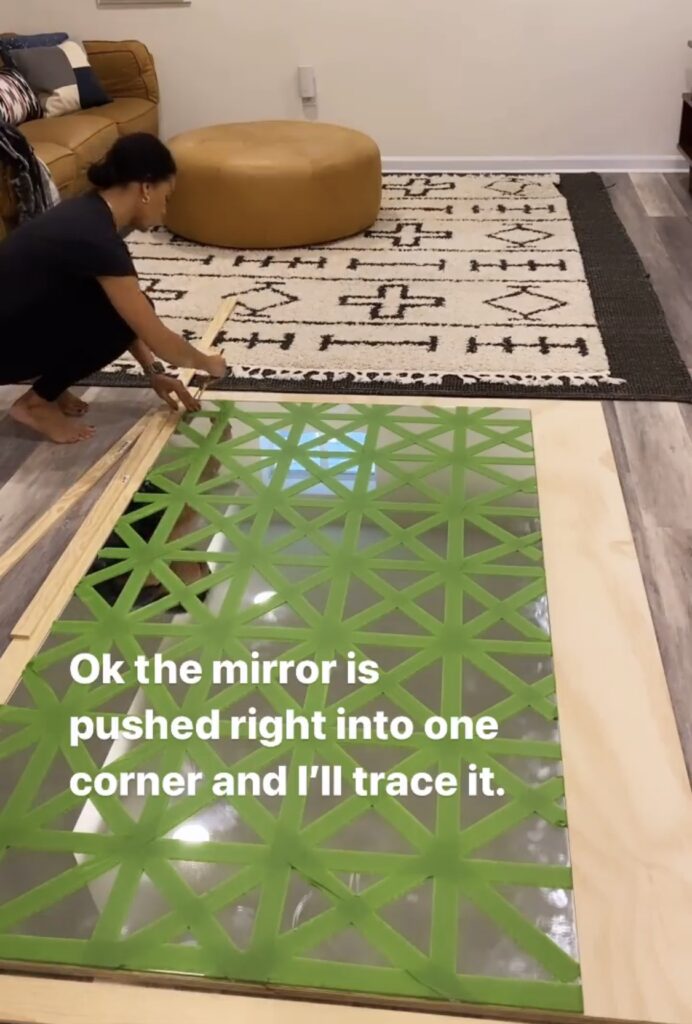
2. TRACE YOUR PLYWOOD

I used a nice piece of 3/4 pine plywood for the backing of the mirror.  This is to prevent warping.  Choose the nicest piece of hardwood pine plywood you can find.  I laid the mirror on top and slid it into one corner of the plywood and traced the two edges that we not flush with the board.  
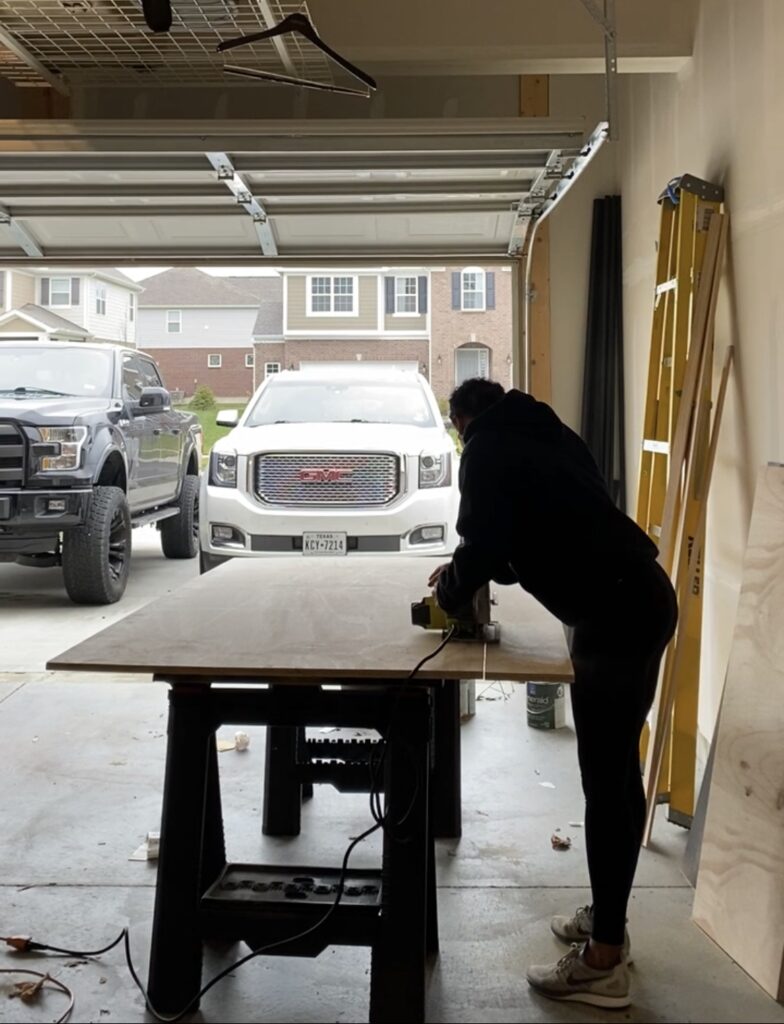
3. CUT YOUR PLYWOOD

You will then cut along your traced line with a saw.  I used a circular saw.
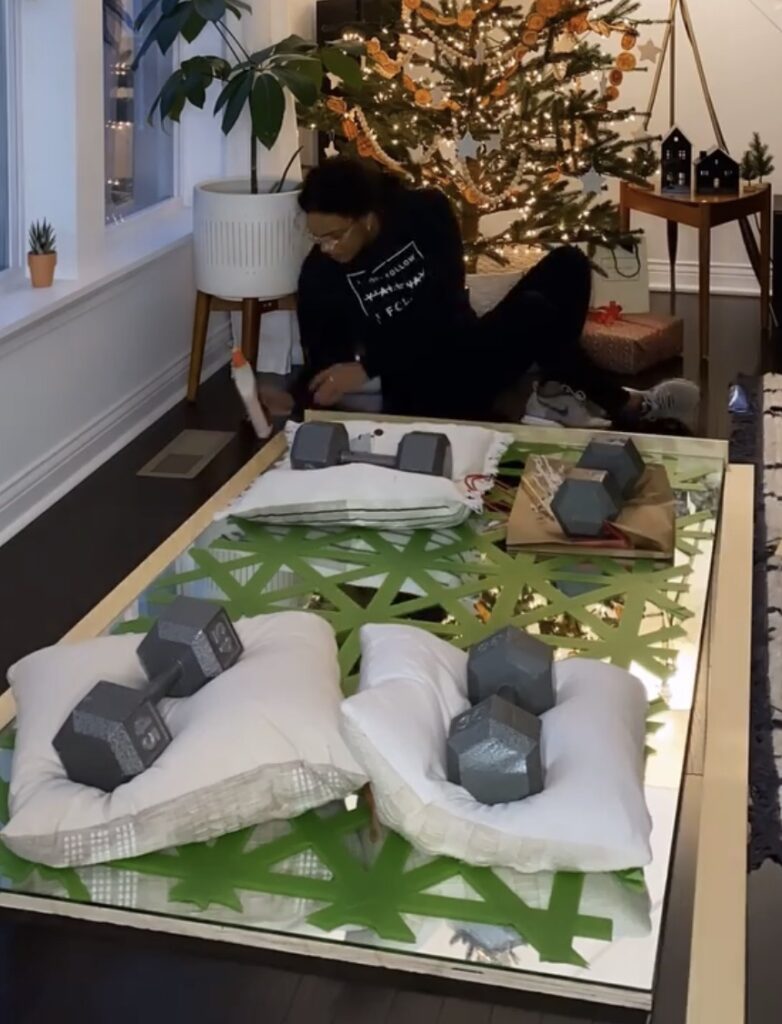
4. GLUE THE MIRROR

I streamed the liquid nails in a W and criss cross pattern across the entire board. BEWARE OF EXTREME WEATHER.  You don’t want to glue the mirror if it is too cold or too hot, or the glue will not set properly.  This was my conundrum.  I needed to do it inside because it was cold, but I also needed to do it outside because… wood floor lol!  I used one tube of liquid nails, but if your mirror is large like mine, I suggest you have an extra tube on hand. Also use something to weigh down the mirror so it adheres. I used weights and pillows LOL

5. MEASURE AND CUT YOUR TRIM

I measured the short sides first and measured the long sides taking into account the new length with the short sides added.  Mark and make your cuts, then test to ensure accuracy.  Sand your boards with 220 grit sandpaper.

6. STAIN

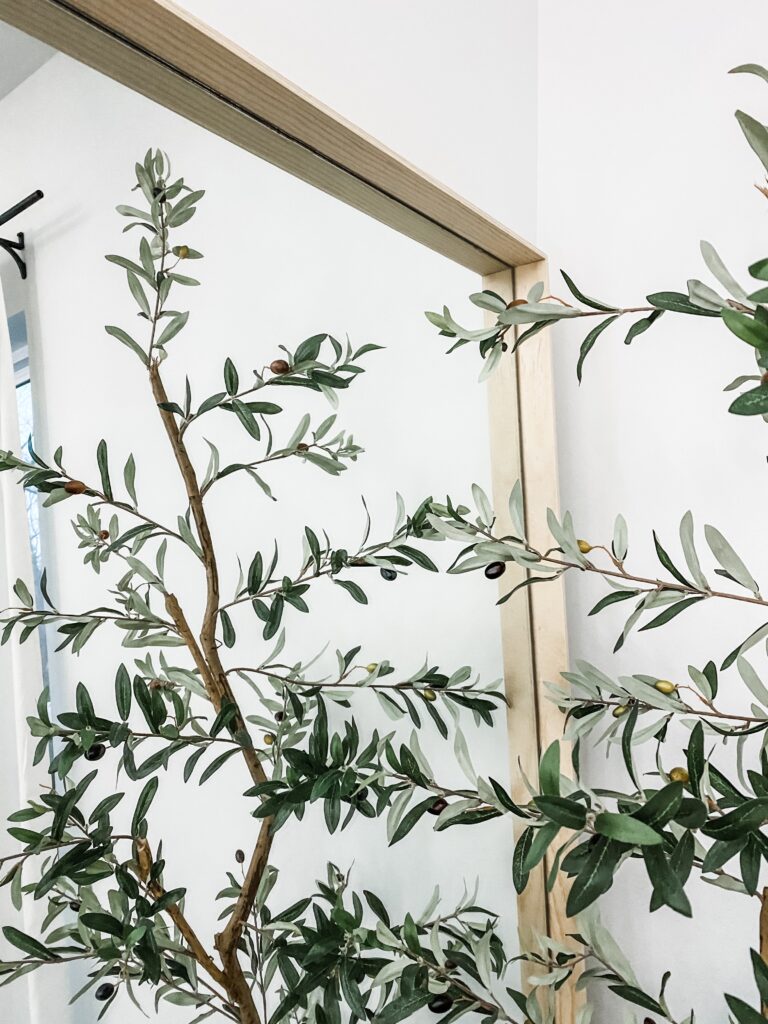
I did not stain my project because I wanted the matte raw wood look.  This is where you would stain yours if you want! First use wood conditioner, then stain.

7. GLUE AND NAIL THE TRIM

Spread glue on to the sides of the thick plywood backing and let it get tacky for a minute.  Now take your trim, and making sure it is flush with the back of the plywood, hold it tightly against the glue and nail it in.  This is where I nailed mine into the floor.  Because the project was on the floor, I could not hold the nail gun parallel,  and at the slight angle, those nails went right into the floor 😬.  WHOOPS!

Rob’s face when he realized the mirror is stuck to the floor 😂😂

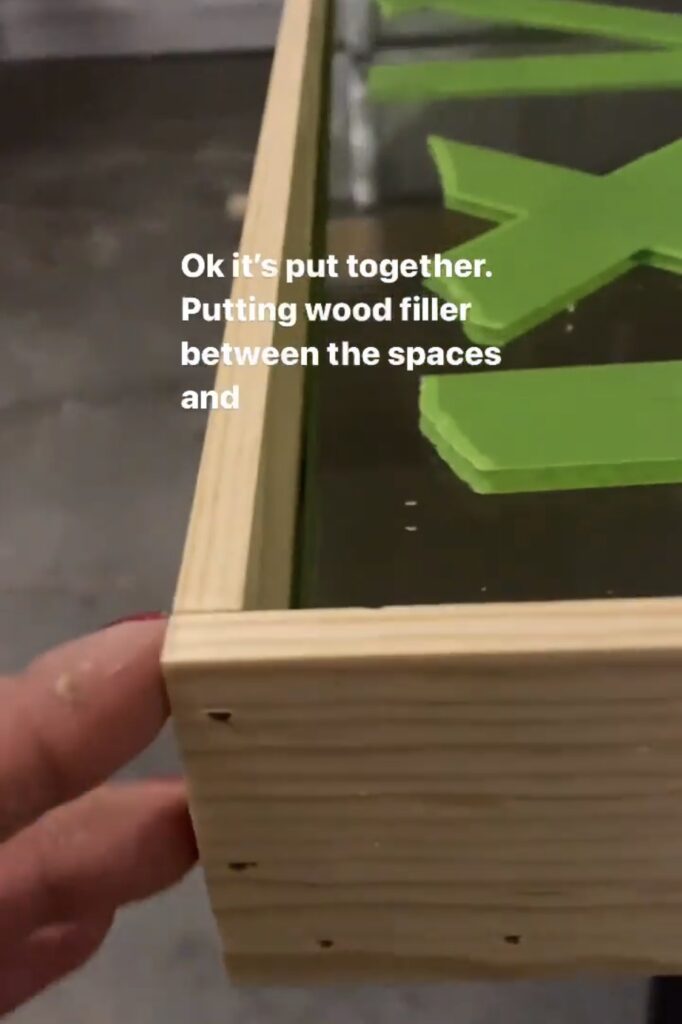
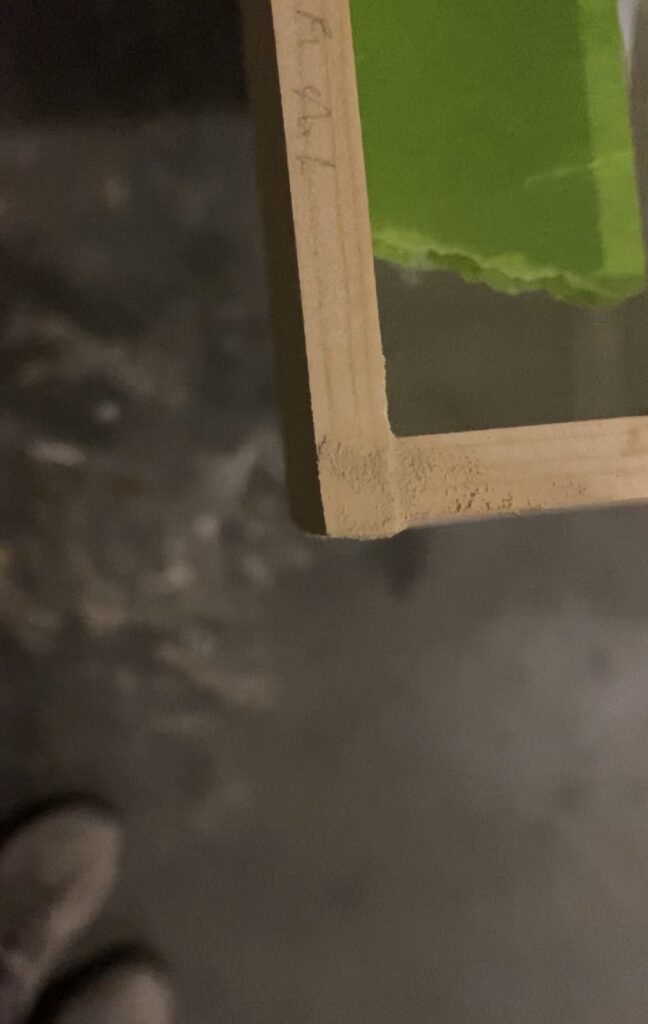
8. FILL IN WITH WOOD FILLER + SAND

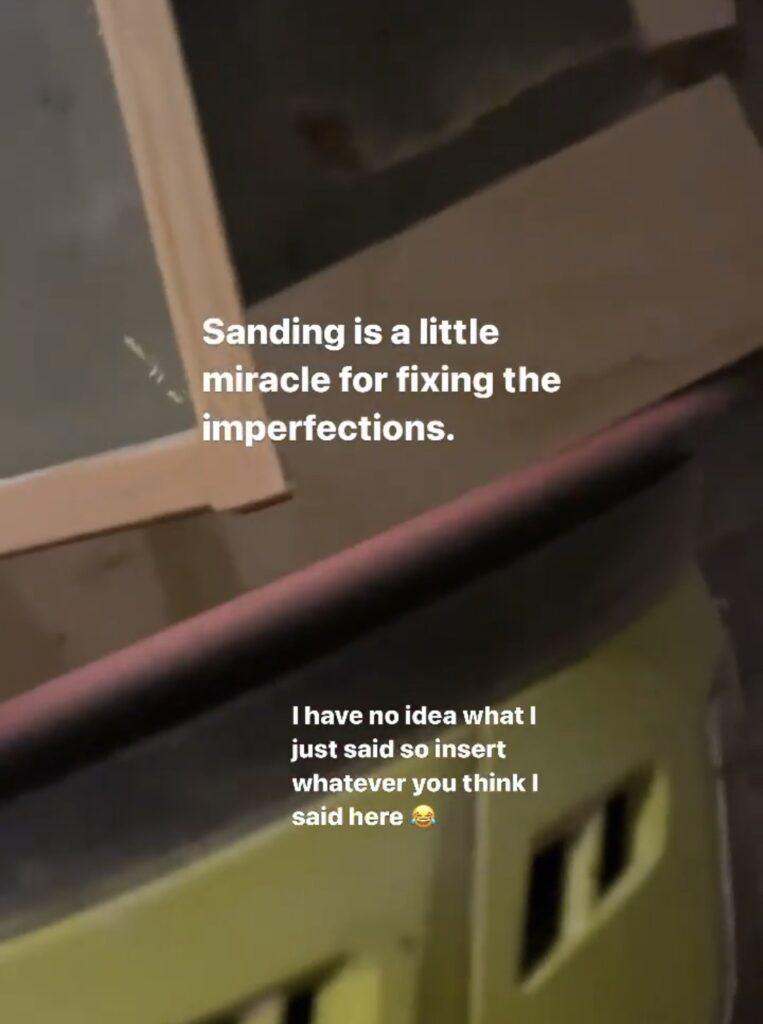
Fill in any gaps in the wood and nail holes with wood filler.  Let dry completely and then sand.  You can also sand to correct any uneven areas.  Make sure you don’t accidentally scrape up your mirror!

9. REMOVE THE PAINTERS TAPE

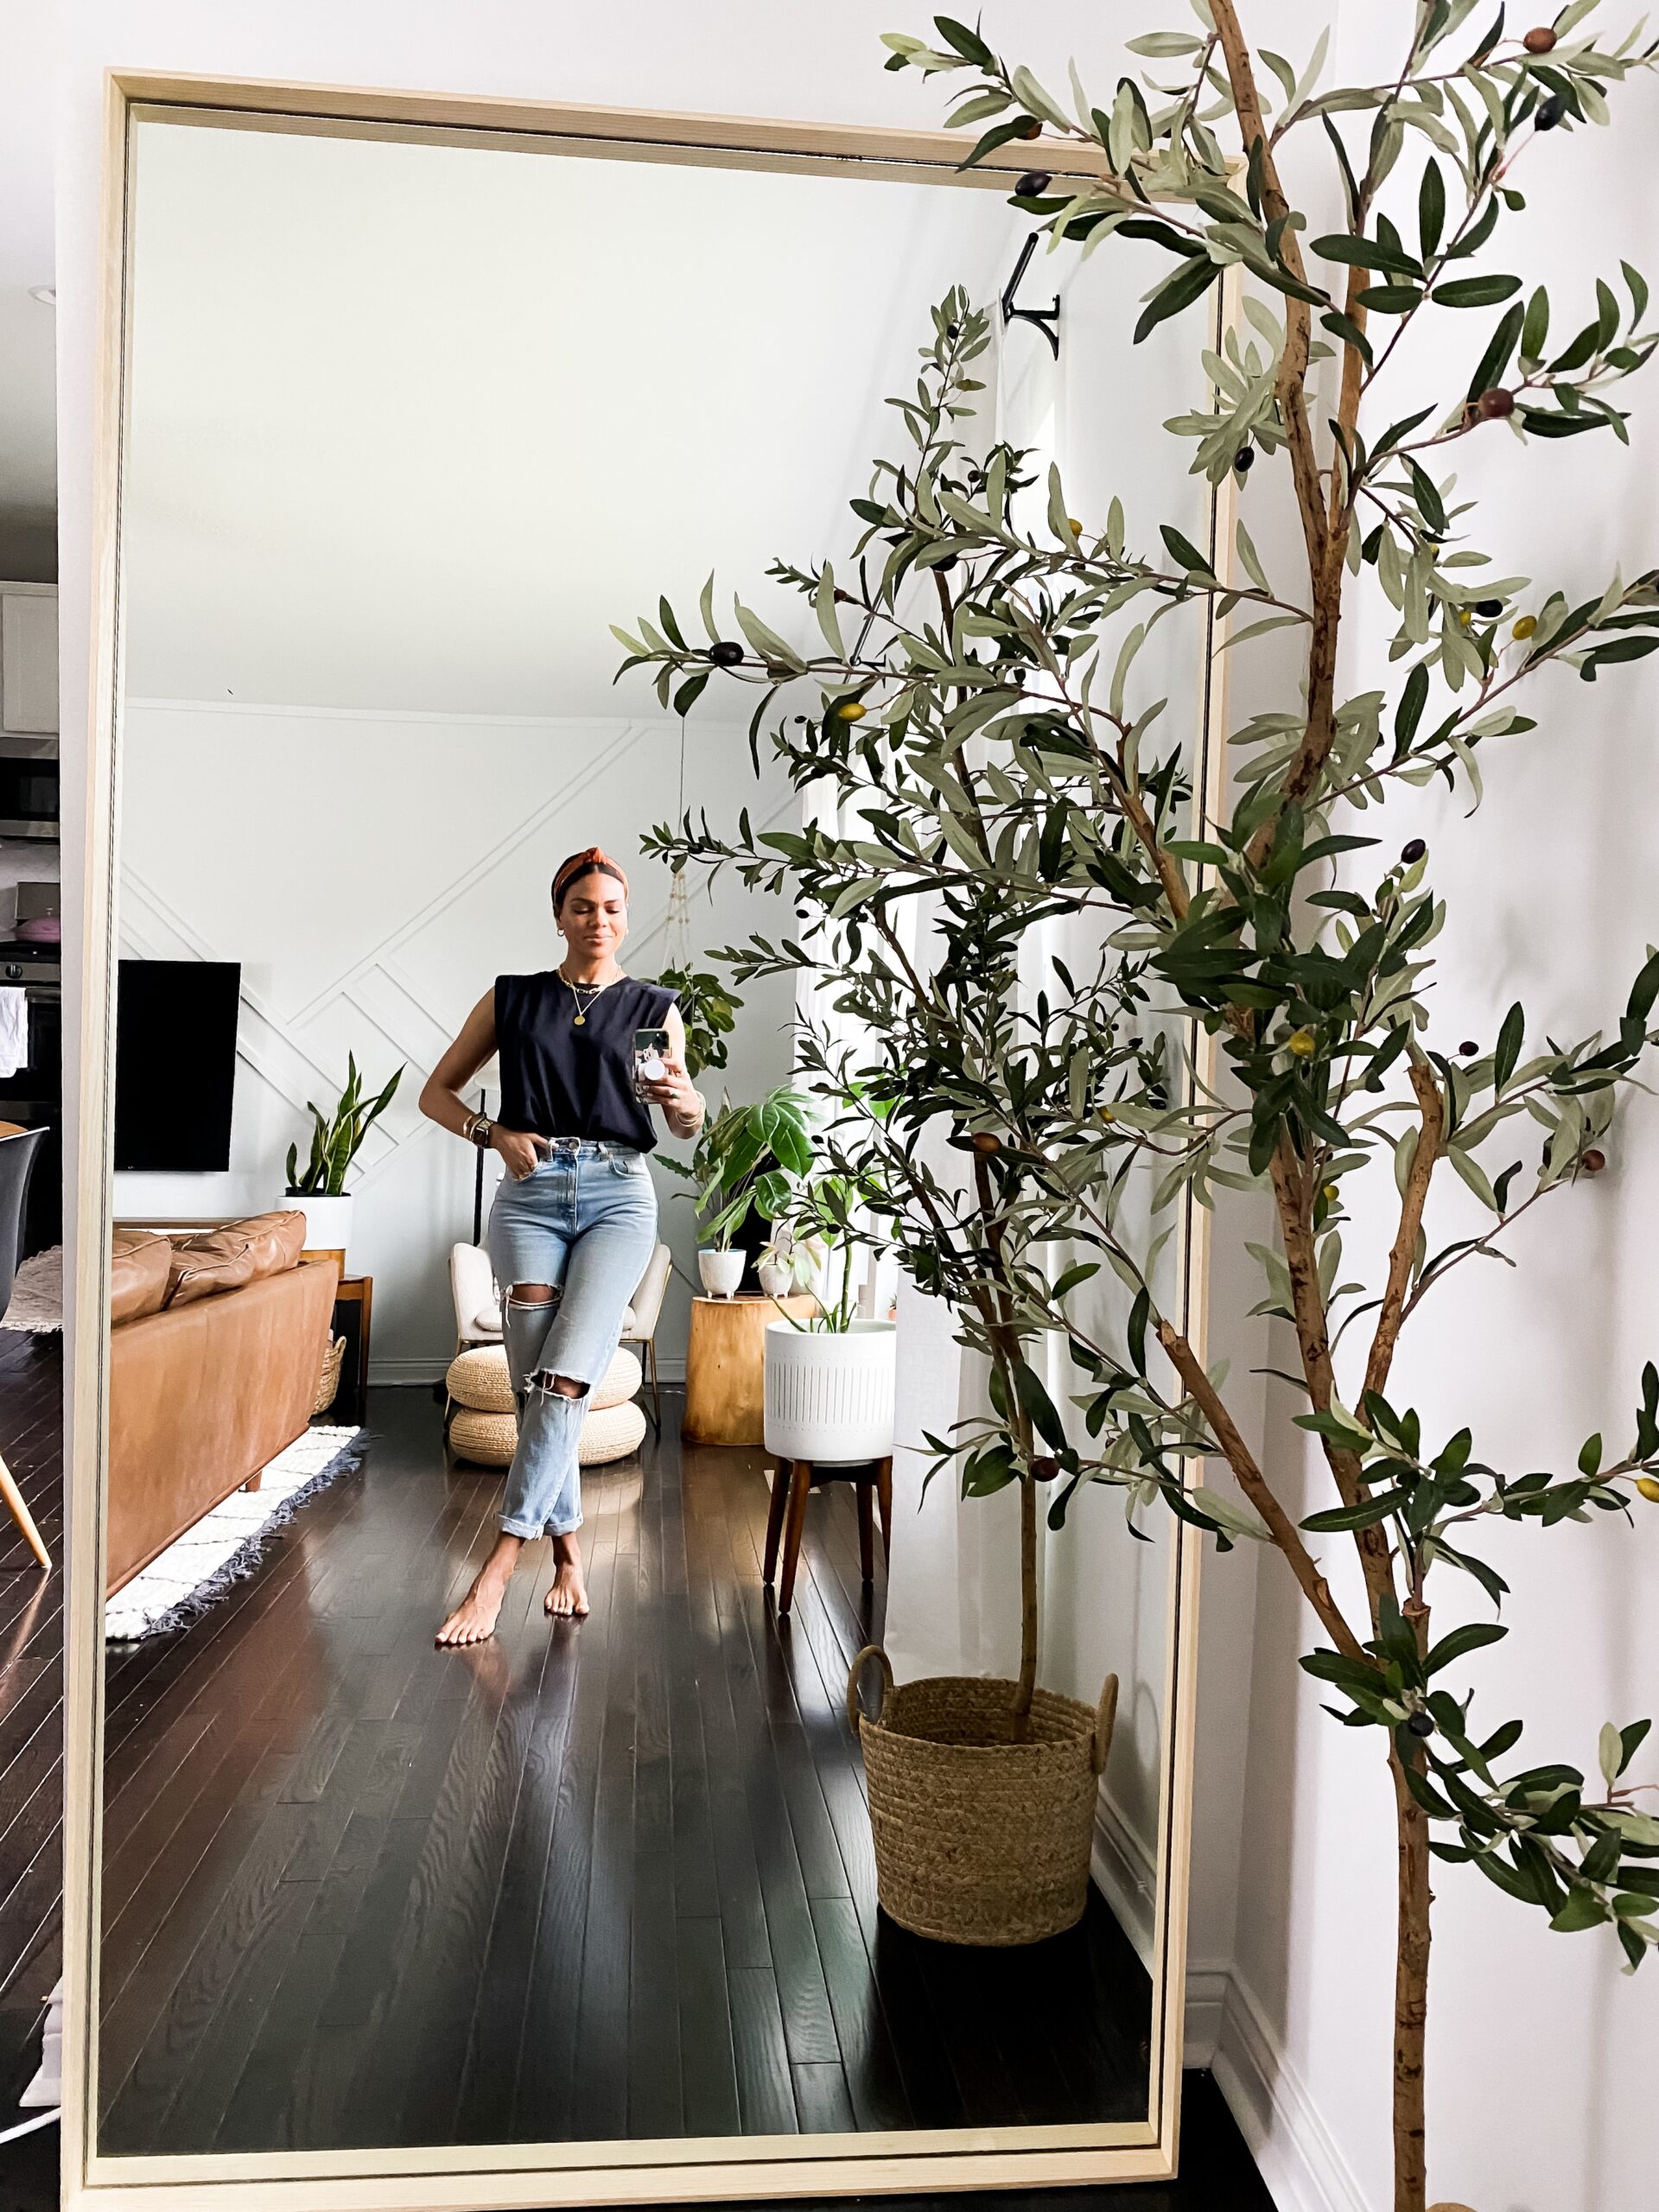
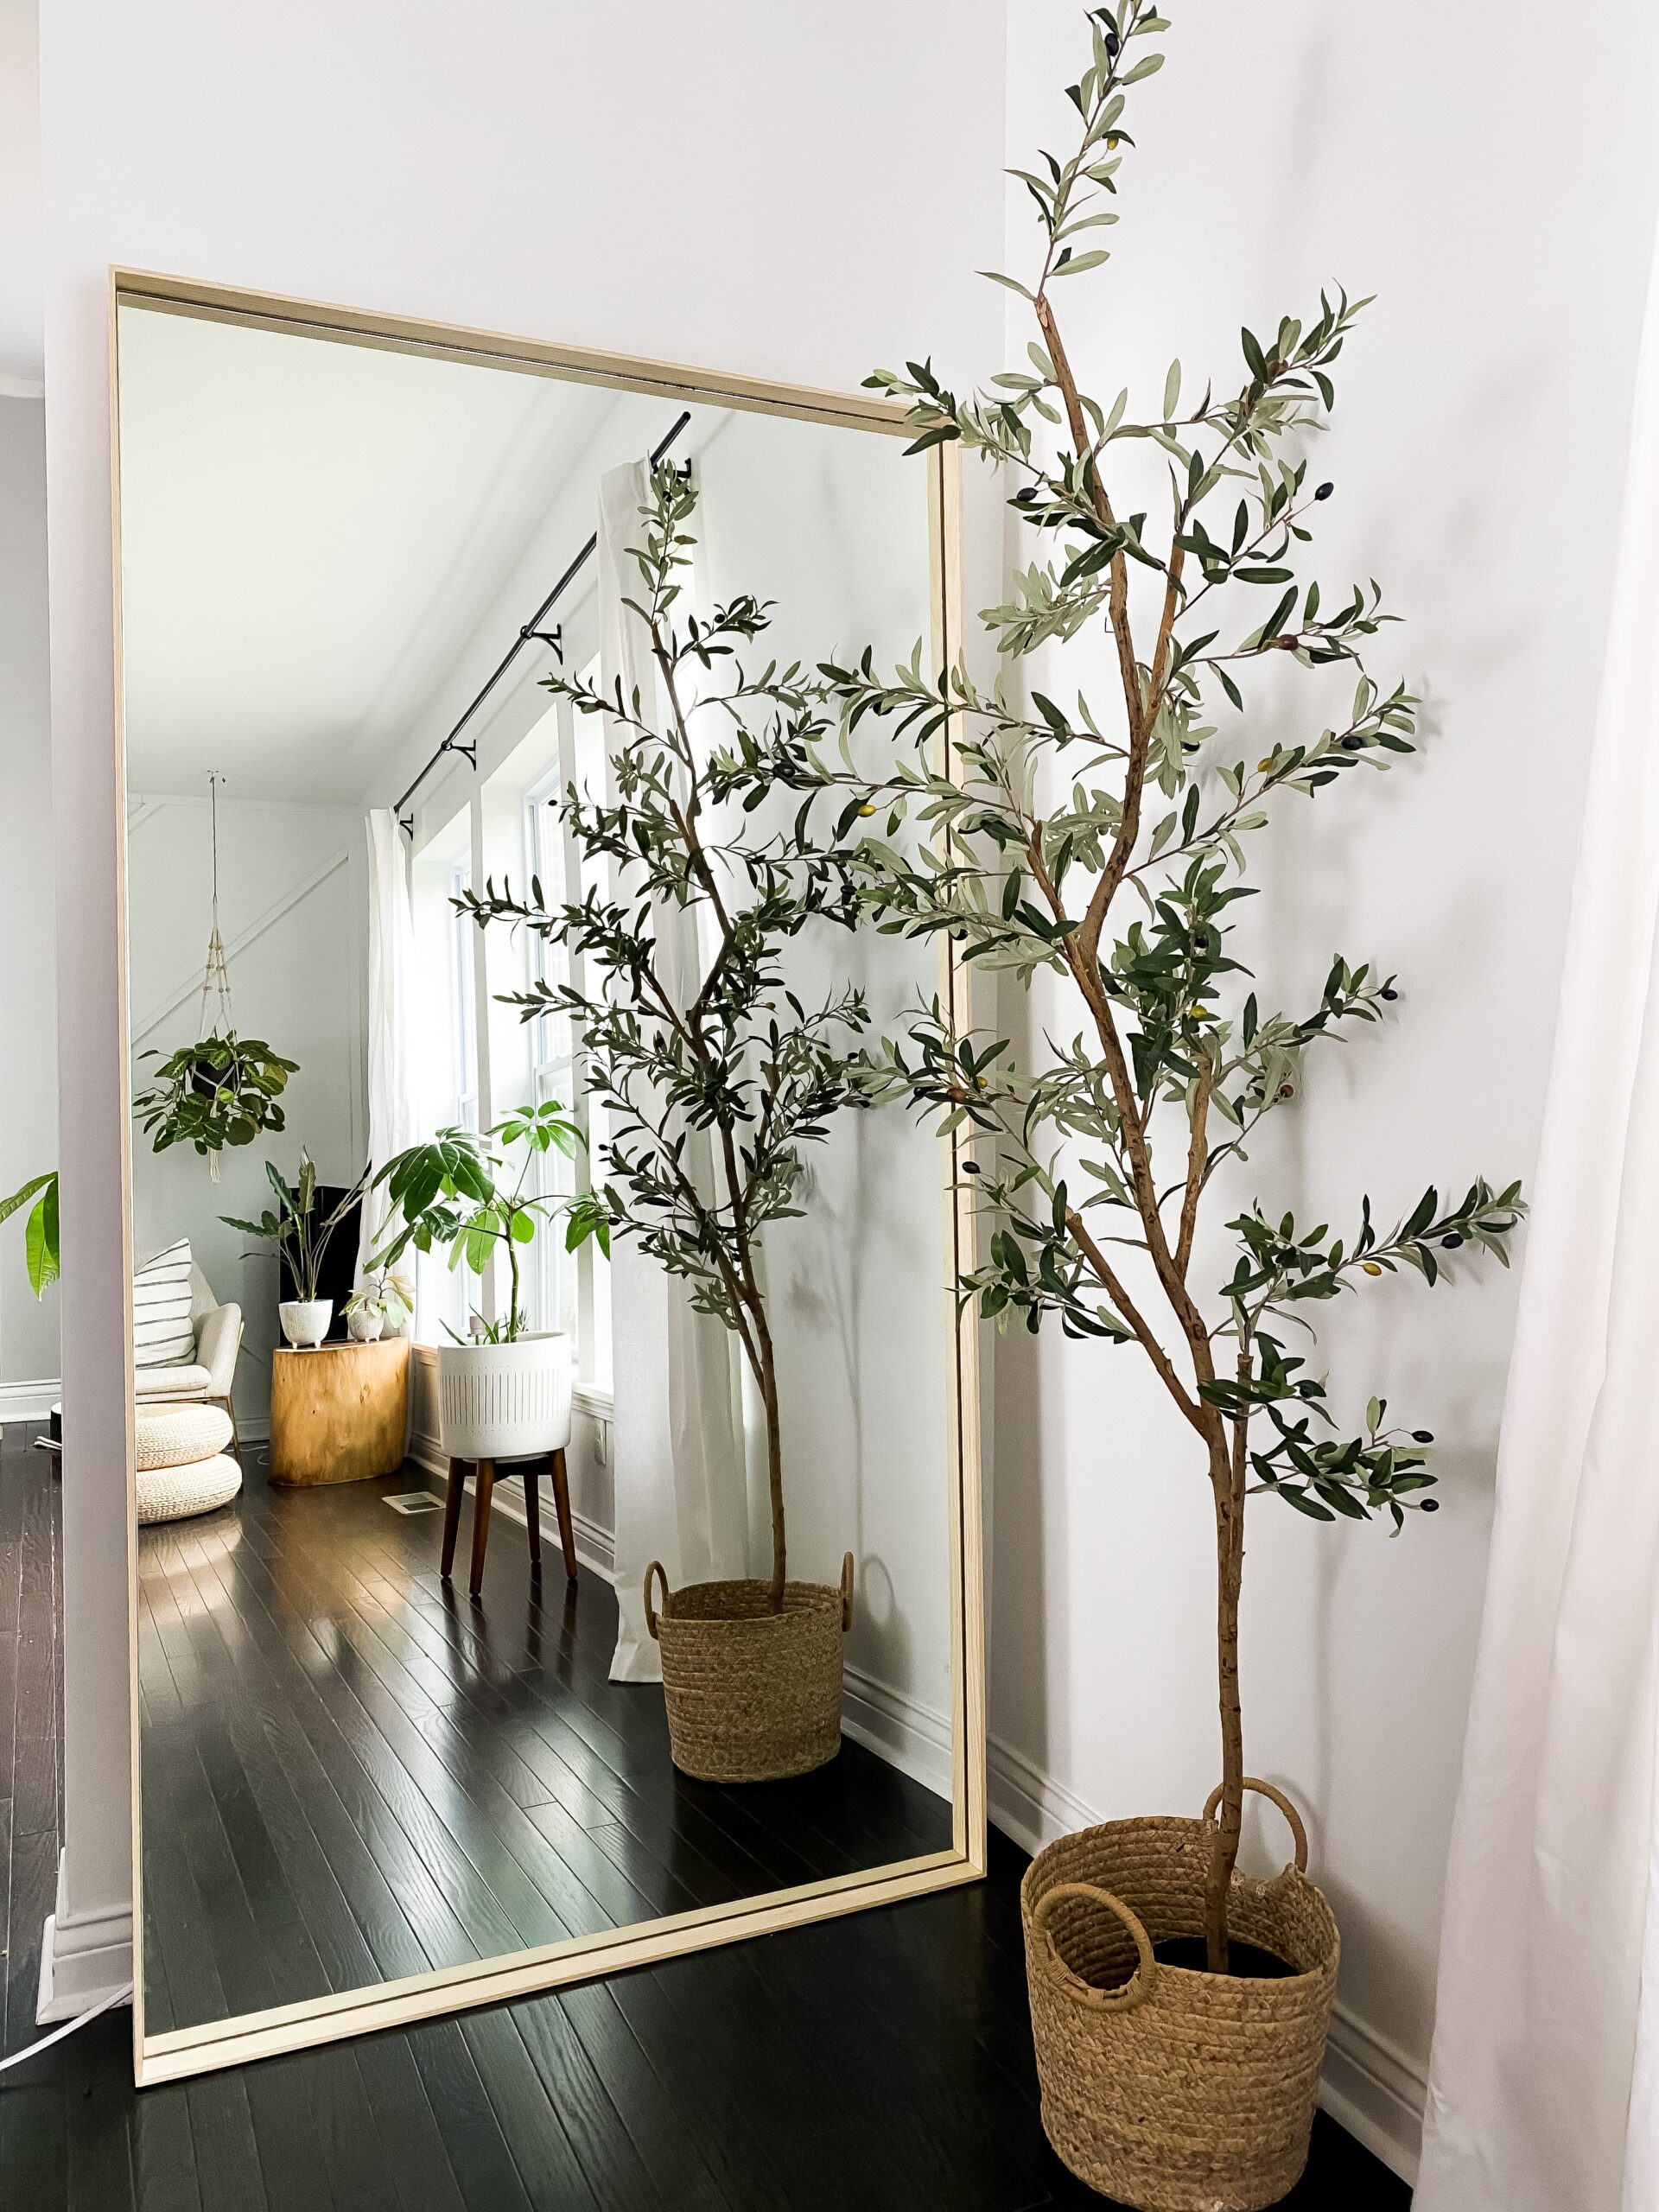
Now that the mirror is secure and trim is finished, you can remove your painters tape, clean it up and lean your project on the wall!

LINKS TO MATERIALS

LINKS TO DECOR

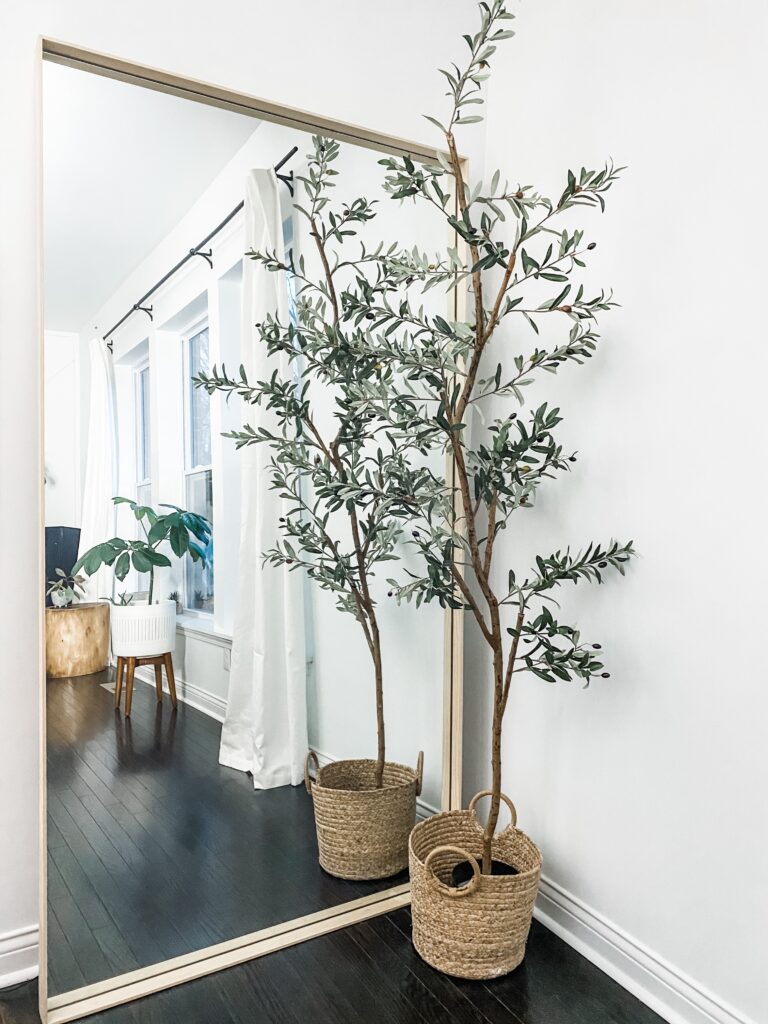
And there it is! An actual modern DIY Floor Mirror! Be sure to subscribe below so you never miss a thing, and follow me on instagram and liketoknow.it!


Filed Under: Home, Uncategorized Tagged With: DIY Modern floor mirror, easy diy mirror, floor mirror, mirror, modern diy mirror, modern floor mirror, modern mirror, west elm floor mirror

Reader Interactions

Comments

  1. MyrA spivey says

    February 2, 2021 at 1:08 pm

    How badly was Your floOrs damaged?

    Reply
    • Anna Groves says

      February 8, 2021 at 12:50 pm

      Not too bad! I put some colored wood filler and wood marker and it worked like a charm!

      Reply
  2. Sara says

    February 4, 2021 at 7:51 am

    Love this! Already told hubby we “Need” to do this! Also, I love the basket that you have your tree in – do you have a link for it? Thanks!

    Reply
    • Anna Groves says

      February 8, 2021 at 12:49 pm

      Hi! Thank you so much! It is from Target!
      https://www.target.com/p/small-basket-with-round-handles-natural-threshold-8482/-/A-76556284#lnk=sametab

      Reply
  3. Jean says

    February 7, 2021 at 9:21 am

    I AM An ex-cincinnatian that has been following you from fl. I opened a new issue of Good Housekeeping and there you were! What a lovely article showcasing your beautifully decorated home. Loved it.

    Reply
    • Anna Groves says

      February 8, 2021 at 12:45 pm

      That is so cool!!! It was such an honor that they chose to include me! Thank you so much!

      Reply
  4. Robin Kramer says

    February 8, 2021 at 10:20 am

    anna, your style is gorgeous! I just enjoyed reading an article about your design in a magazine that my mother-in-law shared with me. I immediately visited your blog, and I love the site and your focus on beautiful living, wellness, and faith. Thank you for sharing this mirror tutorial. I belong to a Buy Nothing Facebook group, and someone is getting rid of a bathroom mirror, just like the one you DIY-ed in this post.. I can’t use the mirror personally, but I shared this tutorial on the post in case others can. Such a great idea!

    Blessings to you — thank you for sharing your beautiful spaces with your readers!

    Reply
    • Anna Groves says

      February 8, 2021 at 12:52 pm

      Hi Robin! That is so cool! Thank you so much for sharing that with your group! It really is great to save several hundred dollars with a little elbow grease! So happy you like the blog, too!

      Reply

Leave a Reply Cancel reply

Your email address will not be published. Required fields are marked *

Primary Sidebar

Latest Posts

DIY CANE HEADBOARD

DIY MODERN FLOOR MIRROR

DIY BATHROOM AND SHOWER

New Nordstrom Beauty Faves

Archives

Categories

Footer Widget Header

SUBSCRIBE

Join Anna's List!

Footer

  • Email
  • Instagram

The Links

  • About
  • Home
  • Contact

Categories

  • Beauty
  • Lifestyle
  • Faith
  • Wellness
A vessel sharing positivity through beauty, wellness, and personal style.
Someone said something really rude in my DM’s an Someone said something really rude in my DM’s and I’m so proud of myself.    
   
Everyone is different, but I always feel the need to reply or defend or explain.  I even took a screenshot of what they said so I could share it.  I typed my response and hit send.  About 5 minutes later, I went back. It was still unread.  I pressed “unsend” and deleted the screenshot.   
   
Listen, that is growth.  Late is better than never.   
   
I was letting the mean spirited words of a stranger on the internet live rent free in my heart even though I knew it would bear no fruit for me.    
   
No more. God, give me the strength to stand by this. I won’t let someone’s unkind words hold space in this temple. It’s too precious of a house. The gatherings at this house are invite only....and I am in charge of the guest list.    
   
I hope you’ll make a beautifully exclusive guest list for your house, too. 🖤   
   
#youarethetemple
How it’s going >>> How it started 🖤🖤🖤 Y How it’s going >>> How it started 🖤🖤🖤 You, me and God make a pretty strong triple strand cord, Rob G.  Happy Valentine’s Day! #NotEasilyBroken   
‭‭   
Ecclesiastes‬ ‭4:9-12‬ ‭
You guys! 😭😭😭 The headboard is done and I You guys! 😭😭😭 The headboard is done and I’m literally tearing up as I write this.  
 
It could be that I’m just tired, but I really felt like giving up a few times, and I am so proud of myself for pushing through to the finish line.  I wish you could see the headboard and room in real life. It is so much prettier in person.  
 
Besides getting the wrong length screws and having a manual staple gun (which I do not recommend for stapling cane btw 🤦🏽‍♀️).... 
 
I got what I thought was a kreg jig, then went back and got an ACTUAL kreg jig, and when I got home I realized I really sucked at using a kreg jig. 😬 
 
After I finally got it, I then forgot to adjust the height of the guide, and drilled ALL THE WAY THROUGH THE ACTUAL KREG JIG 😩😂🤷🏽‍♀️ (see the whole saga in stories)  
 
Anyway, I think it looks awesome. Thank you for all of your encouragement. So many of you didn’t laugh AT me, but WITH me, and you encouraged me to keep going.  I appreciate you, and I hope you’ll do the same thing when life gets hard, too.  
 
Have a wonderful weekend and an amazing Valentine’s or Galentine’s or Palentine’s or MeMyselfandAgoodBookentine’s. Ok? 
#diyheadboard #caneheadboard #idcoathome #diybed
Valentine’s Day is almost here and I’m thrille Valentine’s Day is almost here and I’m thrilled to share my favorite new scent -  Scarlet Poppy by Jo Malone London – available now at @nordstrom.  I can’t stop smelling it… enveloping ambrette, rich scarlet poppy, warm creamy tonka bean, and a touch of fig make this the perfect addition to my collection! 
  
I’ll be pairing it with Myrrh & Tonka over my Wood Sage & Sea Salt body crème.  
  
@jomalonelondon 
#JoMaloneLondonAmbassador 
#CologneIntense
Y’all, Rob made us a romantic date night meal! I Y’all, Rob made us a romantic date night meal! Is he a chef yet?! SWIPE to see it and his shopping list :) I sent him into @aldiusa for ingredients to create something scrummy and he did it! Scallops, shrimp, asparagus and roasted potatoes! 🙌🏾 Head to my stories to check out his adventure.  #sponsored 
 
To recreate something like this, you can find everything at ALDI! You will get in and out quickly, plus as always- find delicious, affordable foods.  #ALDILove
I found a home for my little valentines arrangemen I found a home for my little valentines arrangement in the nook! 💐 Yesterday I took a bundle of plain store bought blush roses and gently spread apart the petals. Then I tucked in white and purple wax flowers and such.  TIP: start with like items (the roses) and then tuck in smaller pieces at different lengths to fill. Did a little time lapse in stories! I really like asymmetric arrangements. Do you prefer symmetry or are you the lopsided type, too?  What’s your favorite arranging tip? 👇🏾#floralarrangement #valentines #valentinesgift
It’s #MANIMONDAY! 💅🏽 If you have trouble w It’s #MANIMONDAY! 💅🏽 If you have trouble with your polish chipping, I’ve got some tips that work for me! Head up to stories to see it in action, but here’s the gist:  
1. Don’t wash your hands right before - if your nail bed is damp, it will expand and then contract- chipping your nails. I like at least an hour of drying time after a hand washing or shower.  
2.  Don’t touch your nails! After removing polish, I buff, then dip into the remover again. If you touch your nails, the oils from your fingers can keep the polish from adhering.  
3. LET IT DRY! I let my nails dry 5 minutes or more between 3 THIN coats -and even longer before the top coat.  
 
What are your tips?  Or if you have questions, leave em below!
Save this post for a puffy eye tip below! If you d Save this post for a puffy eye tip below! If you didn’t already know, I’m a HUGE advocate of retinol and I got some incredible results testing Shani Darden’s Retinol Reform - such good results that I am actually trying eye cream!  
 
I haven’t used an eye cream in years but I said yes to trying Shani’s new Intensive Eye Renewal Cream.  Why? Because I trust her after my amazing experience.  
 
It’s a couple weeks in and so far I love the texture, the way it smooths, lifts and de puffs instantly- with 9 powerful actives like peptides, Squalane, ceramides and silk tree extract- Shani addressed everything! 
 
HERE’S A TIP: On the days that I wake up extra puffy, I make a “mask” out of the eye cream. I put on a thick layer, let it sit for five minutes, then roll it into the eye with a cool jade roller until it absorbs. It’s a game changer!  
 
You can shop Shani’s new eye cream at Sephora- swipe up in my stories.  Can’t wait to check back in with you guys soon! 
 
#SkinByShani  
@ShaniDarden 
#sponsored  
@sephora
A tale of one headboard. SWIPE to see its life so A tale of one headboard. SWIPE to see its life so far, and save this post for reference!  
 
I made this headboard from a single piece of maple plywood, sanded it with 220 grit sandpaper, kept it raw, and leaned it against a dark wall for contrast. Looks just like the headboard from a $1000 CB2 bed (last slide)! 
 
Anyway, we’ve always had a queen size bed and now it’s a king, just so Rob’s feet could have a separate home from mine (best believe my feet will be staying over at his feet’s new place 😂😂).  
 
I’m pretty positive I’ll need a bigger headboard (can barely see it now!) either by repurposing this one or building something new.  Lots of suggestions in DM’s to build a frame around this one- what do you think?  
 
1st pic is the current king size bed. 2nd is the queen, 3rd is the queen in our old house, 4th is the inspiration headboard. 
 
Head to stories to help me narrow down the lamp choices!
I just got a message that said “you are an inspi I just got a message that said “you are an inspiration but I also feel like it’s not attainable.”  
 
And you know what? She’s exactly right. It’s NOT attainable.  Because what you see in this app is not the whole story.  It’s impossible to see the whole story.  For every smiling pic, there are a hundred tears. For every cute and happy family there are a thousand arguments.  For every pretty home pic, there are boxes shoved out of the frame.  For every home improvement project there are things neglected behind the scenes.  
 
Even the “real life” pics are CHOSEN. I try to show up as authentically as I can on here, but can we train our brains to remember this? Its created content, so let’s  not mistake it for real LIFE.  
 
Are you teetering between comparison and being inspired in this platform?  
 
I know you know this in your MIND, but please know it deeply in your HEART.  
 
You don’t need to  
be more  
do more  
see more  
have more.  
 
You are enough.  
 
I am working on comparing myself only to yesterday’s me- and focusing on being a better me today.  I hope you will do the same.... and if you need to unfollow or mute those who make you feel less than- even if it’s me, please do that.  Guard your heart and mind - it’s so very important. 
 
PS- one trick I use: when I see a content creator using a filter, I often click on the filter and try it on.  Because our minds play tricks. Helps me wrap my mind around what’s real and what’s not. ♥️ SWIPE FOR REAL LIFE VS FILTERED
Follow on Instagram

Copyright © 2021 · Anna Mae Groves · Blog Design by Little Blue Deer
Privacy Policy