Hello!
My Name is Anna
Thank you for being here
explore the blog
Join me on ltk
Follow along on instagram
3 Easy Tips for Better iPhone Pics
May 11, 2020
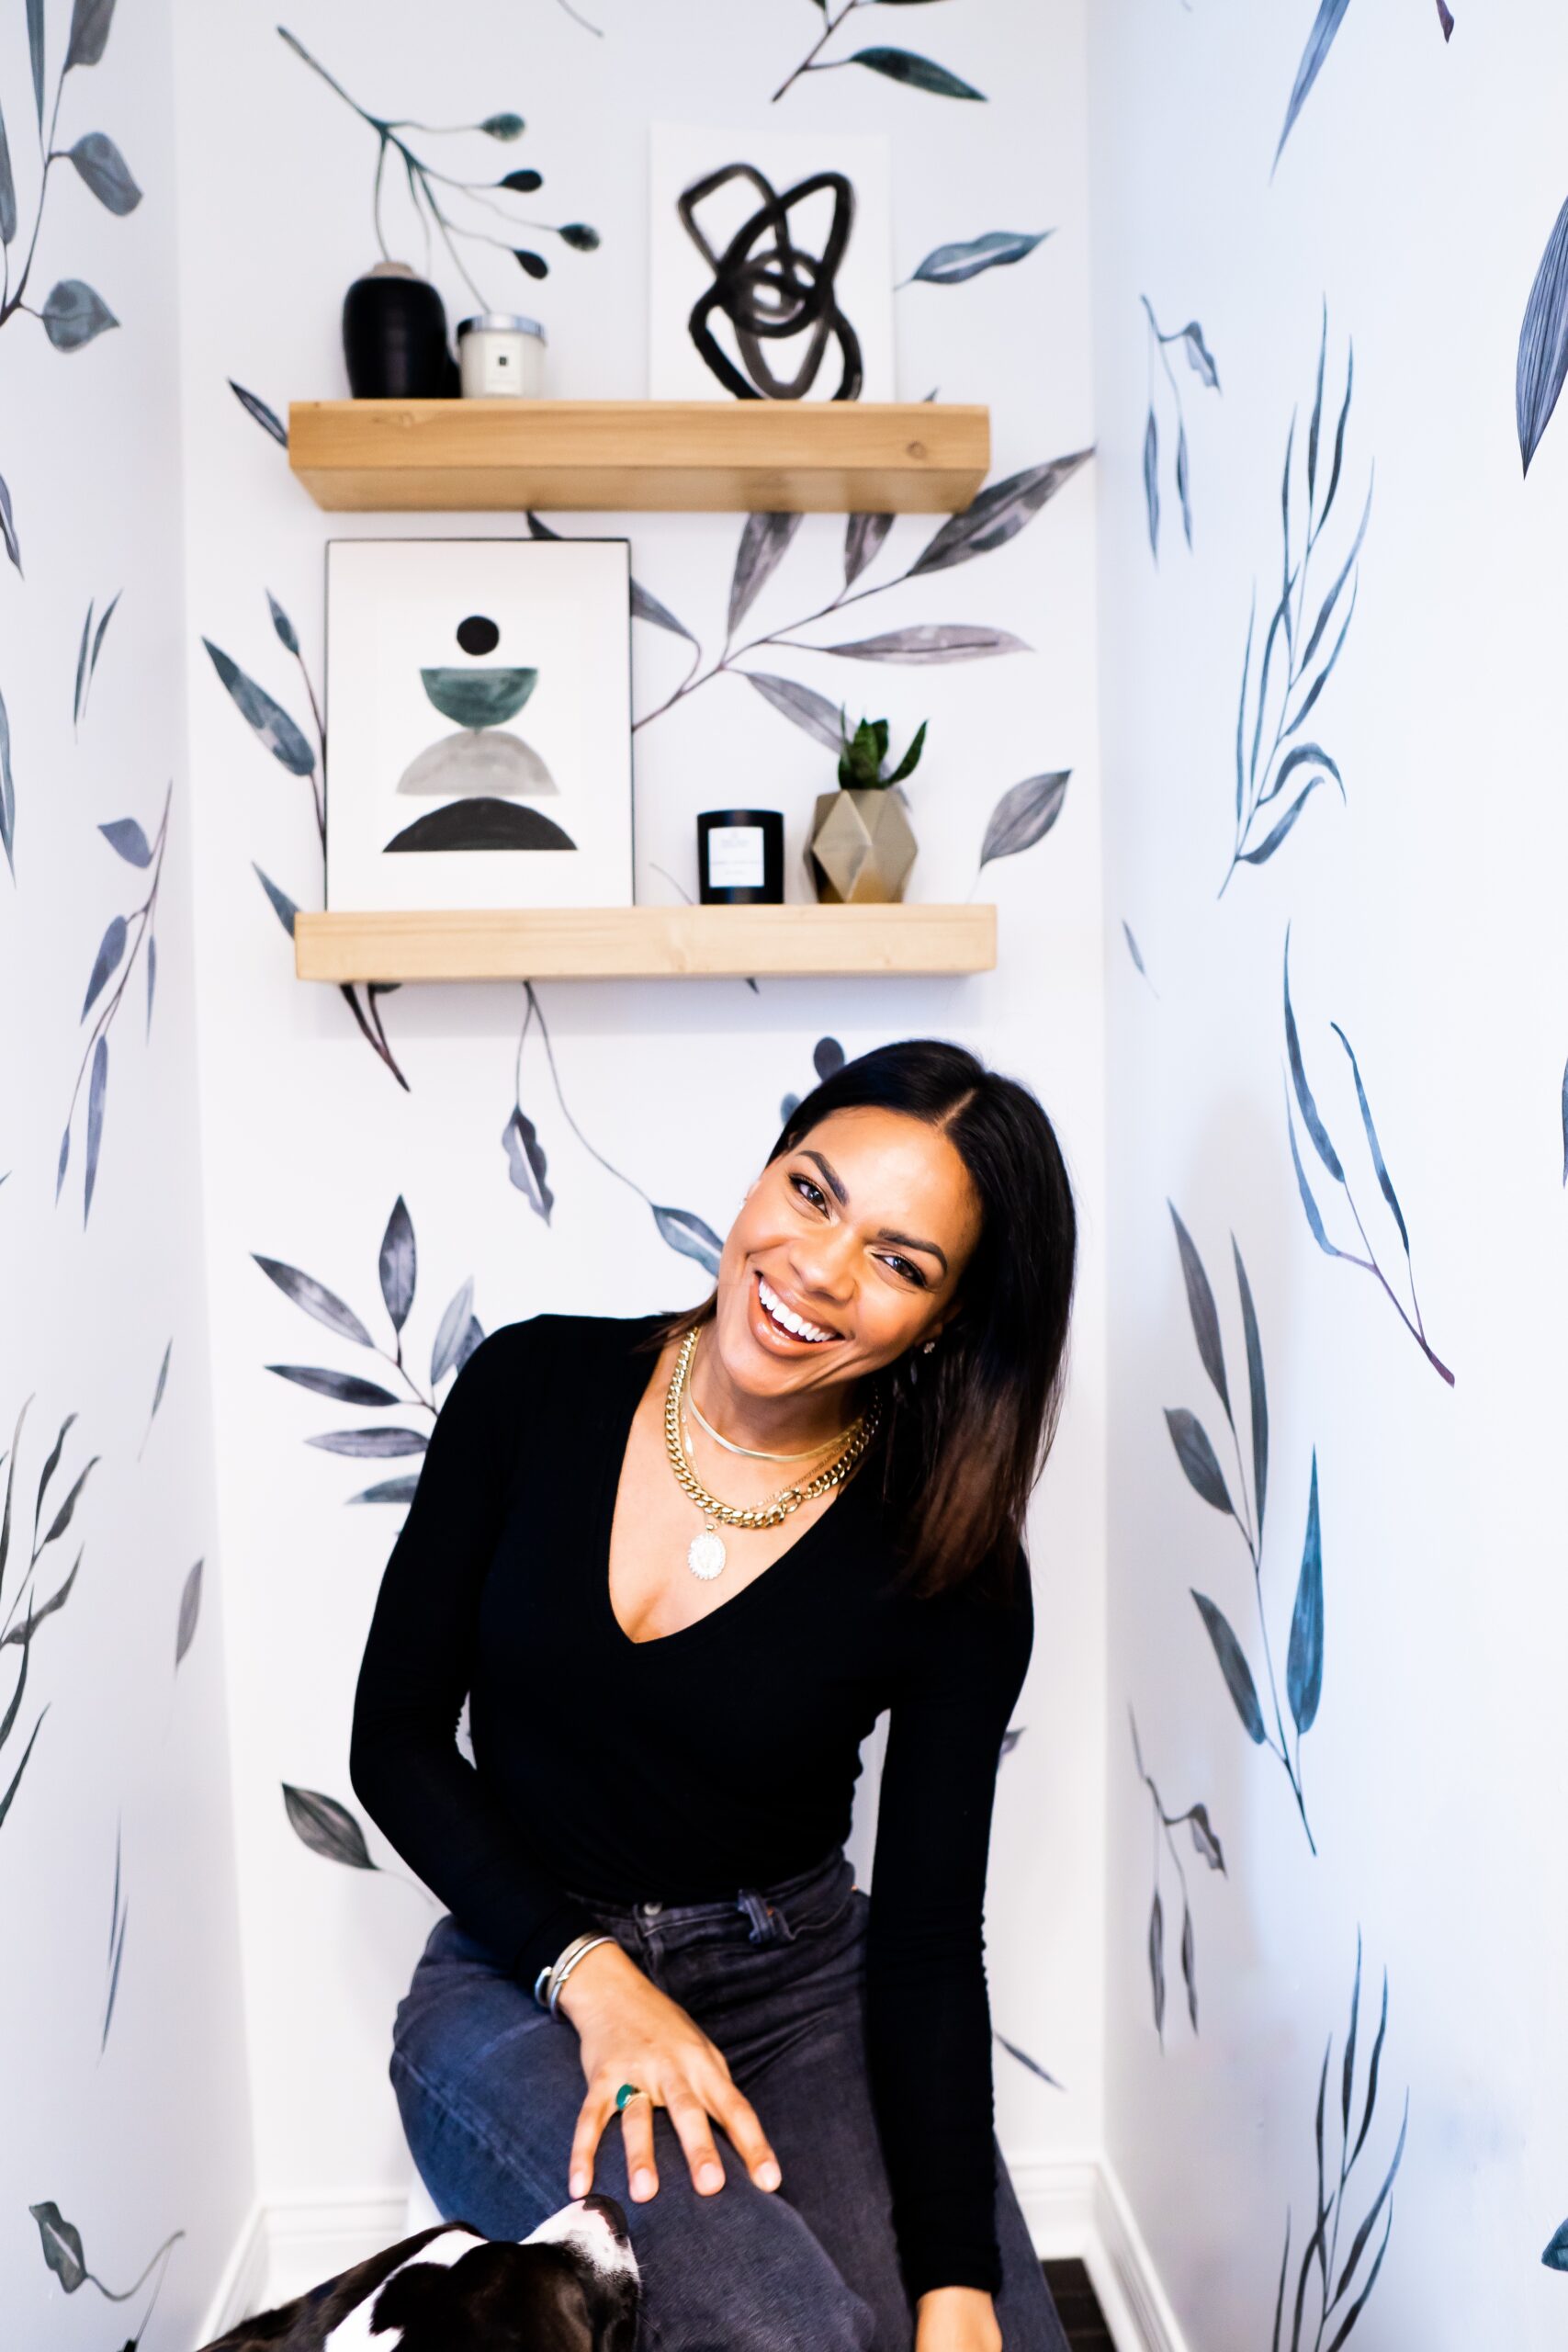
I get a lot of questions about how I take great pictures with my iPhone. To be honest, I really didn’t think they were that great. I would call them elementary, and I definitely have a lot to learn! I considered the skills I have as common knowledge and I suspect for some of you, that may be the case. But I have noticed that the things I do are missed by a lot of people when they take pics. I wanted to share three things I do EVERY single time I take a pic to better my chance of having a great one to choose from. I know many of us have the latest technology, which should result in great pics! Sadly, that is not always the case, and I am here to help! Below are the three things I do to ensure I have some quality photos (they are going to seem obvious but they work)!
1. TURN OFF THE LIGHTS.
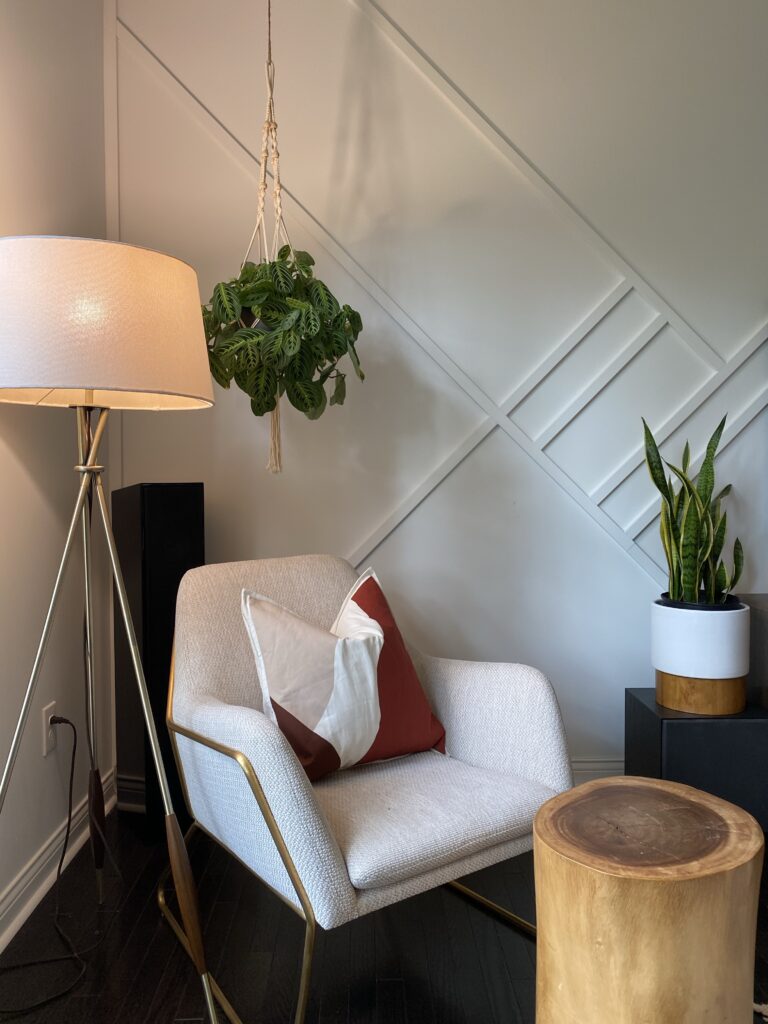
Yep. I said it. Turn off artificial lights. They end up making things look super yellow and they are much harder to edit. What you actually want is NATURAL light. In the north facing side of my home, where my bedroom, great room and kitchen are (almost all the good picture taking spots in my house!) it is pretty dark. In my case, it’s all about timing. I try to wait until the brightest time of day, and I don’t dare take pictures in these areas if it is raining. Yes, that makes it a little inconvenient, but if I get sun, you better believe I am shooting a ton of content on those sunny days. On the other side of my house, where it is much brighter, it is easy to take pics without lights on. Here are a couple of photos that I took with artificial light versus natural light.





2. WIPE YOUR LENS!
Oh my gosh, this one is HUGE! If you were to ask any of my friends or family what I do before I take a pic, they will tell you- I am wiping that lens and I am annoying about it, too! This seems very basic, I know, but I cannot tell you how many pics I see on instagram that are cloudy and lack a sharpness. This is because they neglected to do this one simple thing. And wiping your lens with just anything won’t do! It has to at LEAST be with COTTON. Not synthetic rayon or other fabrics. That is why if I am wearing something that is not cotton, you’ll see me grabbing the sleeve of the t shirt on my husband, the sweatshirt hood on one of my kids, or the back pocket on someone’s jeans (and yes I look crazy!). Other fabrics just smear smudges around, while cotton will pick the smudge right up. Better yet, you can use the cloth that comes with your sunglasses or glasses. Those work perfectly! Ok, and don’t laugh, but I have told people to wipe their lens and they pick up their phone and wipe the wrong side! Like, if they are taking a selfie, they wipe the lens on the BACK of the phone instead of the FRONT facing lens! That seems simple enough, but you wouldn’t believe how many times I see that happen! So wipe the correct side! Best bet is to wipe both the front and back lenses just in case you decide to go into selfie mode, and you will be ready to go! Below are some pics I took with a clean lens and with a smudged lens. You can see the obvious haze of the dirty lens. It hurt my conscious to do this to my phone, lol!






3. GET TO A WINDOW.
This one is key if you have a room with low light. Get as close as you can to the window, and face the light to take your pic. Try not to ever have your back facing the window, as it can create haze and make the lighting strange again. Here is an example of a selfie away from the window, in artificial light and the proper way, facing the window.


BONUS TIP: GET A COACH.
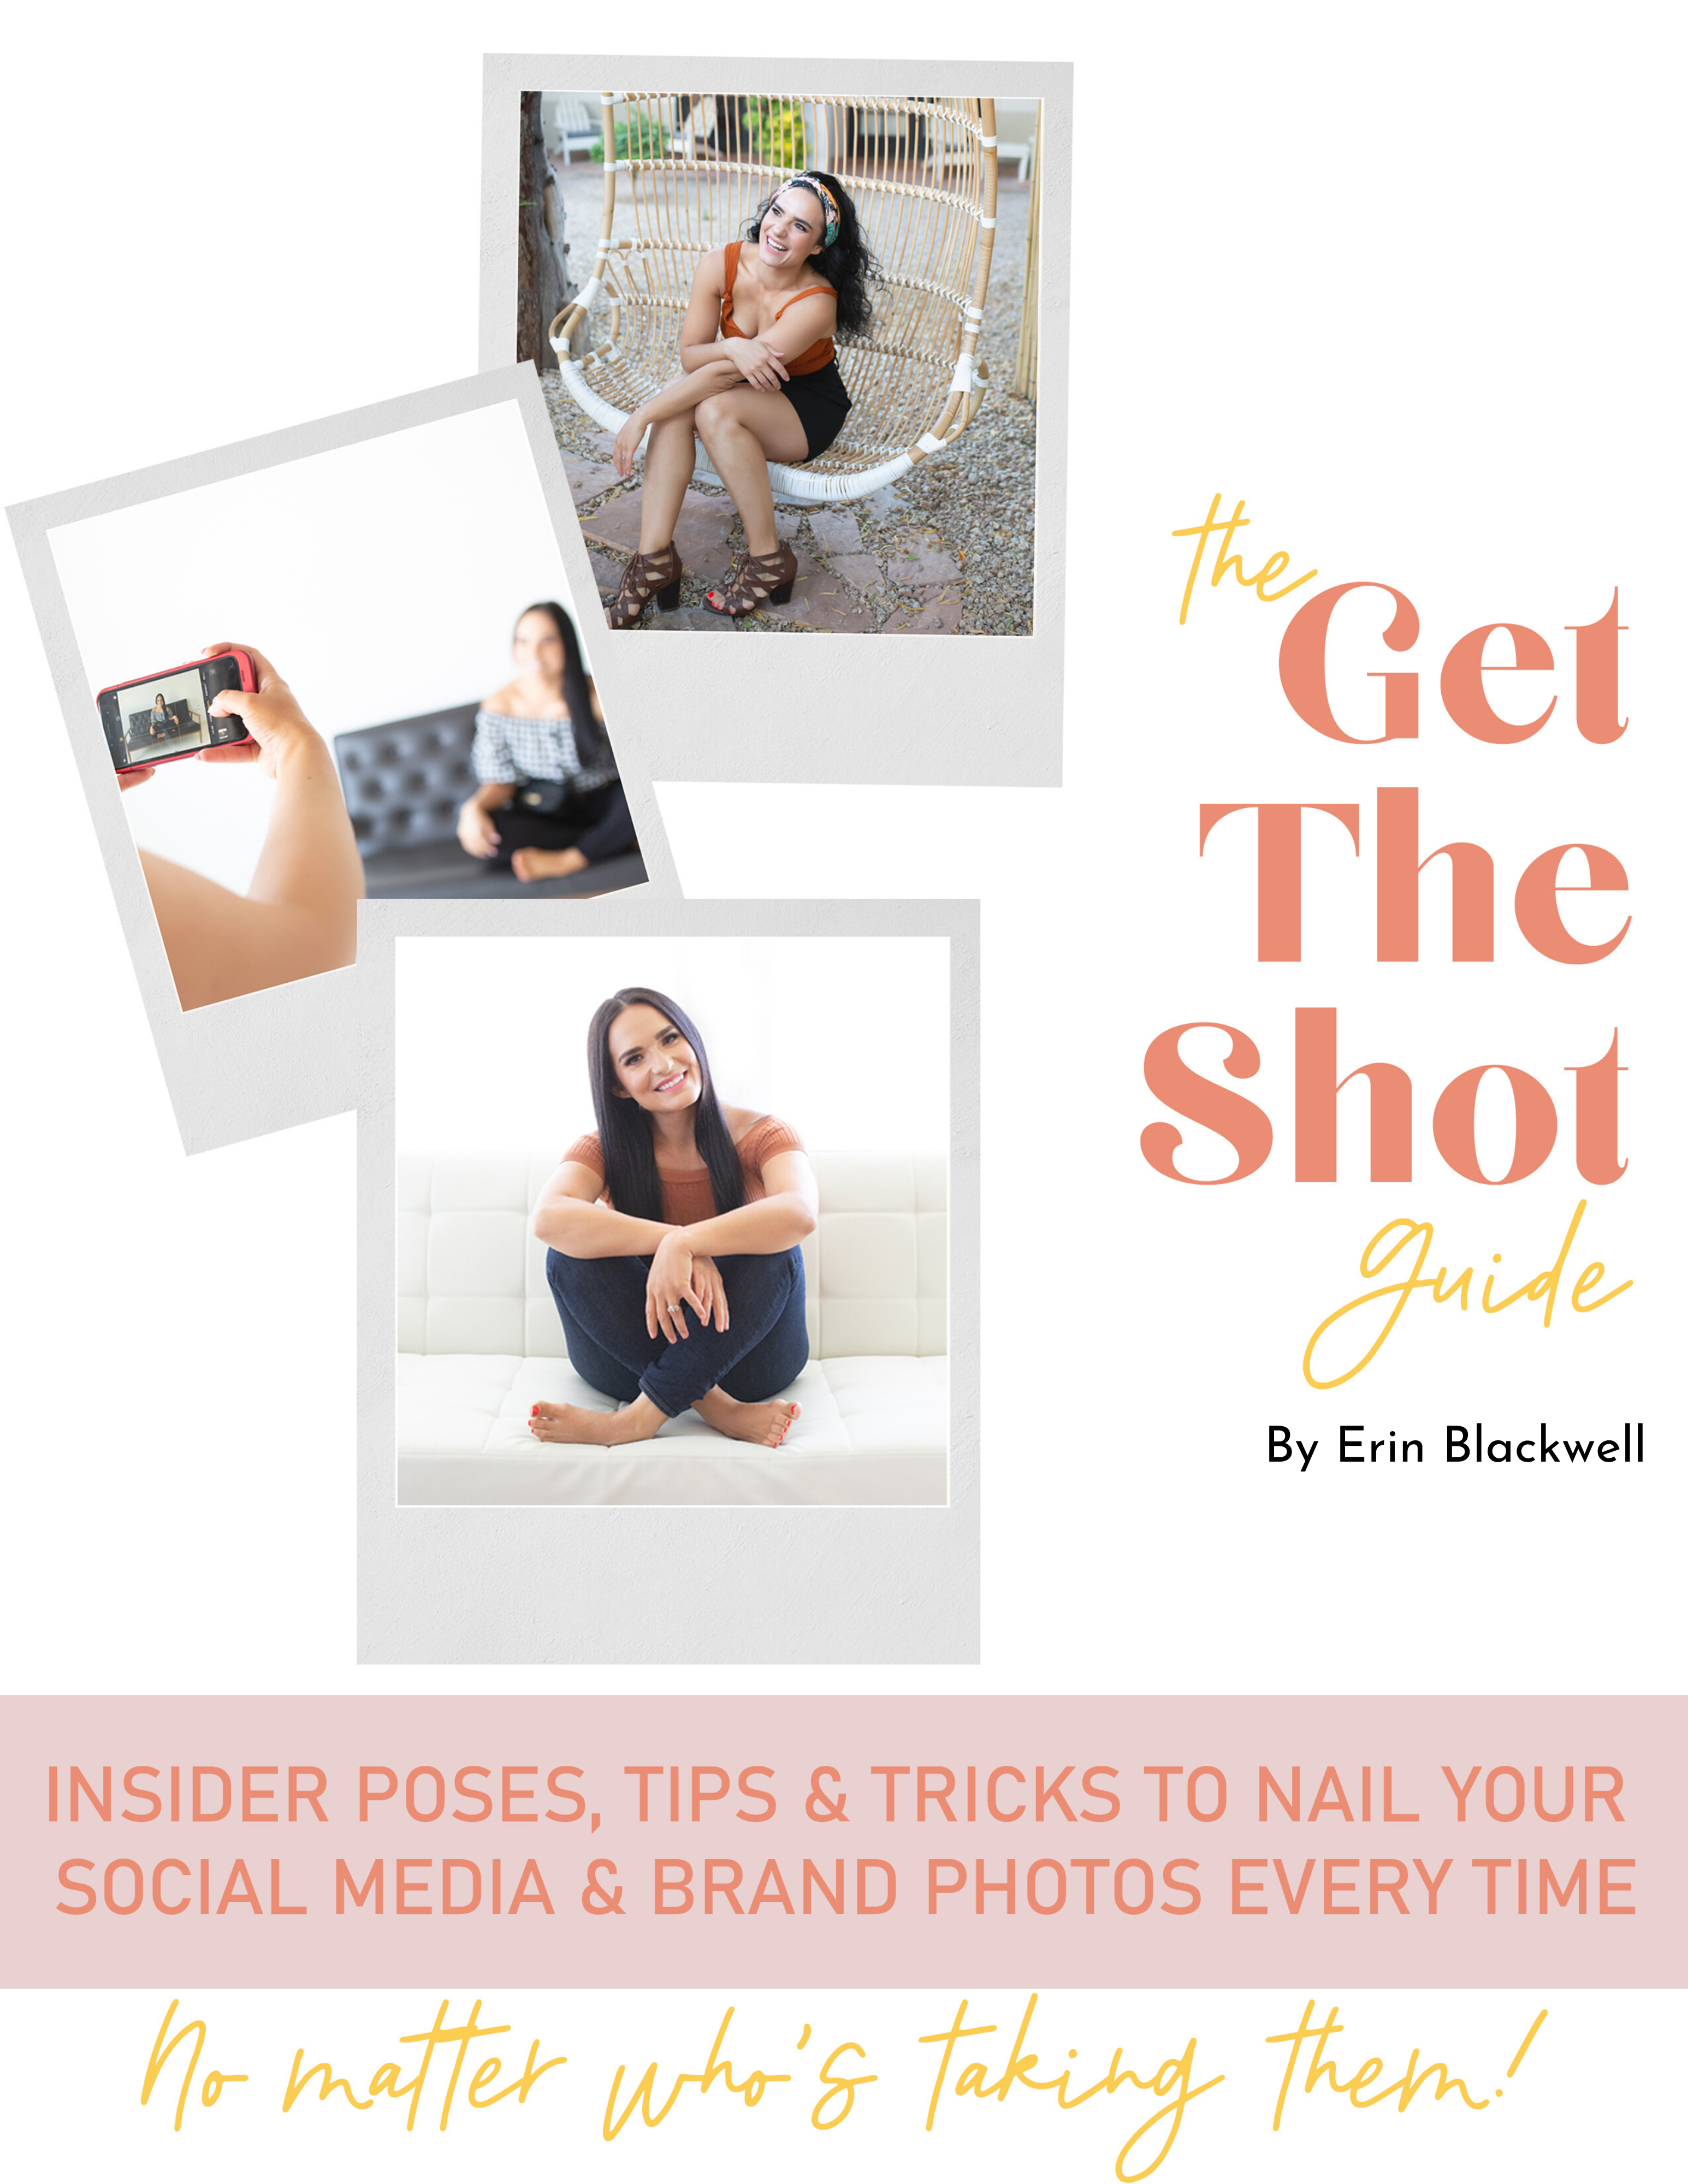
I am blessed. I have a close friend who also happens to be a photographer. Her name is Tash and she and her husband of Ike & Tash have given me so many incredible tips which have helped me step up my game. However, you may not know a photographer personally who can help. The great news is there are photographers who are happy to be your friend. My friend Erin Blackwell is one of them! Today is the day that she is releasing her virtual course called Get the Shot, which is a cost effective way to get your own photo taking coach!
I highly suggest purchasing the guide if you want easy to learn tips that are more in depth- like posing, lighting, and a plethora of skills that everyone should learn when taking pics for your blog, family or business…..even if it’s your kids or spouse taking the photos! You can get the course here! The moment Erin asked me if I would be interested in promoting the course, I immediately said yes! I was literally about to write this blog post, so timing was perfect, and Erin is an incredible photographer and teacher!
And there you have it! 3 simple things (and a bonus!) of what you can do to improve your iPhone pics! I hope it helps you to take better pics!
Be sure to subscribe below so you don’t miss a thing on the blog!
Affiliate links: Please note that I may receive a commission if you purchase using the links provided. I hope you think that’s a good thing! I do, and I appreciate your support!

Share:
Categories:
A vessel sharing positivity through beauty, wellness, and personal style.
Website Design & Development by Garland Studios
Copyright © 2023 Anna Mae Groves
So good- thank you for sharing simple, practical and useful tips.
Xo -RhianNon
Thank you! I’m glad it helped!!!
Hi Anna!
Those tips are so good! and one i live by is wiping the lens. I have a director friend and he turned me onti that. Its a huge difference in my pics!
Thanks again!
Xo
Yes! Wiping the lens makes all the difference!
Great tips and post… thank you!
Thank you for reading! I’m glad it was helpful!
Such great tips! Thank you??
You’re so welcome! These little tips were such a big game changer for me!