

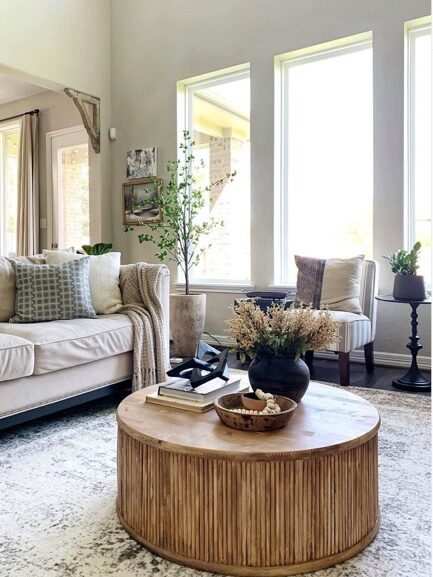
DIY Fluted Coffee Table
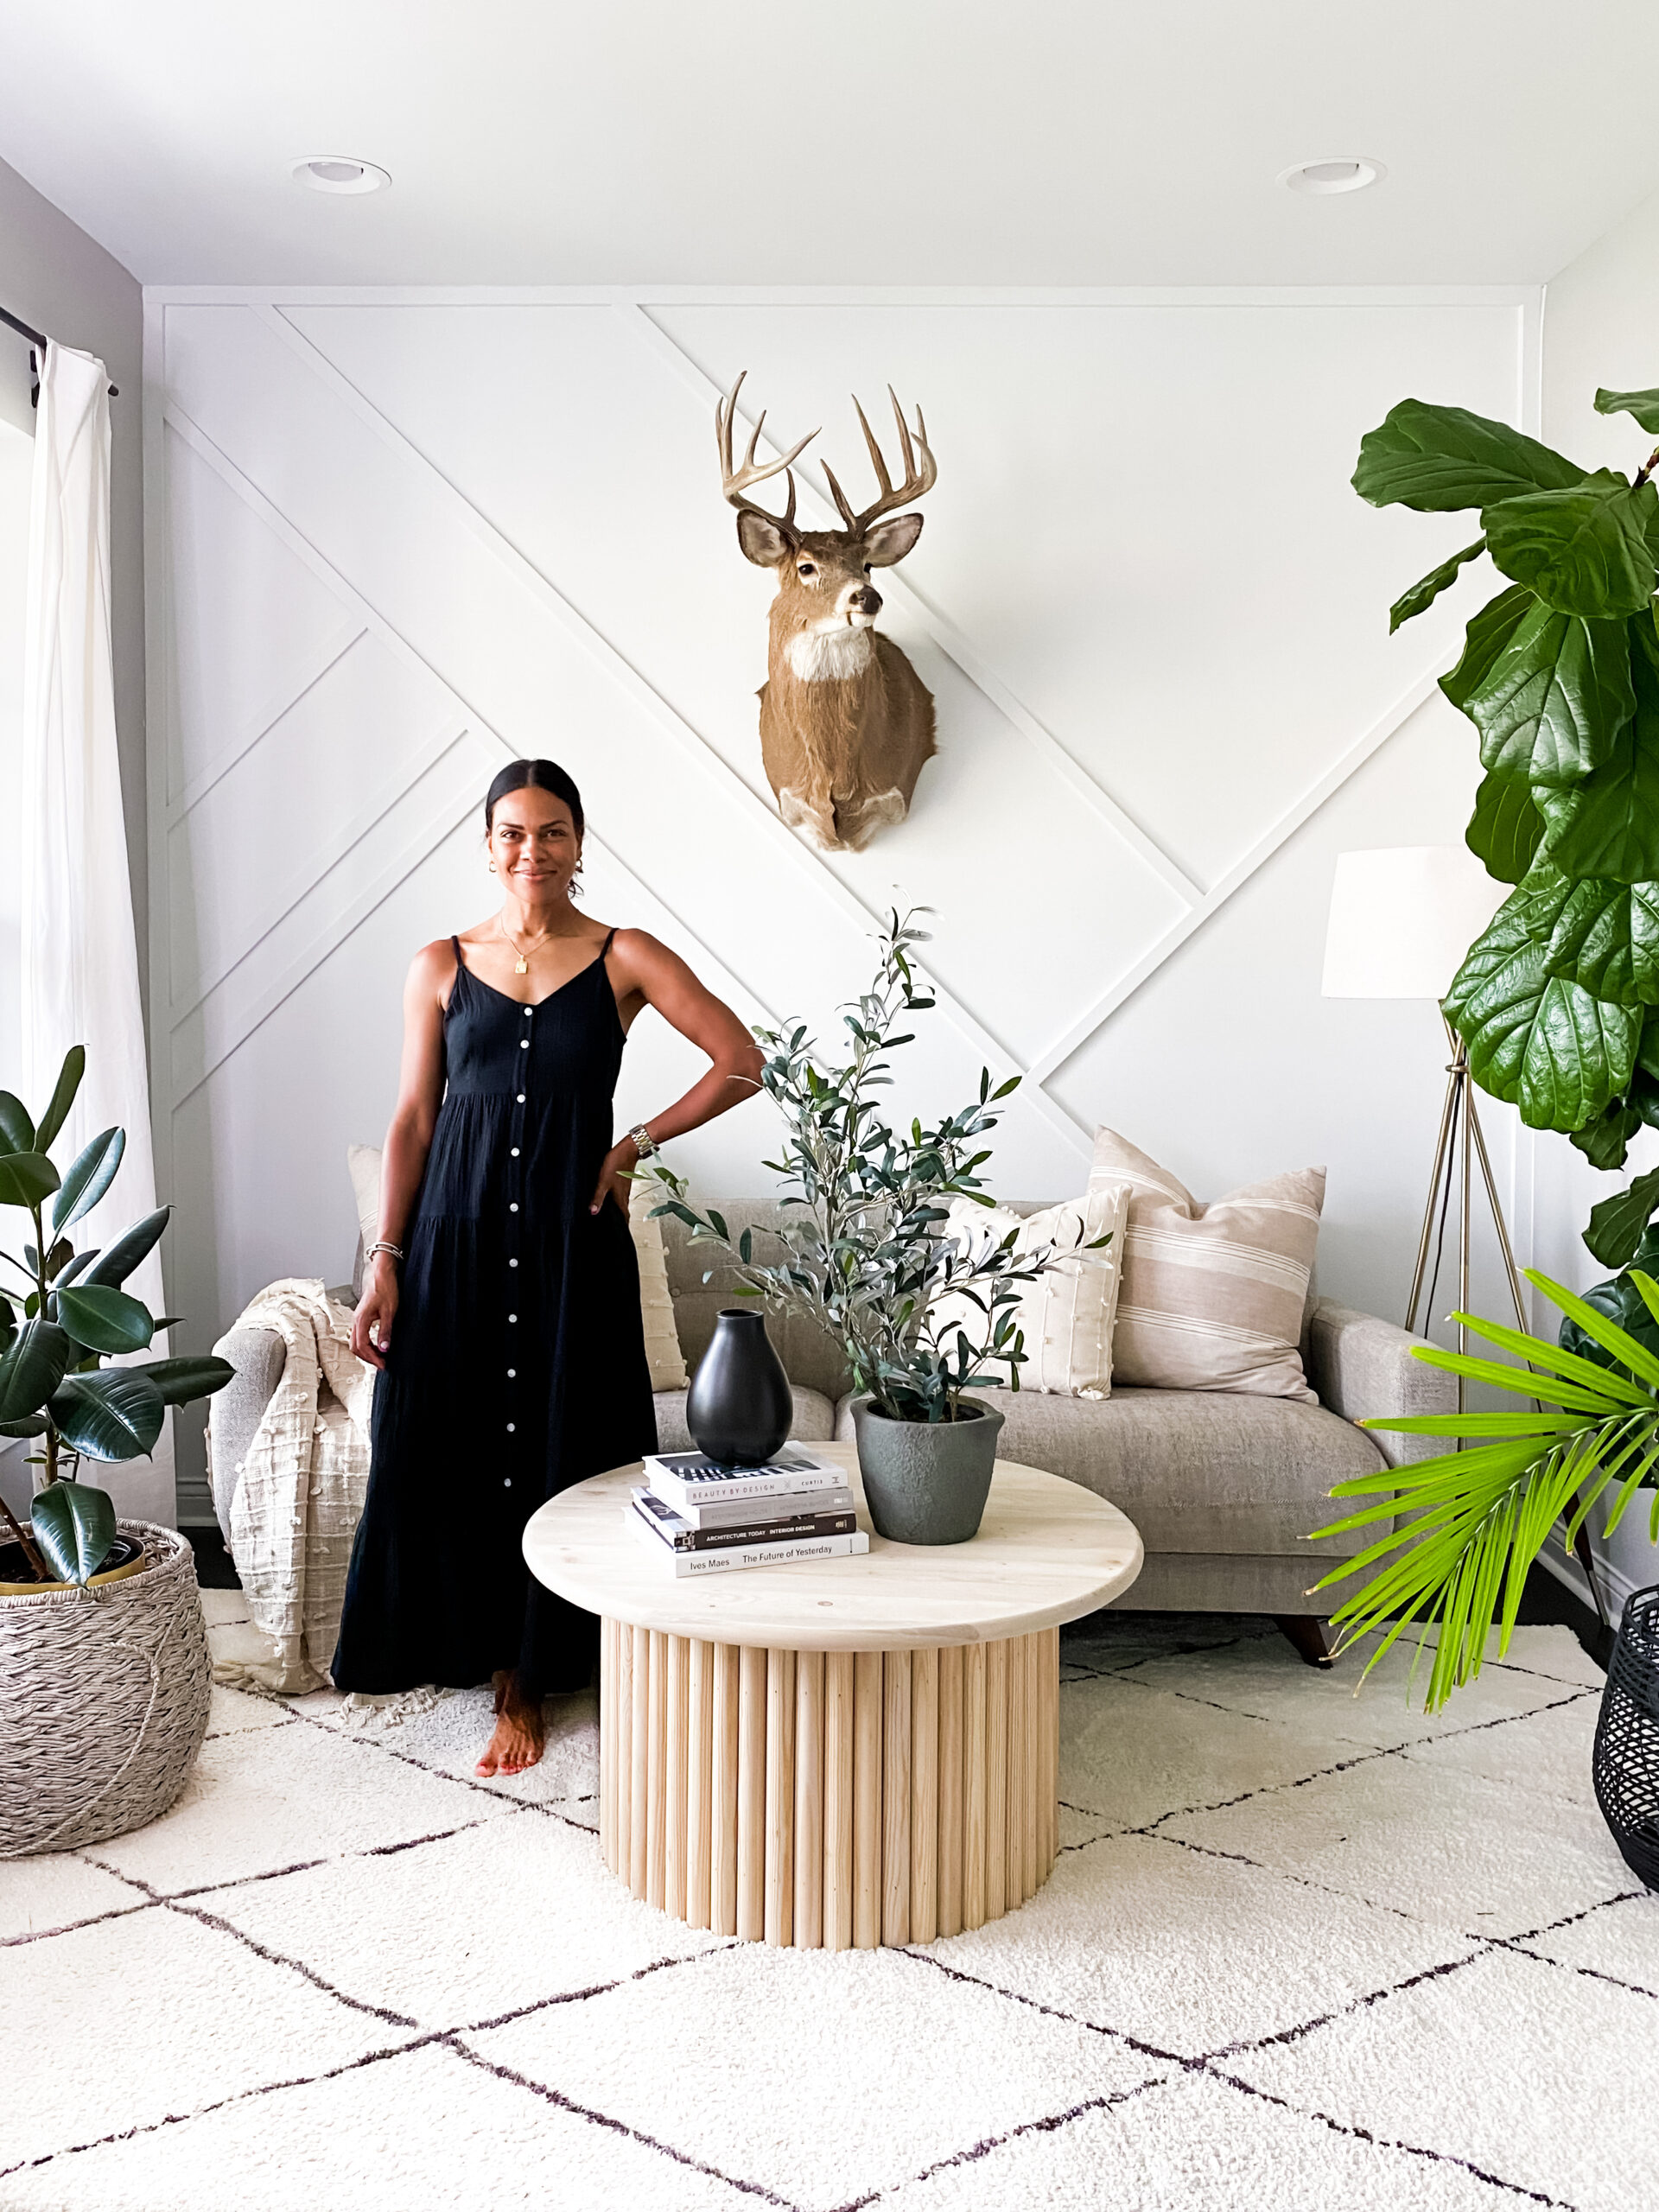
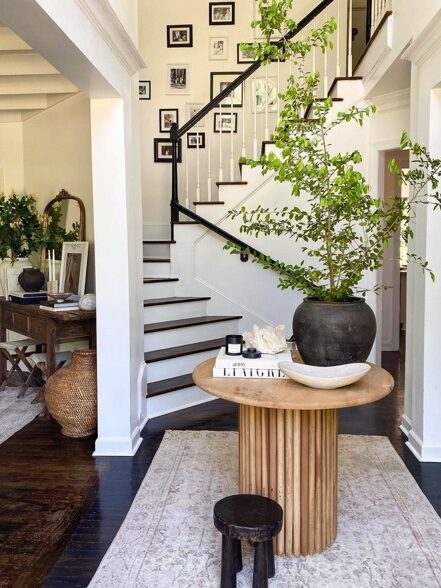
This is a tutorial on how to make your own DIY fluted coffee table. It was something I didn’t know that I wanted until one day, as I was scrolling instagram, I came across a tall fluted table by Lisa (Instagram: @threve_interiors) at Threve Mercantile+Interiors, and right away I knew I wanted it to be the inspiration for the coffee table I’d been longing for. I thought to myself, “Like this but shorter!”
This is a tutorial on how to make your own DIY fluted coffee table. It was something I didn’t know that I wanted until one day, as I was scrolling instagram, I came across a tall fluted table by Lisa (Instagram: @threve_interiors) at Threve Mercantile+Interiors, and right away I knew I wanted it to be the inspiration for the coffee table I’d been longing for. I thought to myself, “Like this but shorter!”
I had been putting off updating our coffee table because I hadn’t found one that I loved, and the moment I saw it, I wanted to figure out how to make my own, but coffee table size! I brainstormed how I would do it and had some great ideas. Maybe I would cut two wood rounds from some plywood and nail dowels around them. Then somehow attache a larger piece of round wood to the top. Or maybe there was a better way?
I shared the photo of the inspiration with my community on instagram, and I am so glad that I did! People started sending me the instagram stories of others who had done something similar. Pennies for a Fortune (Instagram: @penniesforafortune) did this one. She created a wood structure, attached it to two wood rounds, and pounded and glued tiny dowels around the whole thing. Beautiful! I could do something like this but with wider dowels. But I wanted a skinnier base and how would I do that?
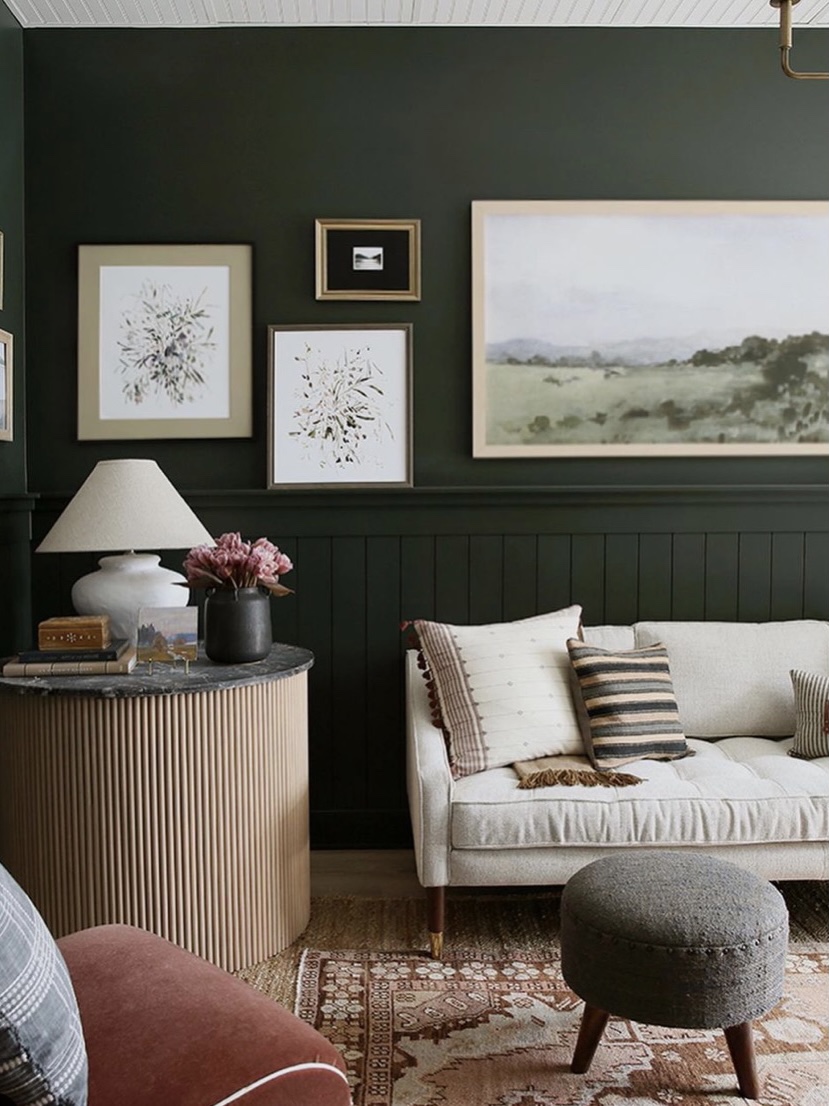
And then there was this one by Jenny Comenda, designer and founder of Juniper Print Shop. This one helped me so much! She used a concrete form, added thin dowels all around using nails and liquid nails, and a topped it with a marble table top. Yes! I could use this technique with wider dowels and a skinnier base plus a wood top… and a shorter coffee table height!
I got to work finding the materials.
Here are the specifics:
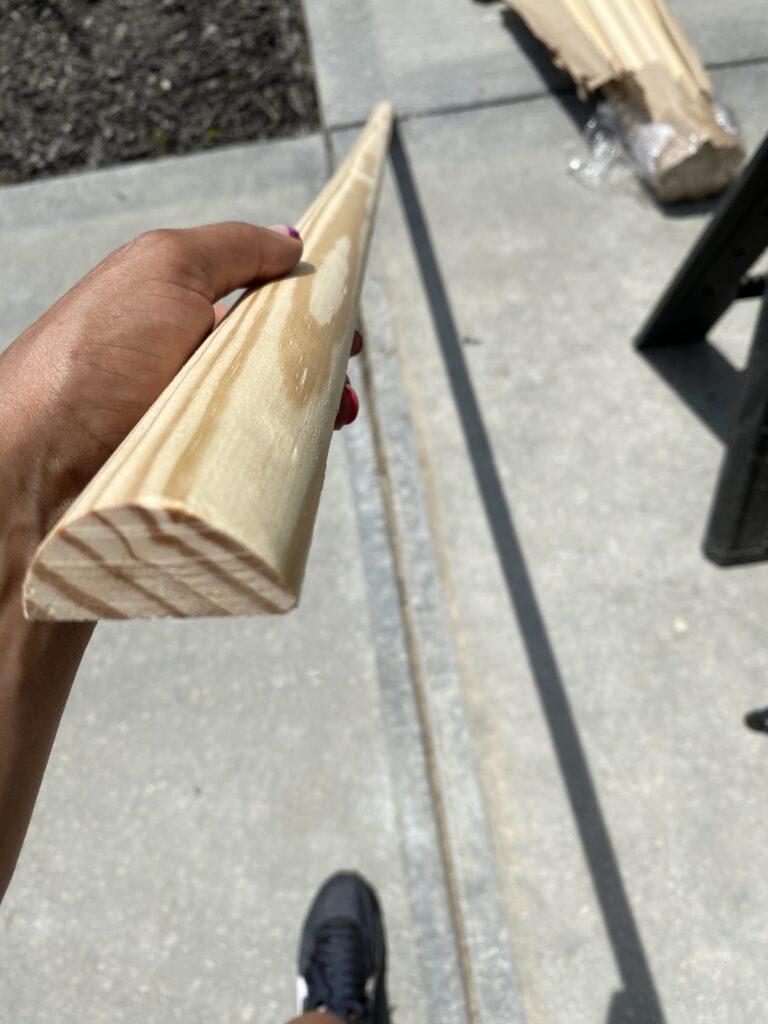
- 1 1/2” half dowels in white pine (I bought 25 six foot dowels but ended up only using 13)
- 1” x 36’” Unfinished Spruce Pine Fir Board
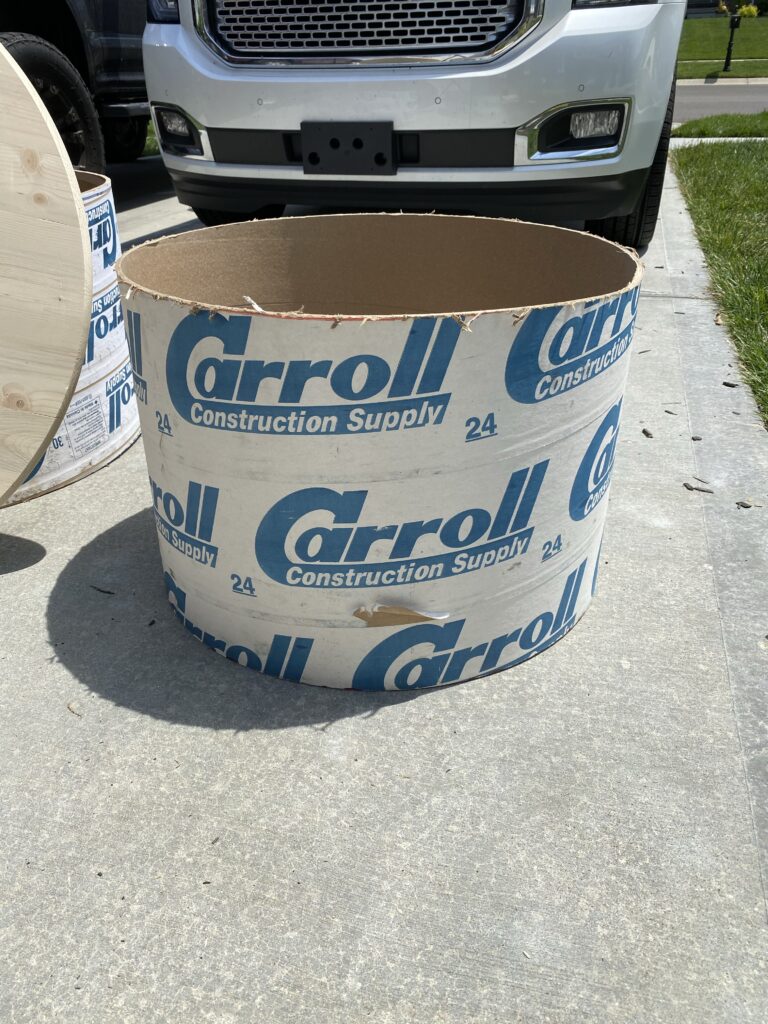
- 24” round concrete form (also called Sonotube) cut to 17” length (they only carry 12″ and 16″ rounds at the hardware stores so you need to find it at your local construction supply)
- Miter saw or whatever saw you prefer
- Nail gun 18 gauge and 1 1/2” nails (could have gone shorter but I just bent them down from inside of the tube
- Orbital sander
- 220 grit sand paper plus some for hand sanding
- 60-80 grit sand paper for sanding down concrete form or length of dowels if necessary.
- Liquid nails (optional)
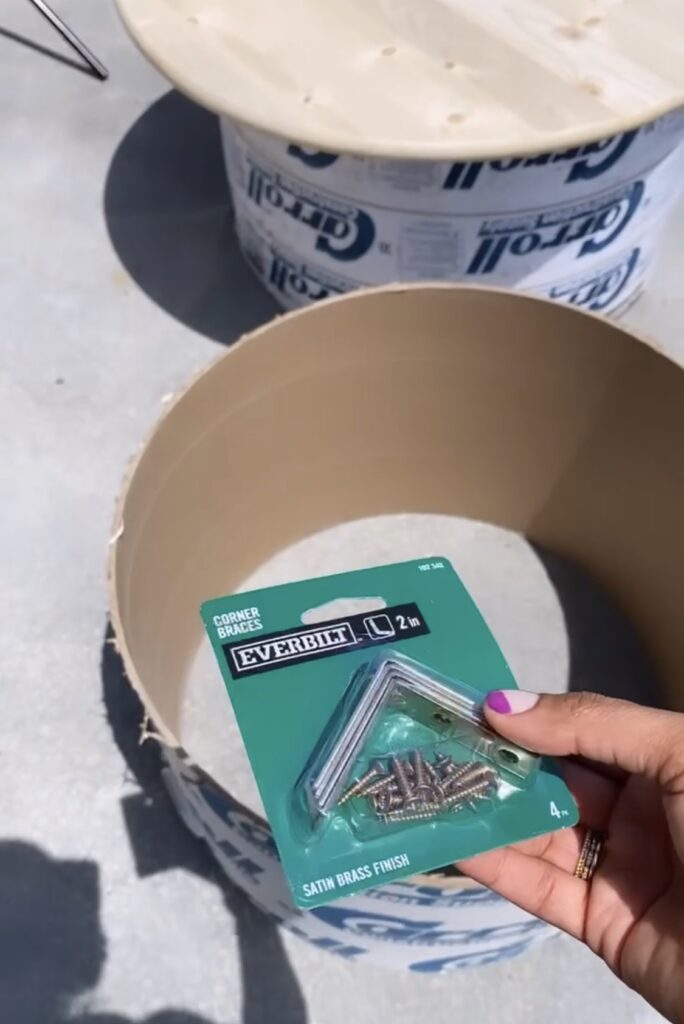
- L brackets
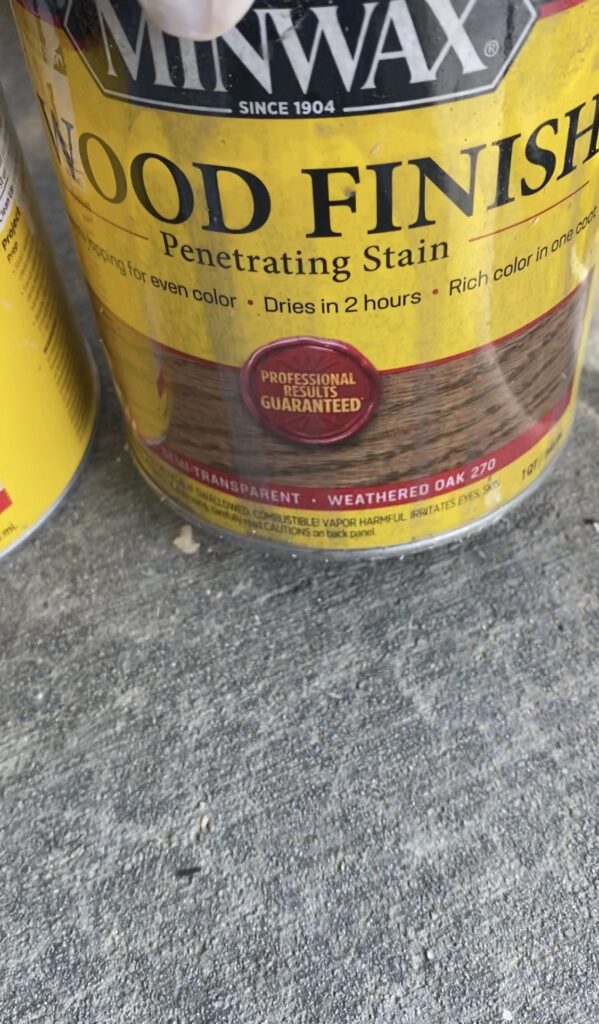
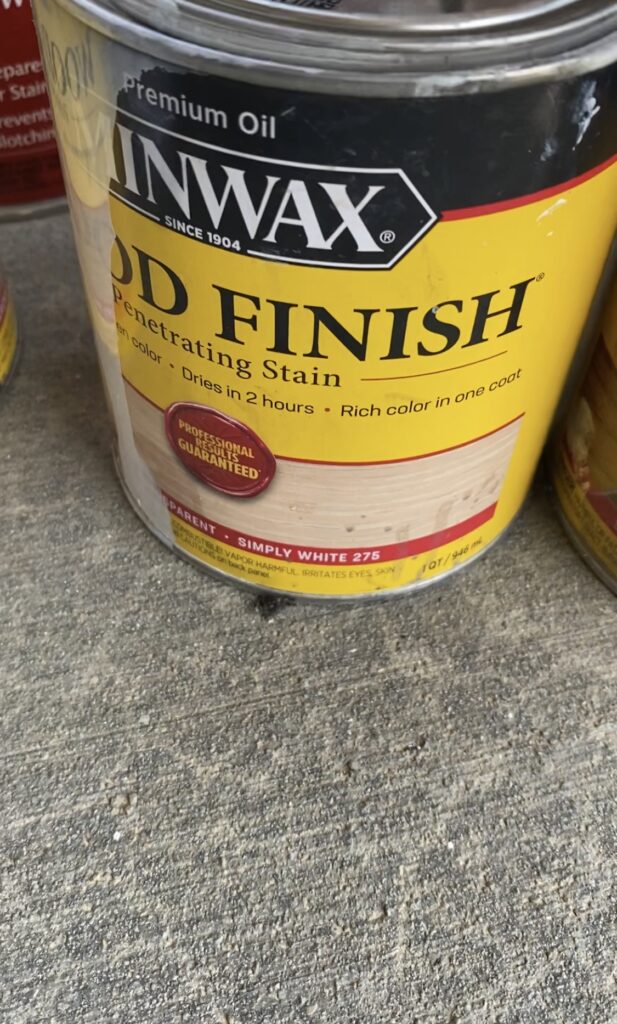
- Optional- Wood conditioner and stain
Before you start:
- Order your dowels (13 six foot 1 1/2″ dowels is what you will need for this project- maybe get one extra for any mistakes) I ordered mine from here. This is from a cabinet supplier (Georgia Hardwoods) and they make them to order which is why I was able to get them in such a large size half dowel. You can get them in different woods but pine was the least expensive. Shipping was $$ and I included that in the total cost at the end.
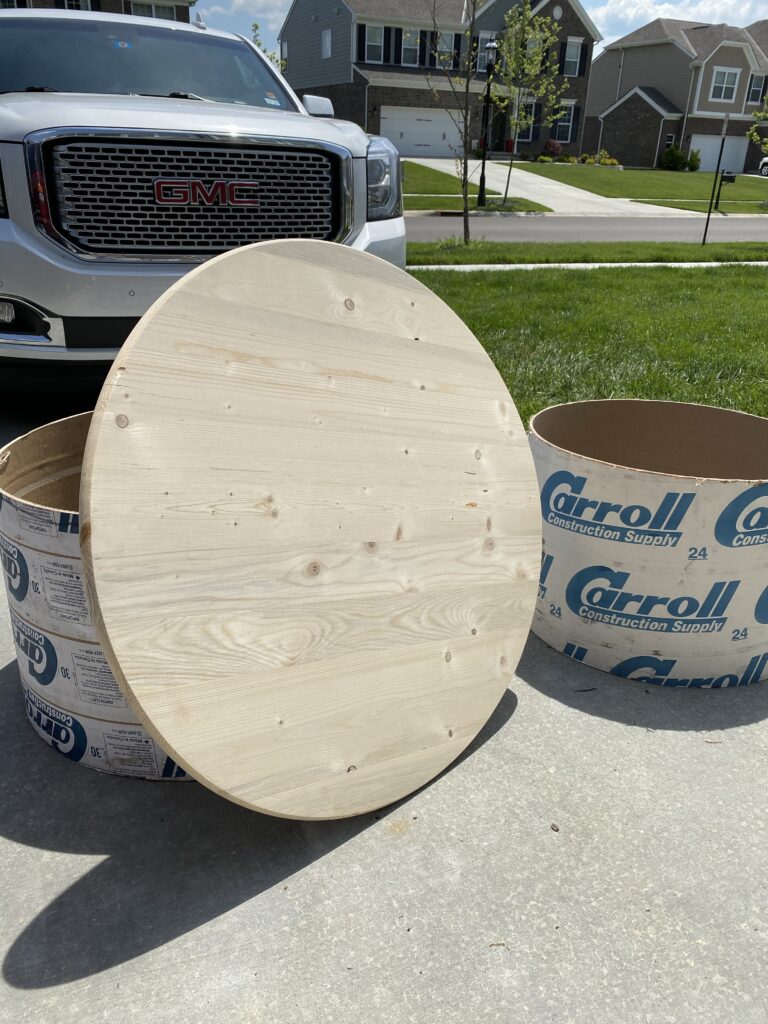
- Pick up your table top (I got this one from Lowes but I am sure you could find an old table top on Facebook marketplace or Craigslist for free!)
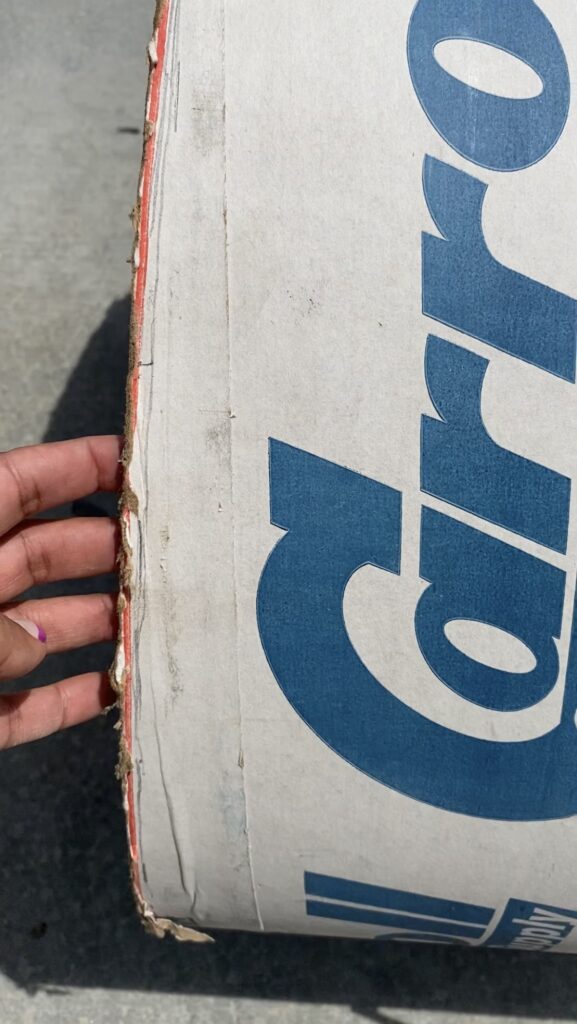
- Pick up your concrete form/ Sonotube (call your local construction supply and ask for Sonotube in the width you want (mine was 24″) and ask them if they’ll cut it to 17” (if you want standard 18″ with the top) or whatever height you decide on. I got mine from here.)
- Gather your other supplies (see above)
- Optional – choose your Paint or Wood conditioner and stain (you could opt to keep it raw) and have wood filler on hand for the table top and if you want, for the dowels
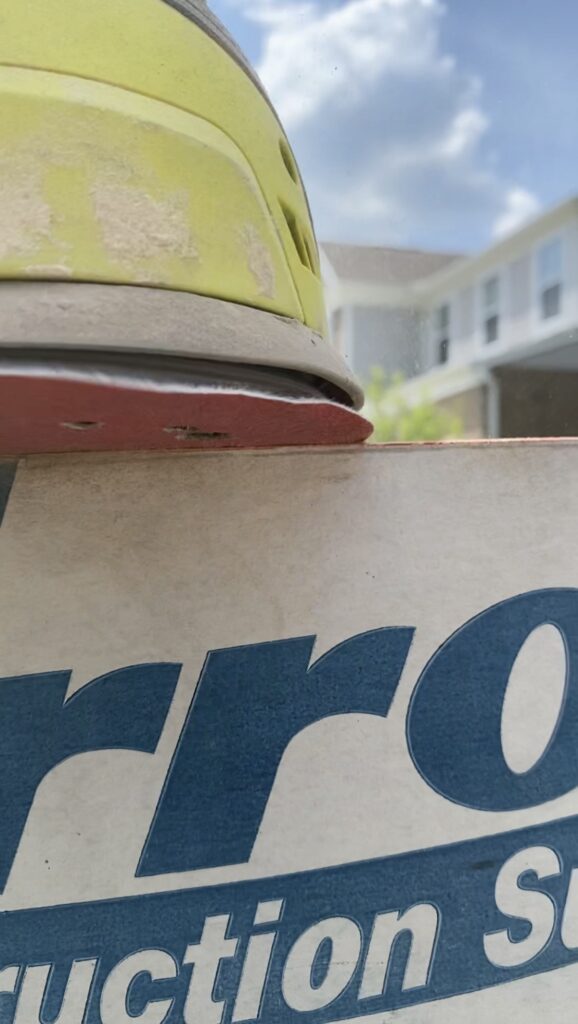
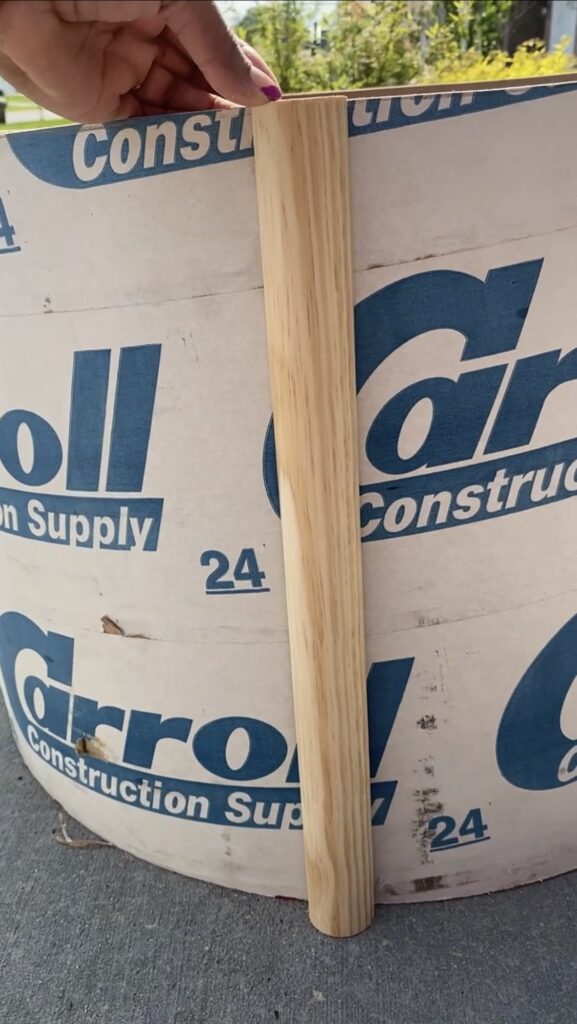
Step One: Even out the Sonotube (Concrete Form)
Using a precut stick, make sure your concrete form is even by turning it on its side and holding the stick flush with the bottom of the form. Slowly roll the form while marking the top with a pencil. Using 60 or 80 grit sandpaper, sand down to the pencil mark. (Wear a mask always while sanding so you don’t get dust in your lungs and eyes)
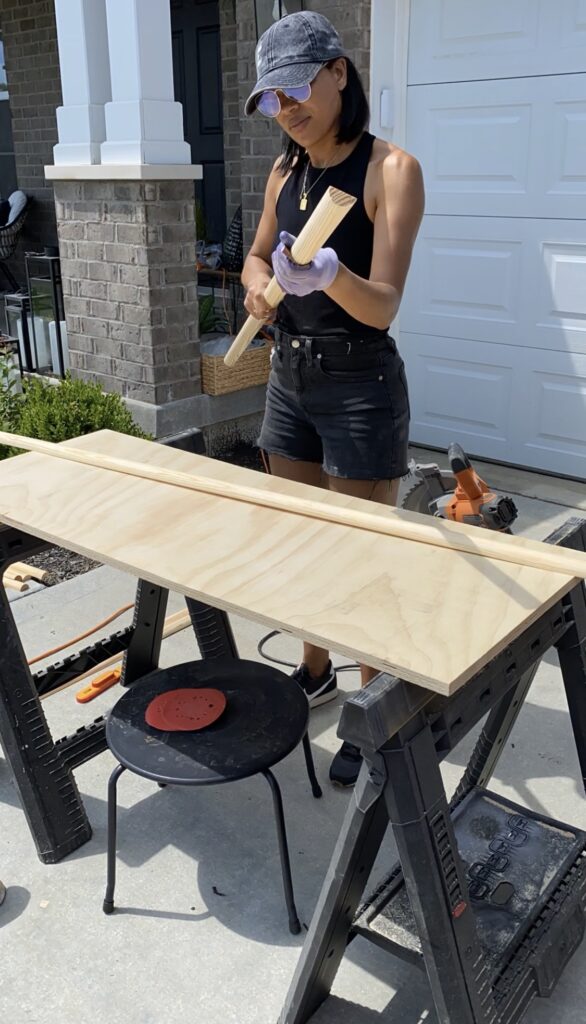
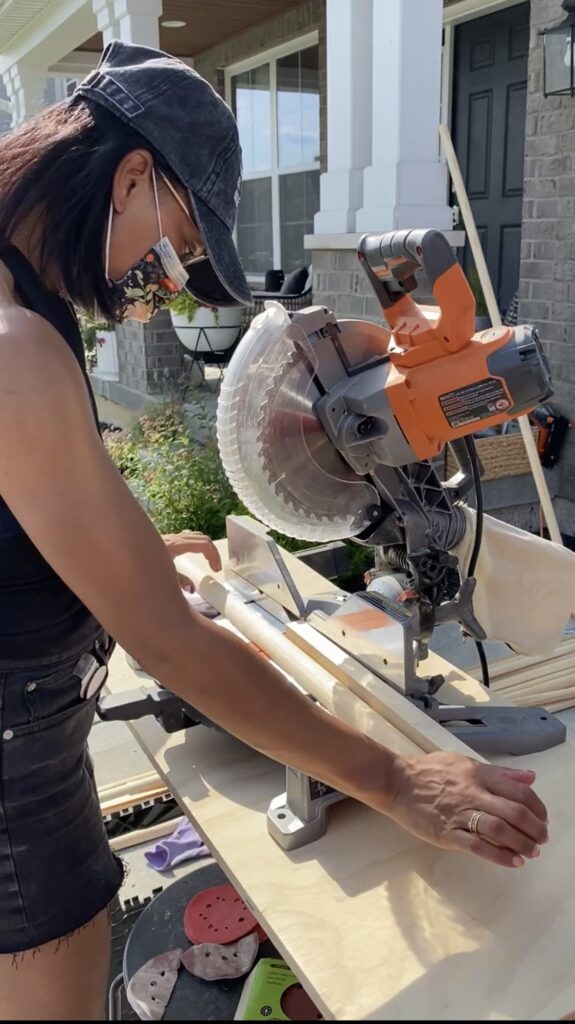
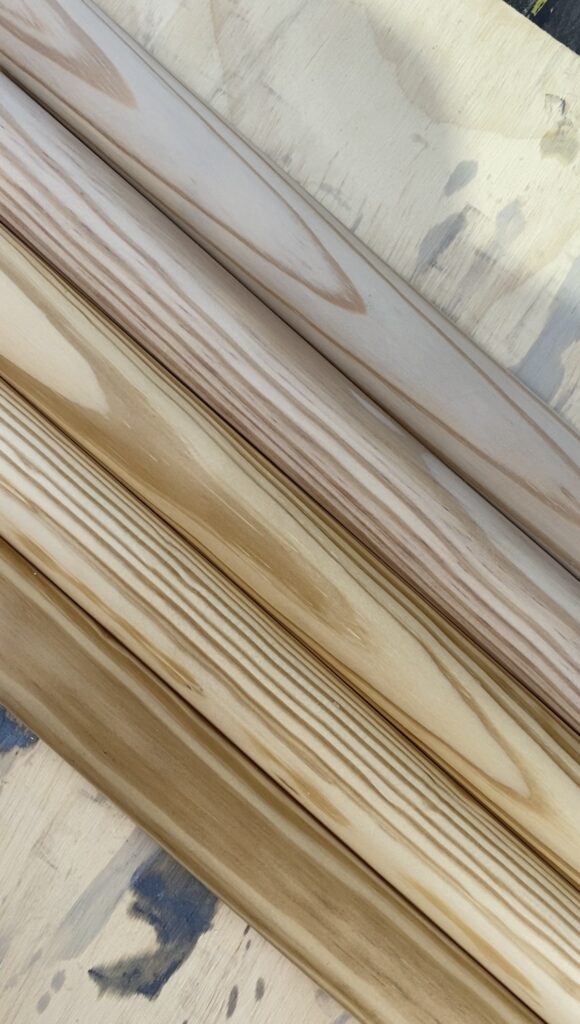
Step Two: Cut and Sand the Half Dowels
You can do this in whatever order you want. I chose to hand sand the dowels and then cut them to 17 inch lengths. I cut one dowel and then used it as a guide for the rest.
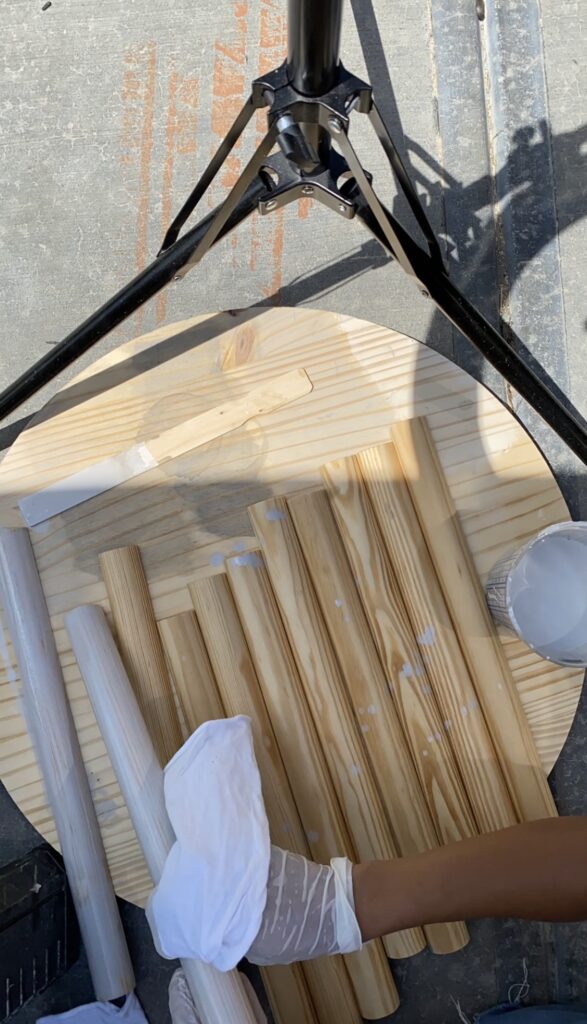
Step Three: Wood Conditioner and Stain (optional)
For staining the dowels and table top, I followed this process:
- Sand
- Wipe with a rag to remove dust
- Wipe with a damp rag to raise the wood grain. Let dry.
- Wood conditioner dry for 10 minutes
- Stain. (I mixed equal parts weathered oak and simply white to get rid of the yellow)
- Let dry at least two hours
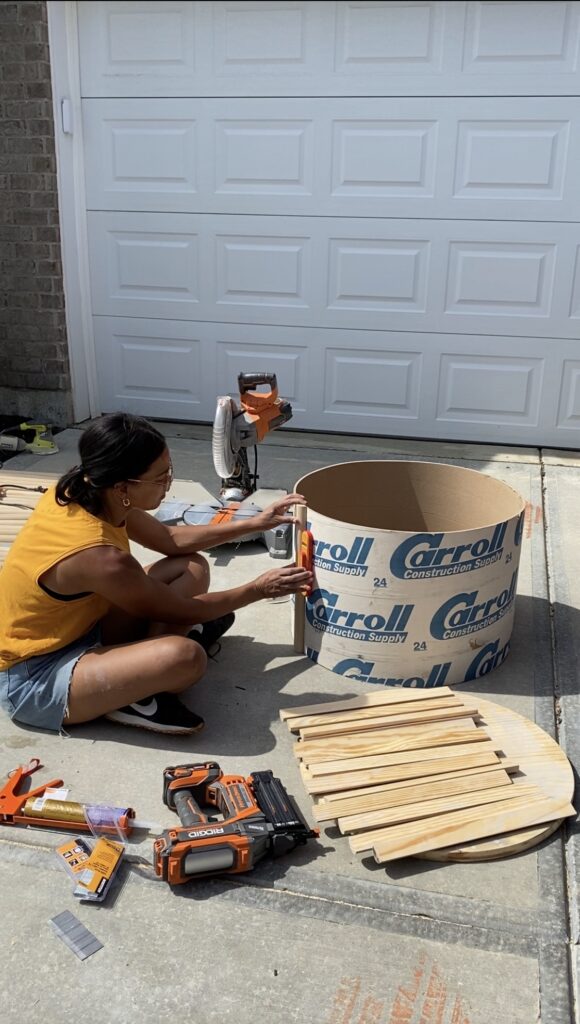
Step Four: Assemble
DOWELS
Starting with the Sonotube upright, place your first dowel. I used a level to make sure everything was even. It would be the worst to get halfway or even all the way to the end and your dowels were crooked! I checked every few dowels to make sure.
This is where you could use liquid nails. I would have applied a thin line to the back of each dowel, and then nailed in, but I gave up after two tubes had product coming out the back end. Apparently you need to poke a hole in the tube in addition to cutting off the tip LOL! Lesson learned too late, but now I know for next time!
This is also where I realized the dowels were about 1/8”- 1/4” inch too long so I ended up having to cut them individually as I worked. If it was like 1/16” I would have just sanded them down when I was finished.
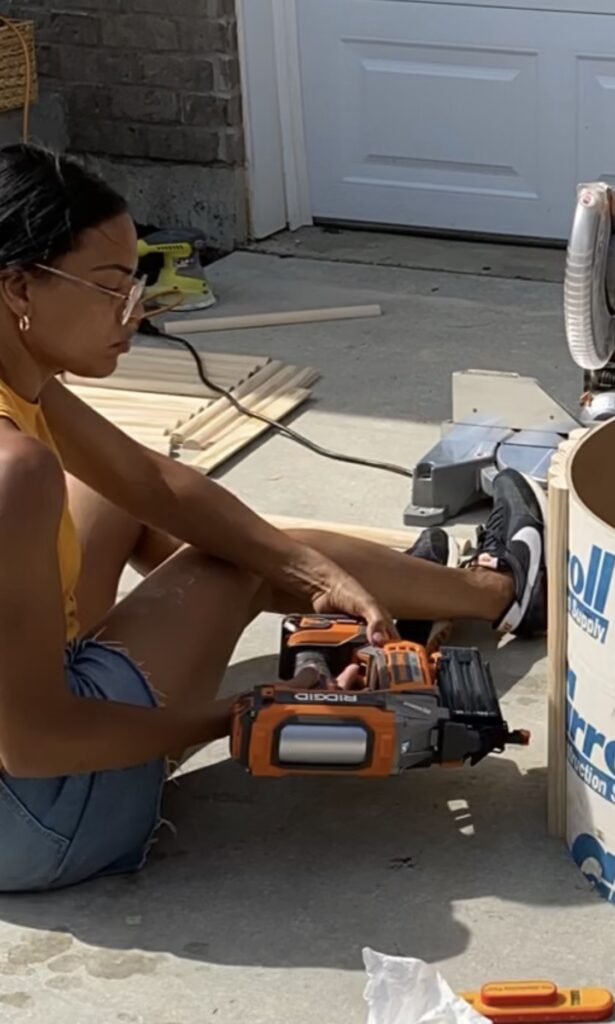
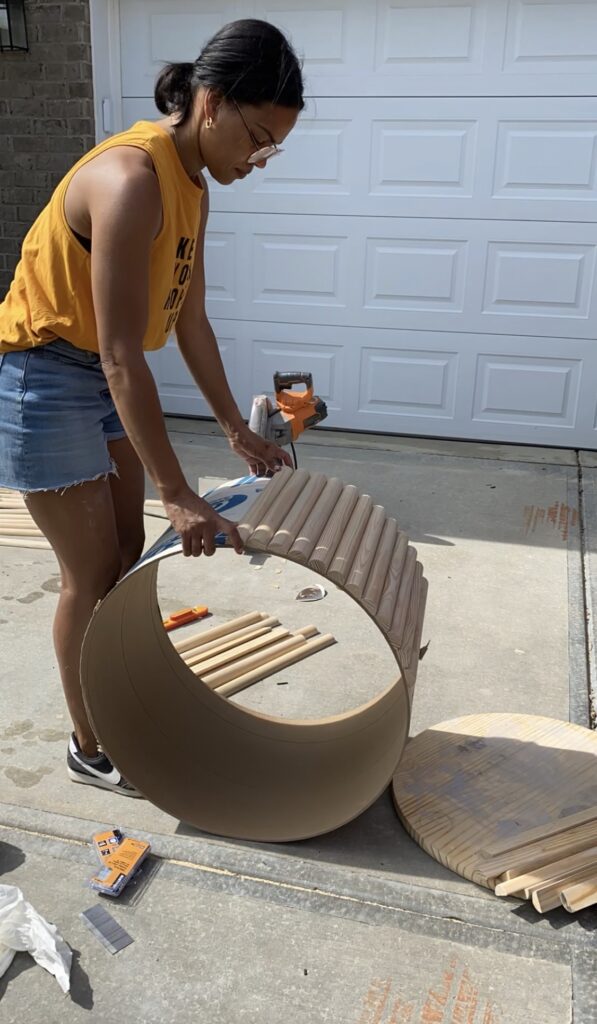
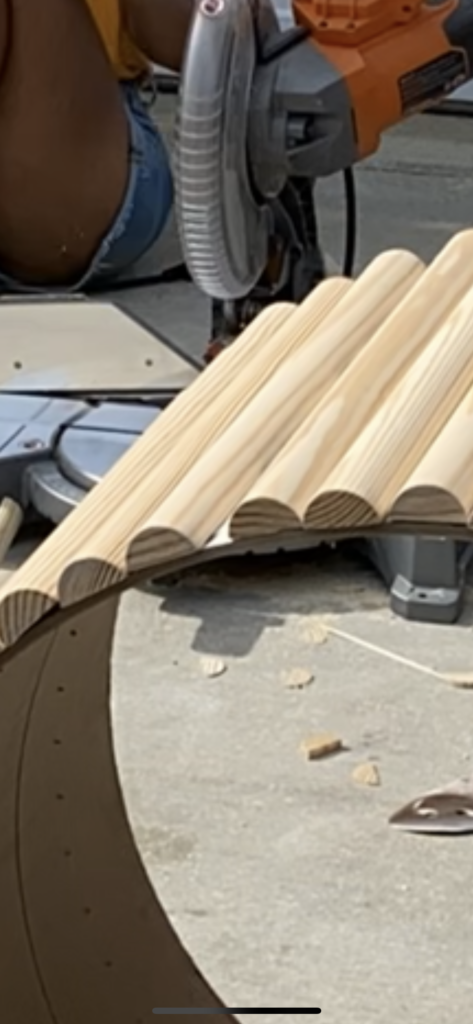
Using my nail gun, I attached the top and then the bottom at about 4 inches from the ends. Use a level so you know it’s straight.
Once I had 2 or three going, I turned the concrete form on its side and finished the process. Make sure you KEEP checking to see that the dowels are being attached straight! It would be easy to get off track just a little.
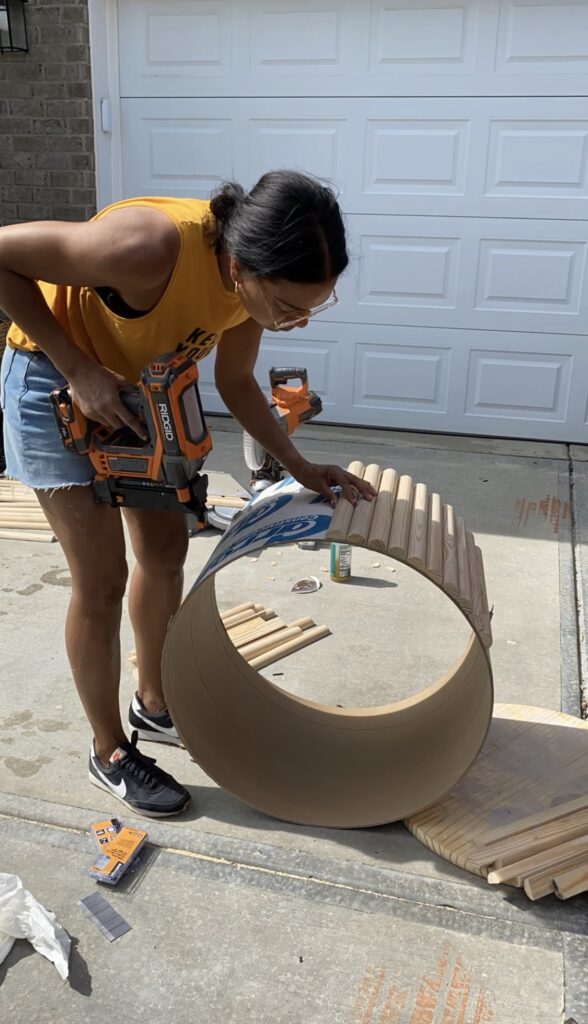

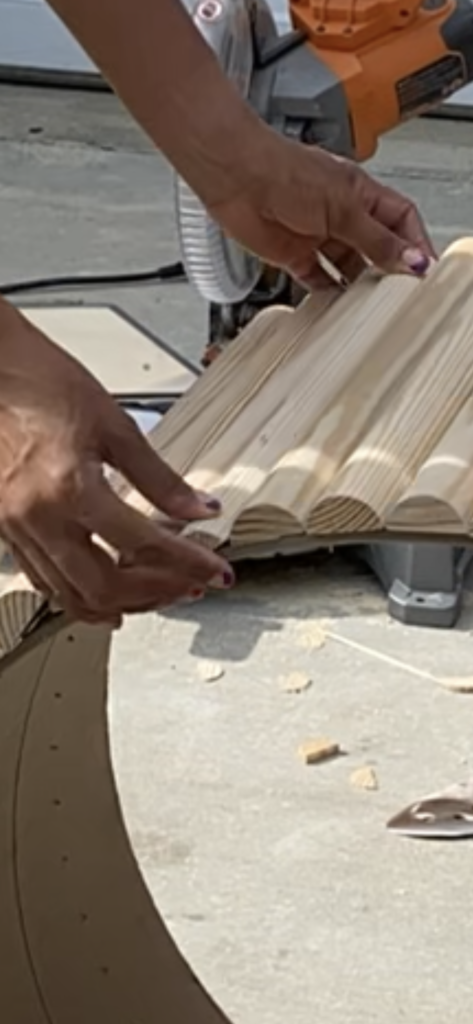
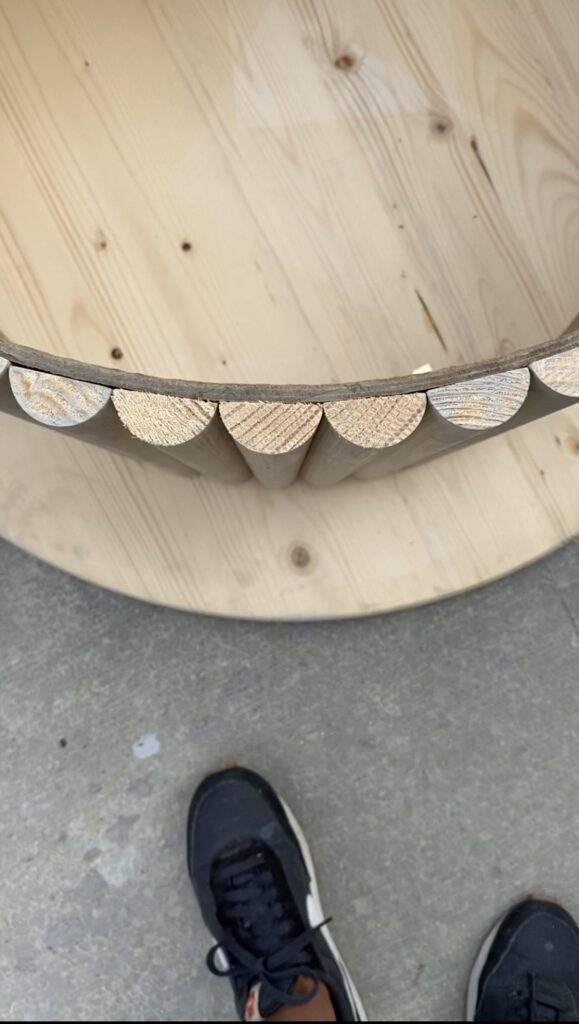
Once I got to the end, I realized i needed one more dowel, but only half of one. So I cut one down to 17”, cut it in half lengthwise, and then quickly sanded and stained it. I was in a hurry so I let it dry while I ran to Target. When I got back, I attached the final dowel. It fit perfectly.
TABLE TOP
For the table top, I placed it upside down on the ground and then placed the finished base upside down on top of that. Using a measuring tape, I checked to make sure the base was evenly placed in the center.
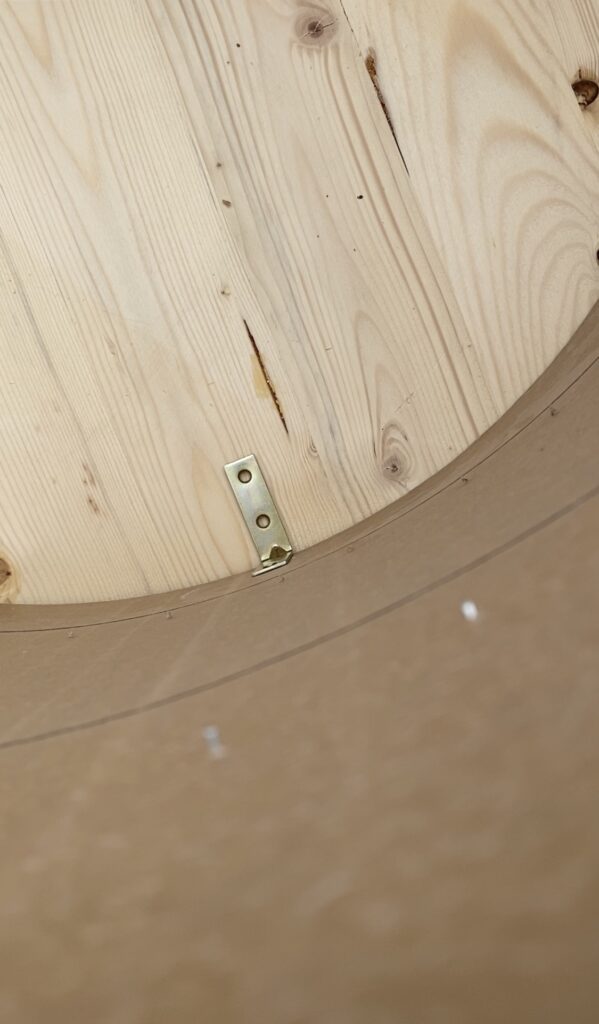
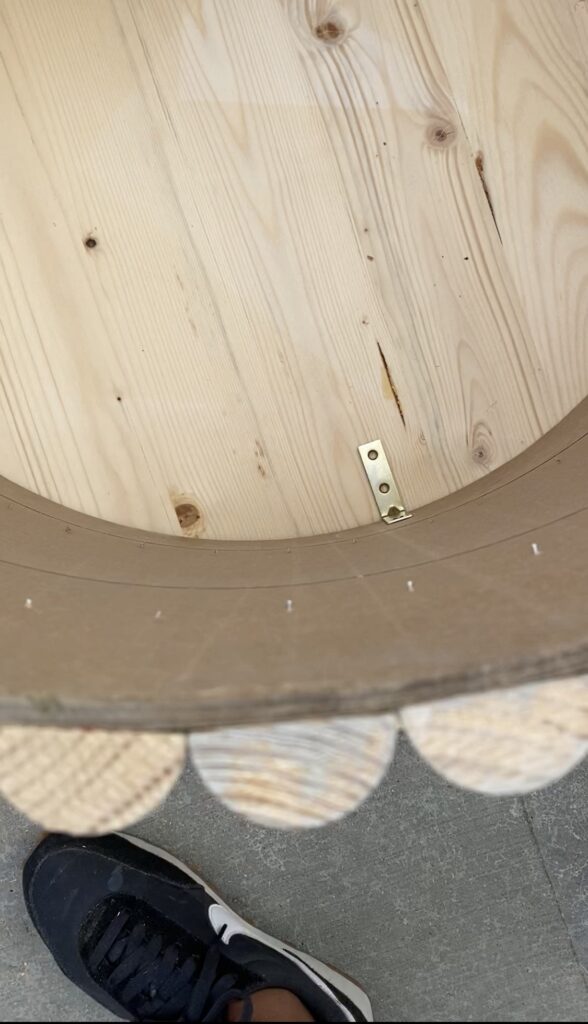
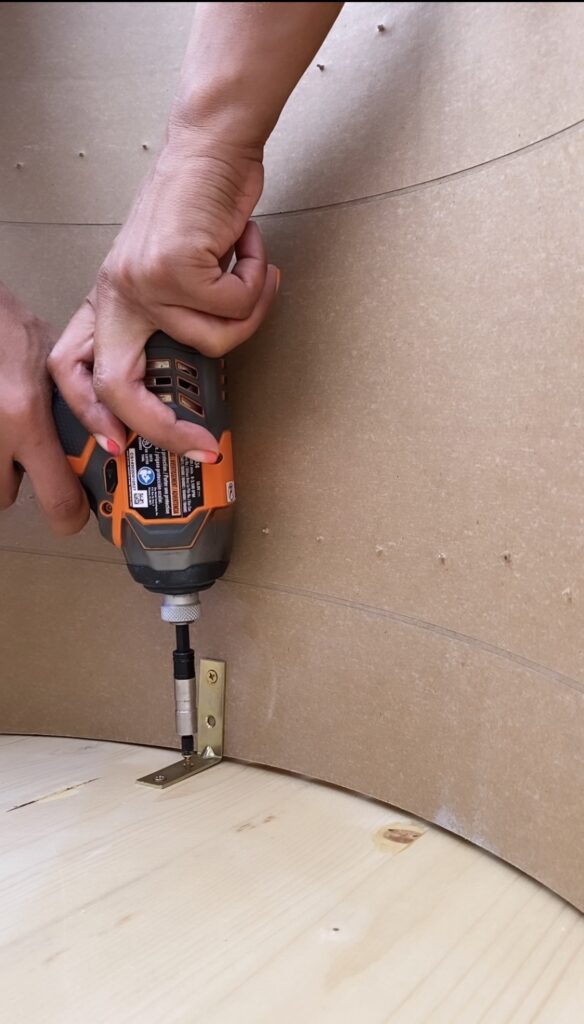
Next, I attached the L brackets. I drilled it into the top and the sides.
In hindsight, I should have just attached the brackets to the base while it was right side up, THEN put the base upside down on the table top afterwards and drilled into the top. It would have been easier to simply drill down at that point.
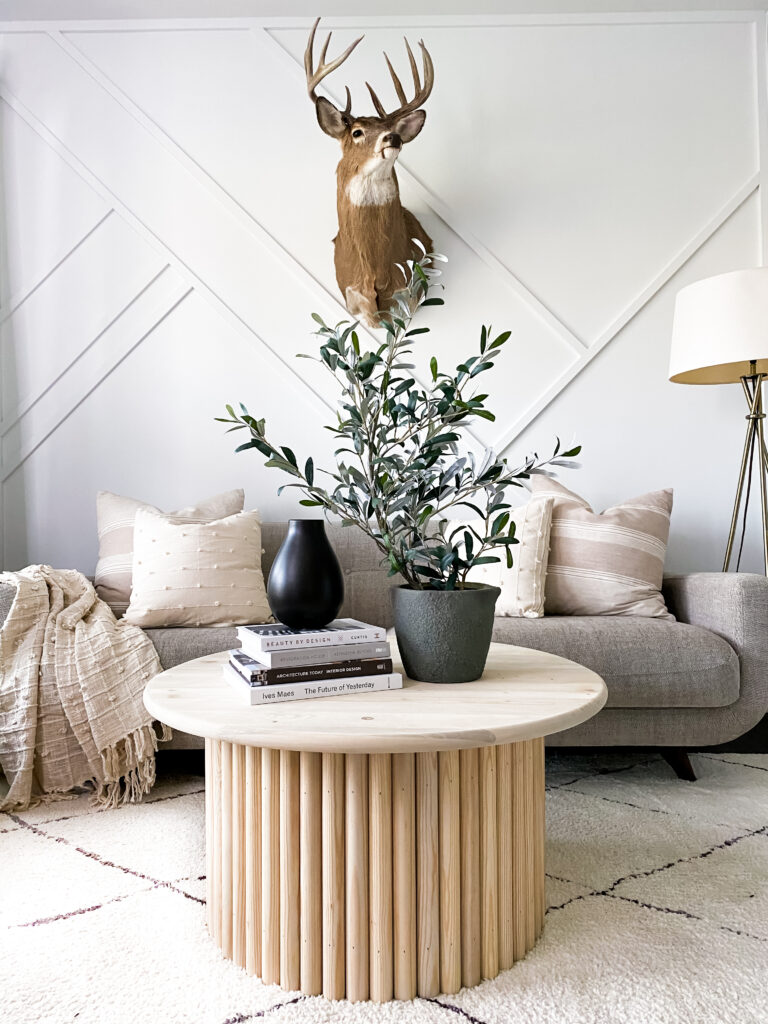
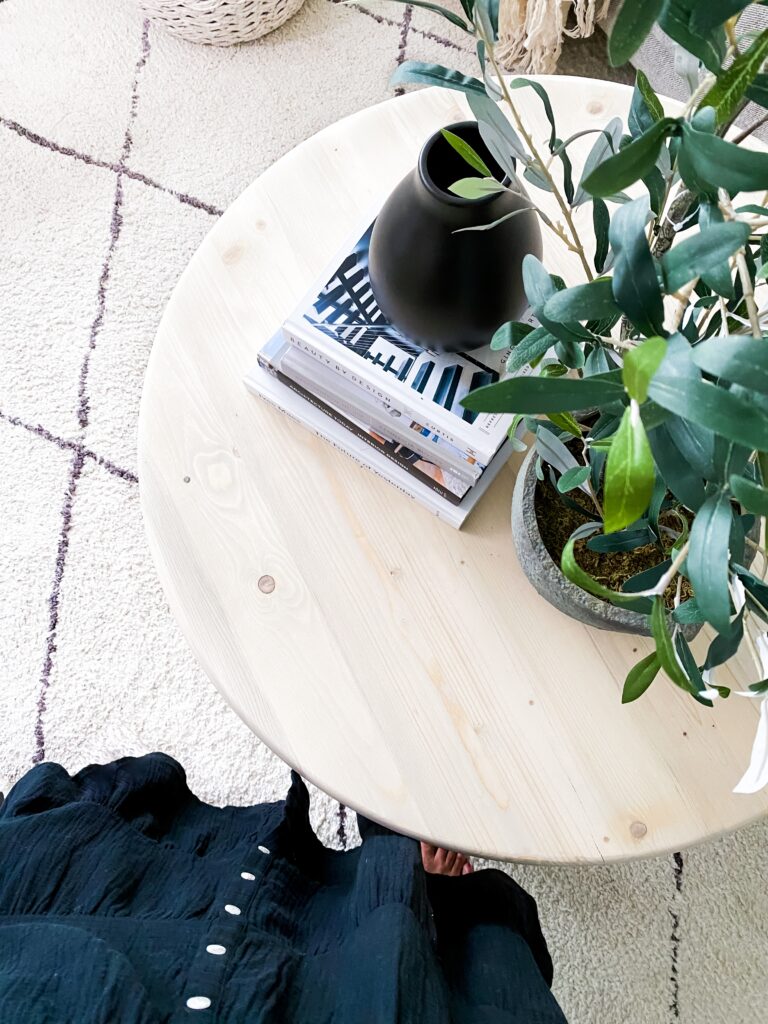
That’s it! Total amount of time was about 8-10 hours, and total cost was approximately $200 (including shipping for the dowels). I love DIY because it is so rewarding!
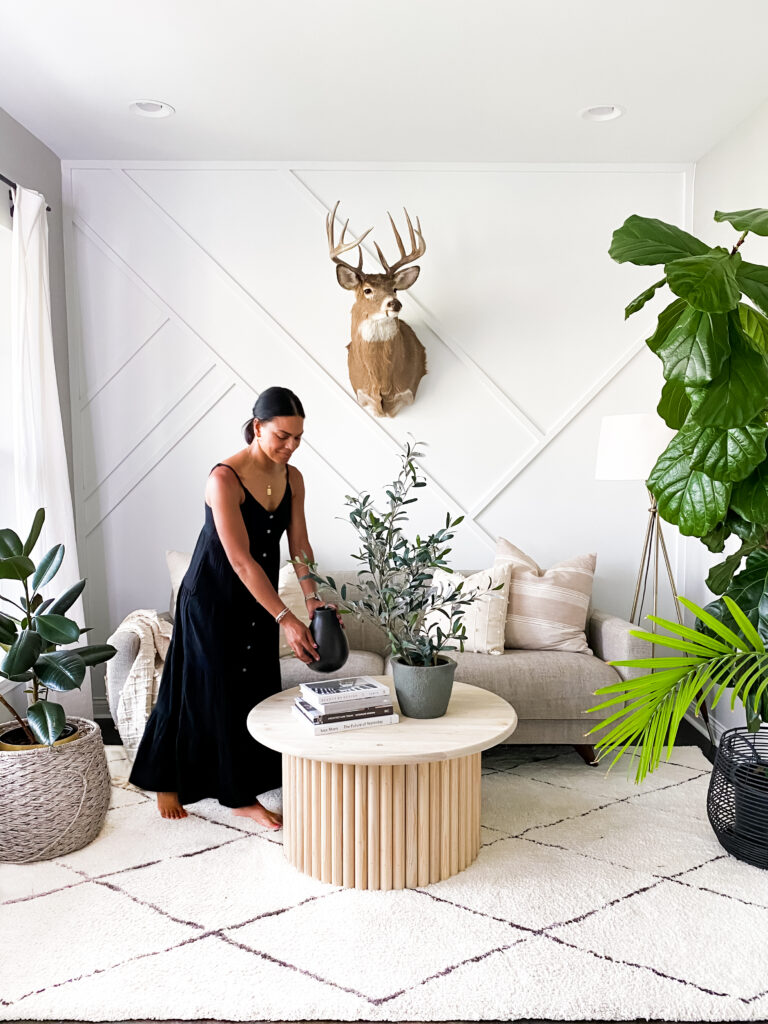
You can see me in action making the DIY Fluted Coffee Table on my instagram stories (saved in highlights). Follow me there and be sure to subscribe so you never miss a thing!

A vessel sharing positivity through beauty, wellness, and personal style.
