Hello!
My Name is Anna
Thank you for being here
explore the blog
Join me on ltk
Follow along on instagram
Microneedling at Home: I did it… should you?
March 15, 2020

Hello, my friends! I know it’s been a tough time recently, so I wanted to share something to get your mind off things. Today I shared a video on my Instagram TV detailing my first microneedling experience with a dermapen! I have linked it HERE.
Hello, my friends! I know it’s been a tough time recently, so I wanted to share something to get your mind off things. Today I shared a video on my Instagram TV detailing my first microneedling experience with a dermapen! I have linked it HERE.
A lot of people wonder if they should try microneedling. I know I thought about it for months on end!! All of the great benefits just seemed to call my name! I wanted to share my experience here, hoping it will help you make your own decision about microneedling.
First, I gotta say- I am NOT an expert. I am just sharing my own personal experience so that it might help you to decide whether or not to do this procedure at home. I hope that everything you read here and watching the video will help you to make an informed decision. So here goes!
WHAT IS MICRONEEDLING?
First, what is microneedling? According to Healthline:
“Microneedling is a…. procedure that uses small needles to prick the skin. The purpose of treatment is to generate new collagen and skin tissue for smoother, firmer, more toned skin. Microneedling is mostly used on the face and may treat various scars, wrinkles, and large pores.”
When you introduce the tiny needles into the skin, they create little micro-channels. The channels then allow product to penetrate, and depending on how deep you go, can help to repair damaged skin, long term.
ARE THERE DIFFERENT TYPES OF MICRONEEDLING?
Here I will focus on two major types of microneedling:
One is with a dermaroller, which is a little wheel with tiny needles sticking out of it. It has a handle, and you hold the handle while rolling the wheel of tiny needles across your skin in multiple directions.
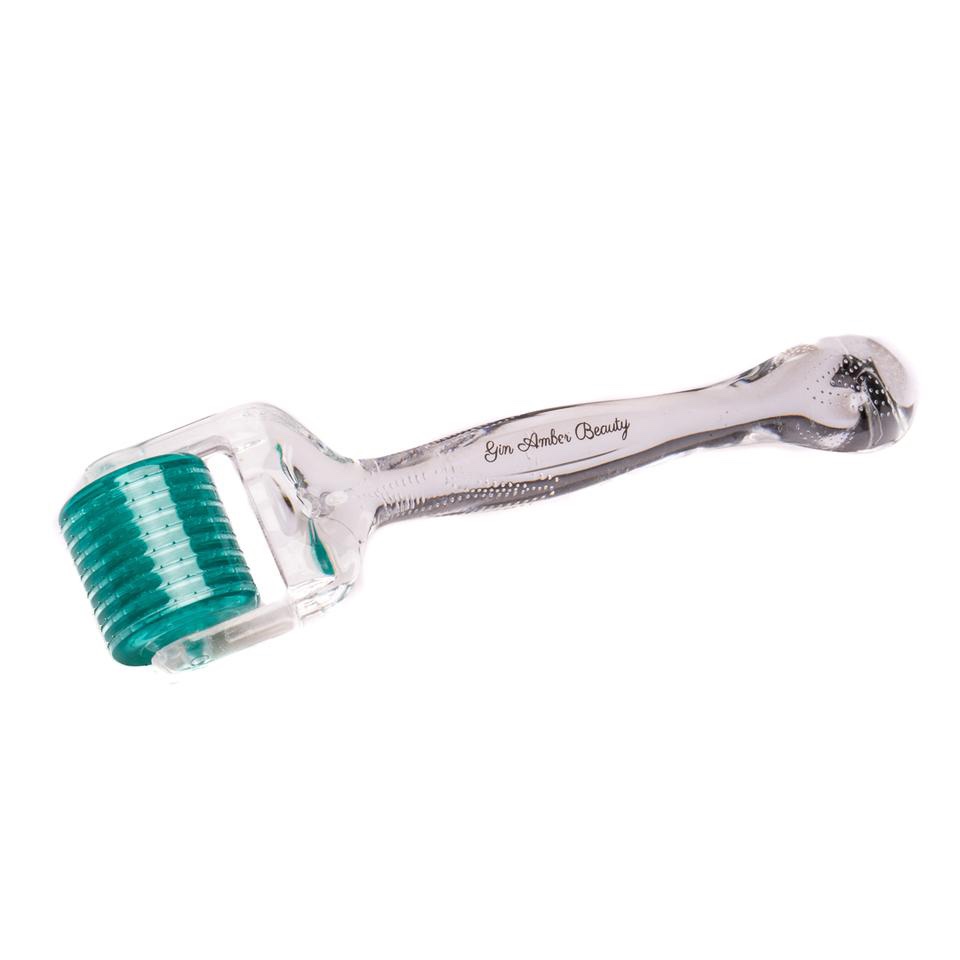
PSA: DO NOT BUY DERMAROLLERS AT DISCOUNT/OUTLET STORES or on Amazon! It is impossible to tell if they are real surgical steel needles, or a metal wheel, which can end up damaging your skin.
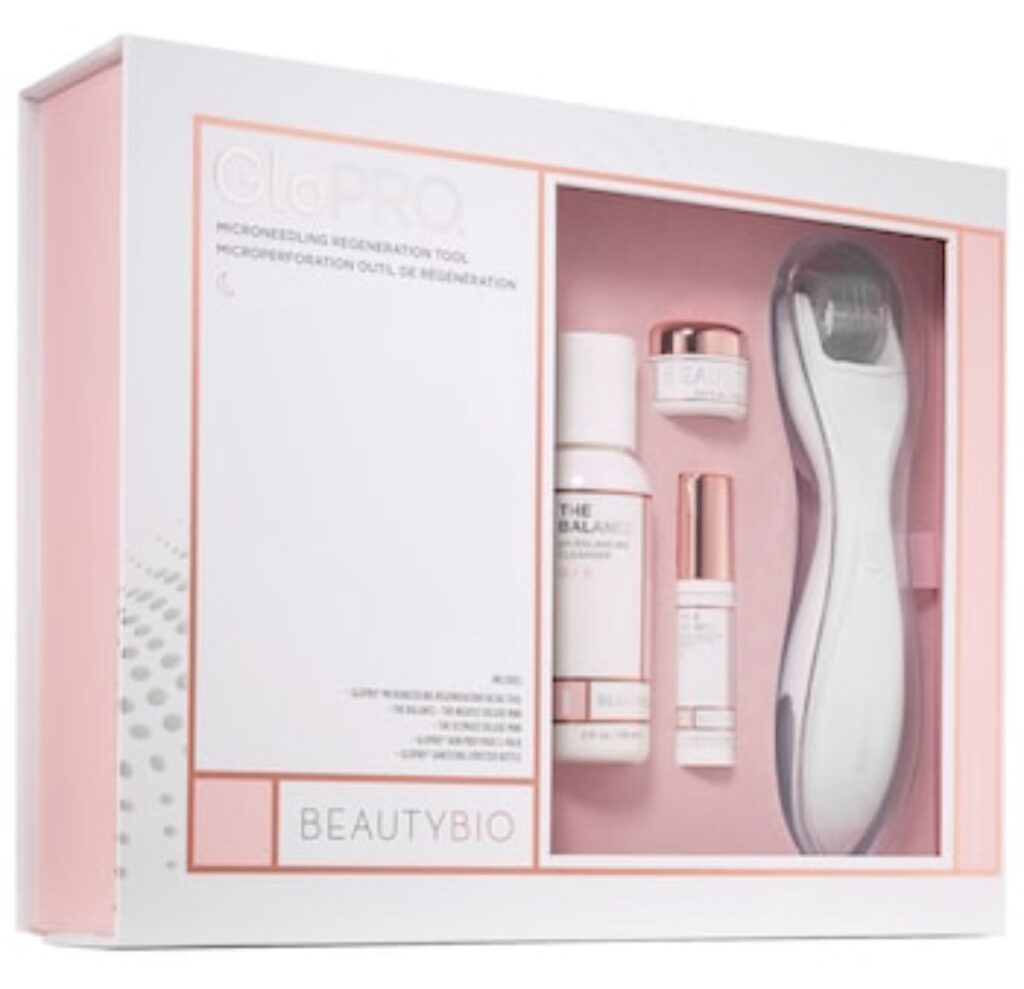
The GloPro by Beauty Bio is another quality roller. This one is .30 depth needles and it has vibration and red light therapy built in, which helps speed healing and supports collagen production.
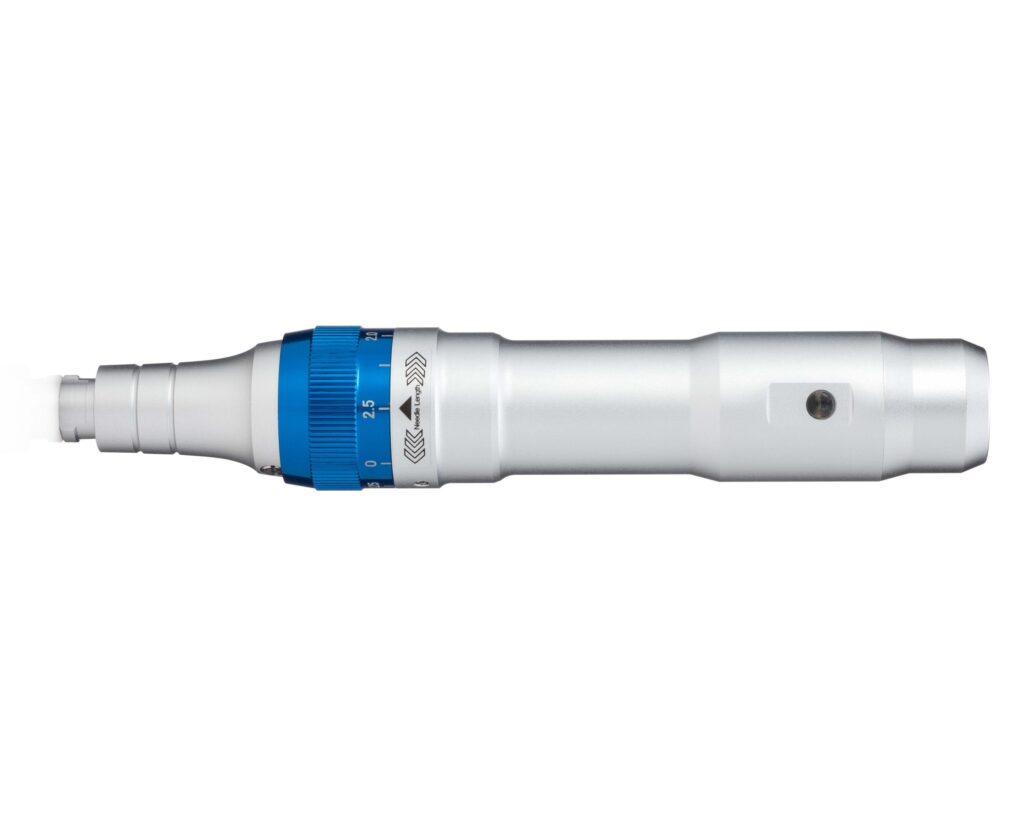
The other is a derma pen. This is a device that is electric or battery operated. Instead of a wheel, it is like a pen with multiple needles at the tip. When turned on, the needles move very rapidly up and down, and you glide the pen gently across the skin in different directions, prepping with Hyaluronic acid beforehand.
WHICH KIND IS BEST?
Both pens and rollers have pros and cons. The roller is great because it is inexpensive and anyone can access them. One con is that for each needle length, you must buy a different roller. And then you must discard the roller after 8-10 uses (some experts say you really should only use them once since they begin to dull after one use). You also have to make sure that you spray the roller with alcohol and let it dry before and after each use.
The derma pen is awesome because you buy one pen, but purchase inexpensive disposable cartridges, and the cartridges are more sanitary. They come in individual packages that are sterile. With the pen, you can adjust it to different lengths, so you only need to buy one. The other great thing about the pen is you don’t have to worry about holding it at different pressures since the pen does all of the work for you. Your job is simply to glide the pen in different directions, and for me, the pen seemed to be more easy to control. The con of the pen is that you pay more up front.
I have tried both and I think the pen is better for me, however the roller is just as effective. If it is your first time, I suggest buying a roller at first to see how you like it.
WHAT DEPTH SHOULD I CHOOSE?
Since writing this post, I have leaned that .20-.30 is actually deep enough to give you excellent results when done consistently, and long term may work better than deeper depths. Many experts say this is enough. This is called COSMETIC needling and is for product absorption and collagen induction. It can even be done daily. Deeper isn’t always better! Some say to leave deeper depths to the pros.
.5 or 1.0 is the deepest you should ever do at home. It is safer to leave anything deeper to a dermatologist. With these depths, you should wait 4-6 weeks between treatments.
WHO SHOULD DO MICRONEEDLING?
There are so many benefits to microneedling. It is great if you are a person who has:
- Discoloration
- Large Pores
- Wrinkles
- Fine Lines
- Uneven Skin Tone
- Redness
- Uneven Skin Texture
- Sagging Skin
- Stretch Marks
- Sun Damage
WHO SHOULD NOT DO MICRONEEDLING?
Microneedling is not for everyone. You should not do it if you have:
- Rosacea
- Active Acne Breakouts
- Extremely Sensitive Skin
- Severe Melasma (can be treated with microneedling but not in all cases- contact a dermatologist with questions)
- Wound Healing Issues
- An Active Infection
- A Cold Sore
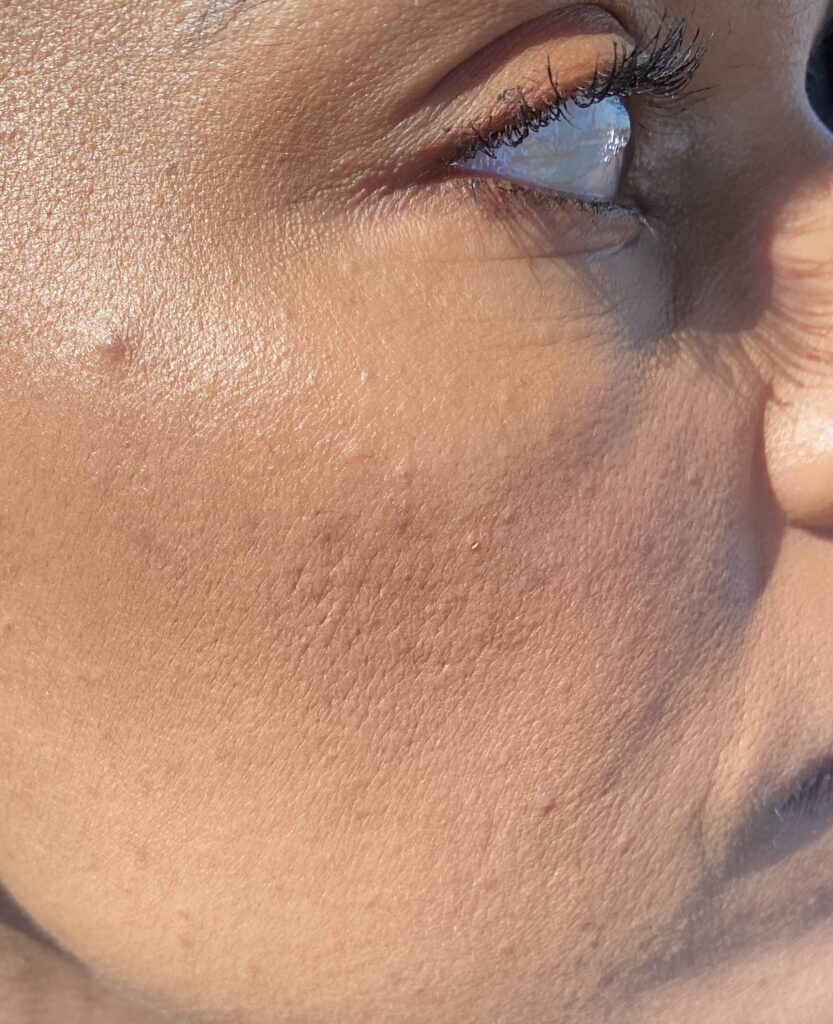
The reason I wanted to do this is because I am getting older. I’d like to firm my skin, even my skin texture and tone, and reduce my acne scarring. Here’s a close up of my scarring, makeup on- in direct sunlight. You can really see how bad it is!
DO YOUR RESEARCH
If you plan to do microneedling at home, PLEASE do your research. There are products and ingredients that you should not use during and after microneedling (See this article here).
There are a lot of devices out there and so many of them are not quality, so you could end up damaging your skin long term. So be careful. In addition, if you are going deeper than .30 and don’t take proper precautions, you can end up not only causing damage, but there is a chance you will introduce bacteria into the channels you’ve created and cause infection.
Take the time to watch youtube videos by experts and estheticians. If you are not a rule follower or instructions-reading type of person- PLEASE DO NOT do this at home. Find a professional in your area. Almost every dermatologist and esthetician offers this service, so I promise you that if you don’t do it yourself, you won’t be missing out.
SHOULD YOU DO IT, THEN?
If you are one to take proper precautions, you enjoy researching, are meticulous about cleanliness, will take the time to do it correctly, and do not have any of the listed skin conditions above, then by all means, microneedling at home can be a good option for you!
HOW I USED THE PEN

Supplies:
1- Microneedling pen (I used this one, but I will upgrade to the Dr. Pen A6 ASAP since my favorite esthetician recommends it)
2- Numbing Cream (optional)
3- Alcohol prep pads (unavailable right now …because Corona virus)
4- Alcohol 70% Isopropyl (unavailable right now…because the virus)
6- Gloves (unavailable bec….you already know)
8- Headband – any one will do, try one of these cute ones!
With microneedling, I needed to make sure my skin was completely sanitized with alcohol wipes. I should have used gloves, and that was a huge misstep. I was so nervous that I completely spaced out! I will definitely be wearing gloves next time, and you need to as well. Do as I say, not as I do!
I chose not to numb, but if I ever decide to go deeper than I did, I may consider it. I have this numbing cream on hand just in case.
After putting on a headband, I made sure I washed my face thoroughly . I double cleansed and then wiped with the alcohol swabs. After washing my hands multiple times, I also swabbed my hands with alcohol. Again, at this point I should have used gloves.
To start, I used hyaluronic acid. With a pen, this is a necessity for slip. You don’t want the pen to drag across your skin. You want it to glide. For a roller, you do not need to do this.
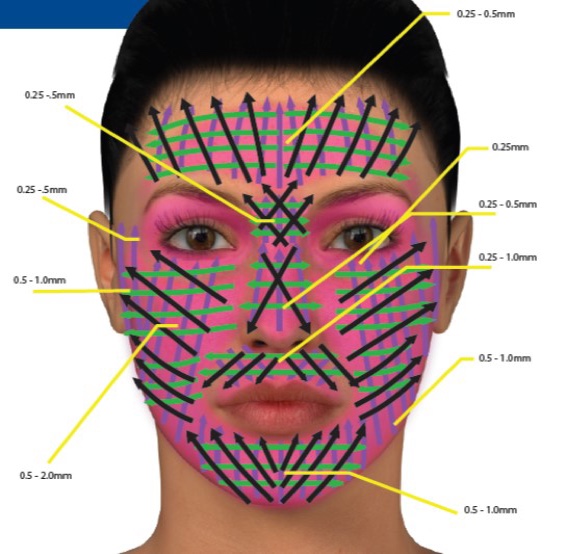
At the beginning I used the lowest speed on the device. I also used the lowest setting for the depth of needle: .25 mm. For product absorption, this is a good depth and I can do this daily. It’s also good for my forehead, eyes and nose since I have thin skin.
For the rest of my face, with the pen, I toggled between .50 and 1.0 for deeper wrinkles and light acne scarring. For a depth of .5 and longer, you only do the microneedling once every 4-6 weeks to allow your skin to recover and get all of the complete benefits.
First, I went in circular motions over a particular area. Then horizontal, then vertical, and lastly, diagonal. Then I moved to another area.
DID IT HURT?
I can’t lie… I started with .25 and it didn’t hurt. It felt like sandpaper. If you decide you just want product absorption and smoother skin, .25 is a really good option. When I lengthened the needle to .50 and 1.0, I would say it was more annoying than painful, but if you don’t have a high pain tolerance, I would suggest numbing cream.
OK…SO WHAT ABOUT RESULTS?
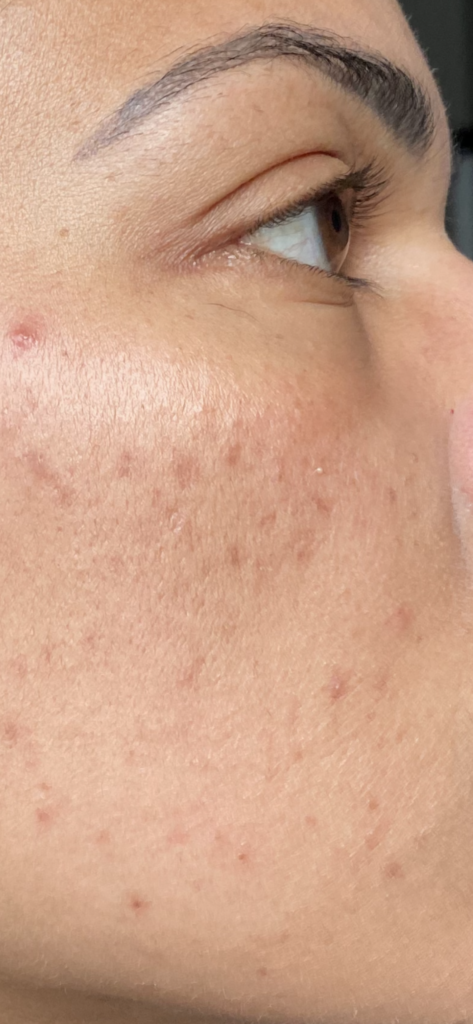
It takes 4 weeks for full results, and then you have to do it again for improvement. But for now, I can show you the results after just 3 days:
BEFORE AND AFTER 3 DAYS (ignore the blemish if you can- you are not supposed to micro needle over active acne so I had to work around it)
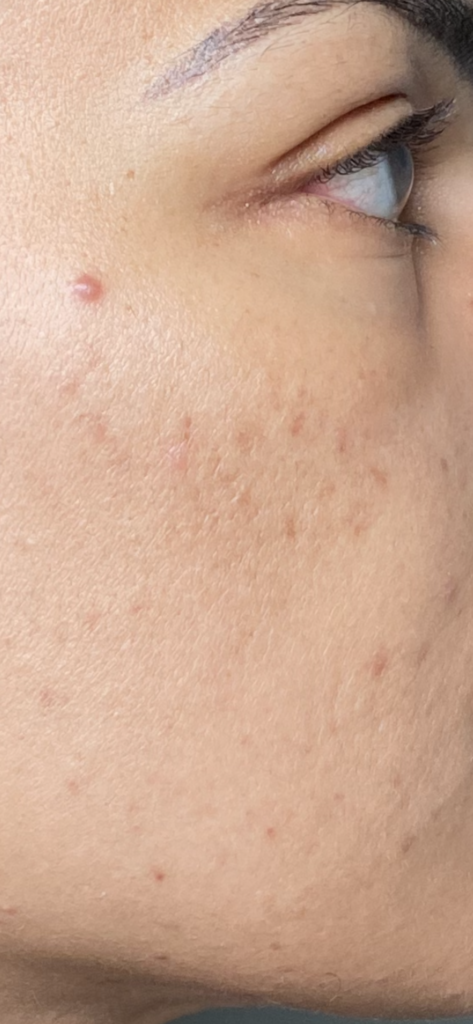
The other side of my face before and after 3 days:
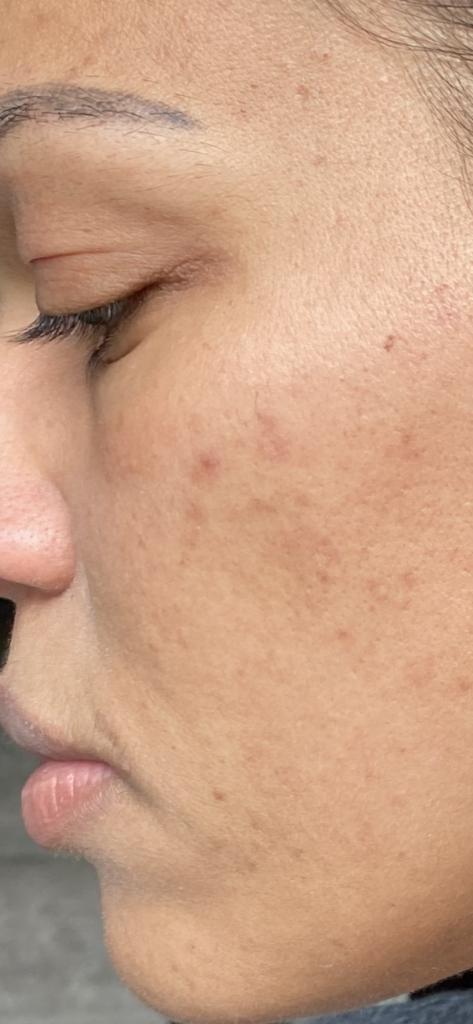
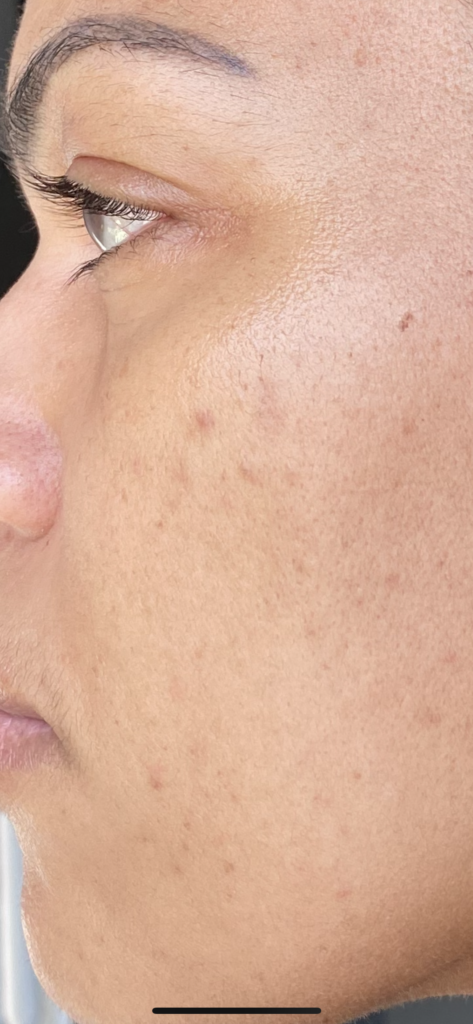
Isn’t that incredible? I see brighter, more even and smoother skin already. Can’t wait for the full results!
The first night of microneedling (again this was 1.0 so more care is needed), I put Kiwi Seed oil on my skin and continued that through day 3, layering sunscreen on top for the daytime. I’m on day 7 now, and I’m using vitamin c and sunscreen during the day, and alternating retinol and copper peptides each night, and topping with moisturizer.
WILL I DO IT AGAIN?
YES! I will check back for an update and another microneedling session! I am hoping that after a few more sessions, my deeper lines and wrinkles will start to fade, and I am especially looking forward to seeing how my scarring improves. I will definitely go deeper on my scarred areas and report back to you the results. (UPDATE: I have found that .25-.30 2-3 days a week has given me great results).
This is just my personal experience with microneedling and I AGAIN encourage you to do your research before trying this at home, as I am not a doctor or esthetician. I just wanted to share my experience with you so you can consider it an option for improving your skin. Let me know what you decide to do!
MY FAVORITE RESOURCES
There are many resources on YouTube regarding Microneedling but here are my favorites:
For rollers, I trust Gin Amber for all things microneedling with a roller. Hers are the rollers I trust because they are made with real surgical steel needles. Many of the ones you find on Amazon are simply metal wheels with sharp spokes, and can end up damaging skin! So NEVER purchase these on amazon unless it’s by a company you completely trust. If you are planning to use a roller instead of a pen, I suggest you go watch Gin Amber’s videos. She is so informative and will tell you everything you need to know about microneedling with a roller. Another great one is Beauty Bio GloPro.
For microneedling with a pen, the most comprehensive and informative resource I have found on YouTube is Penny Smith. She is a Master esthetician and is SO dang smart. I feel like I am in science class when I’m watching her, but her videos are fun to watch and she covers EVERYTHING. If you are considering doing this at home, I highly suggest you watch all of her videos on microneedling and the products and after care.
Below are some of the products I have used and/or recommend for microneedling and post care. Have a blessed day, my friends!
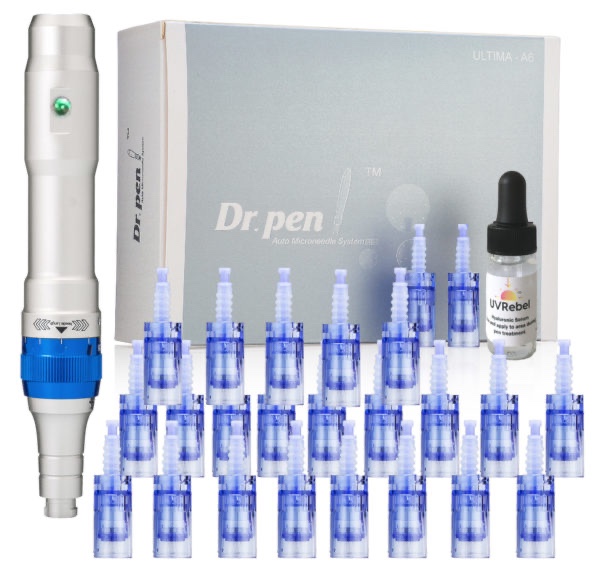
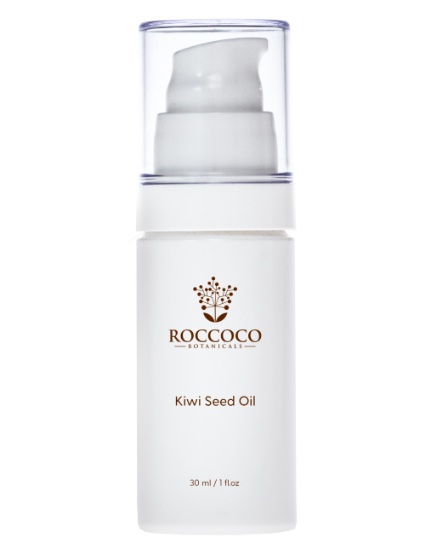
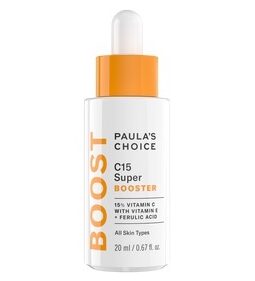

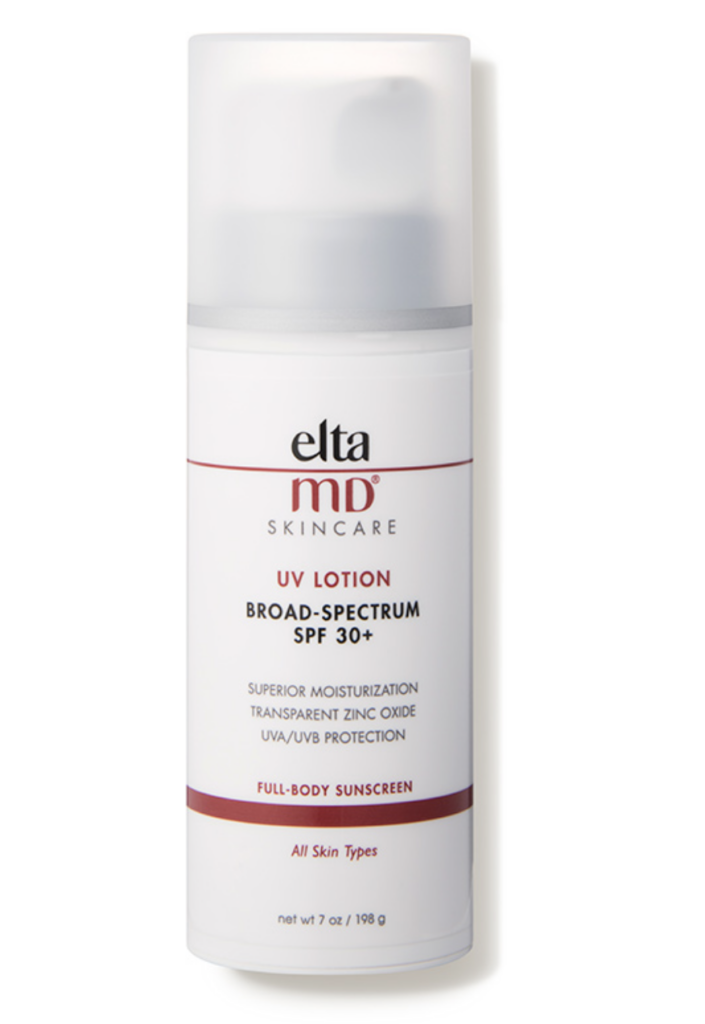
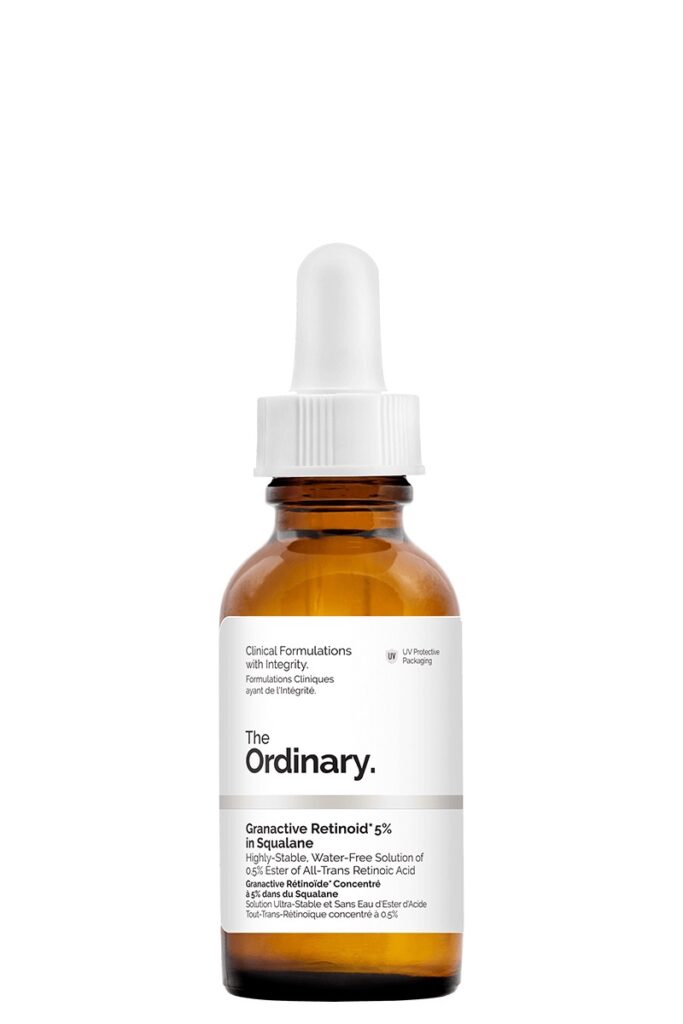
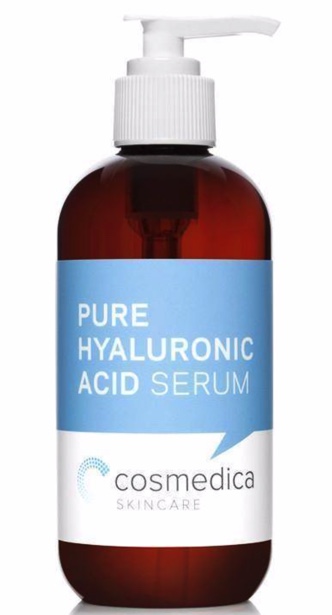
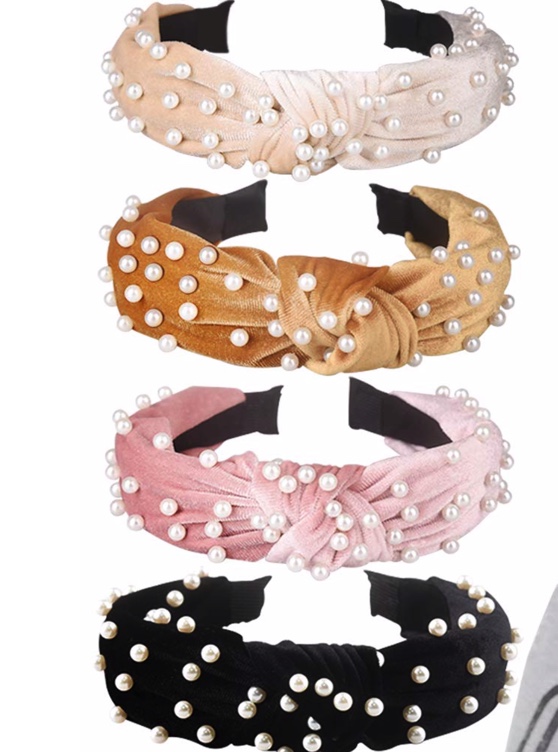
If you purchase anything using the links provided, I may receive some compensation, and I hope you think that’s a good thing! Thank you for your support! If you find what I am writing on here to be useful, be sure to subscribe so you never miss a post!

Share:
Categories:
A vessel sharing positivity through beauty, wellness, and personal style.
Website Design & Development by Garland Studios
Copyright © 2023 Anna Mae Groves
Do u need to ise that Light mask after needling , what is the best thin g to put on fave after miCroneedLing
I usually just use a good serum – you could also use a mask- I like the Farmacy Hydrating mask!
Can i do this for friends and asK for donations to cover tHe cost of the proDucts used? I am experienced wiTh needles as i use to worK for w doctor ans went to medical college.
I probably wouldn’t- because to perform on others you should have a license to practice and if anything went badly, that wouldn’t be good 🙂