Hello!
My Name is Anna
Thank you for being here
explore the blog
Join me on ltk
Follow along on instagram
DIY Cane Headboard
February 23, 2021
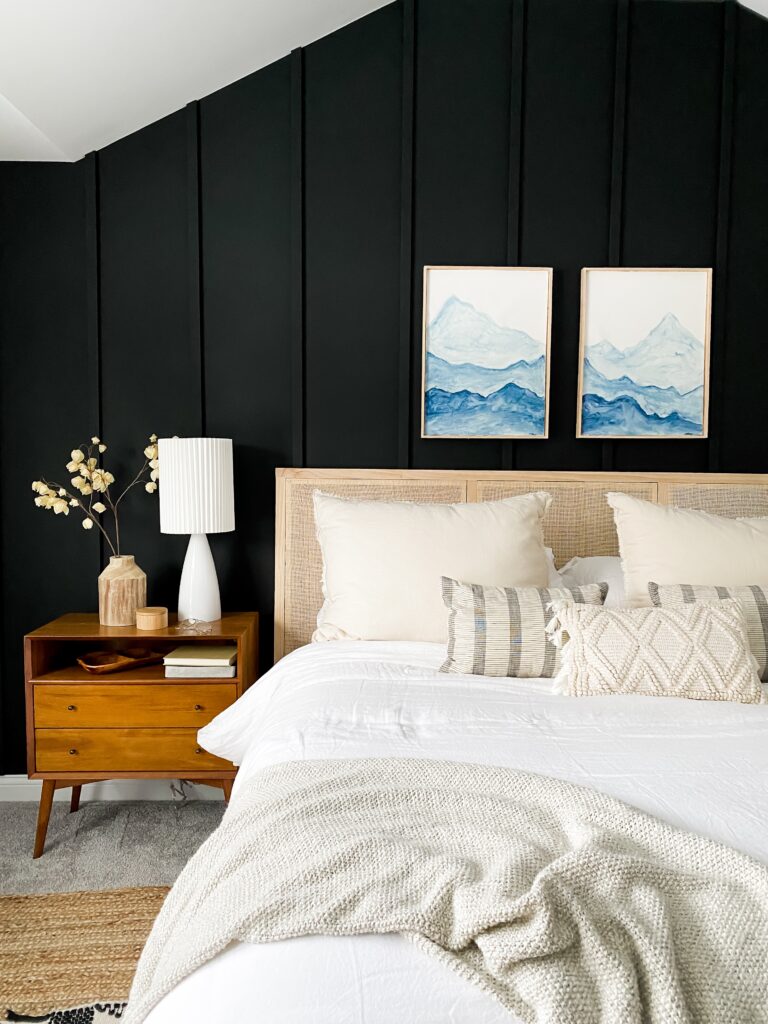
This post is for you if you want to try making an easy Modern DIY Cane Headboard!
Rob and I have had a queen size bed since the beginning of time, but recently we got a new king size mattress. He has been wanting one for FOREVER, but I always put it to rest (no pun intended!) because firstly, I like to cuddle up. Secondly, cost of a king seemed unnecessary. We finally bit the bullet when we got a Sleep Number Bed. The king had all of the capabilities we wanted. Plus, Rob wanted to keep me from touching his feet with mine (although to date, his plan has failed. ?)
But now our headboard was too small. I really loved that headboard. It was DIY- a single piece of sanded plywood that looked great against a dark wall plus it looked like a headboard from Crate and Barrel, but it was only $42.00 to make. But after asking you all if I could get away with a too-small headboard, the overwhelming response was no. (Plus, I think some of you just wanted to see me do another DIY!)
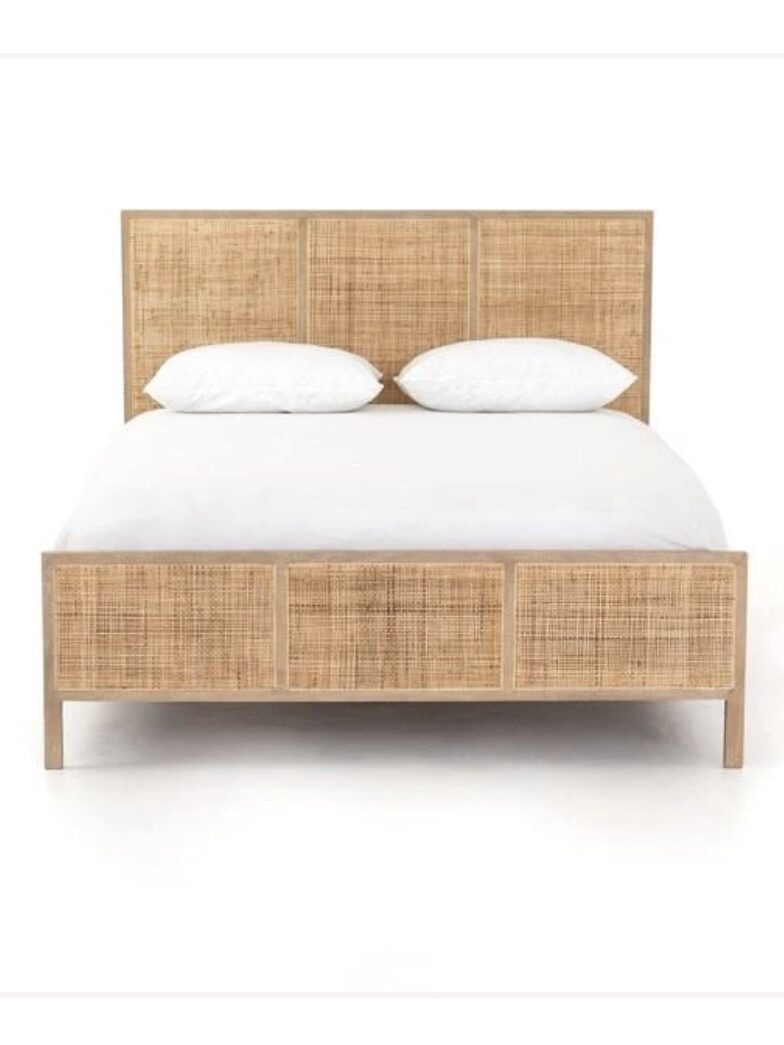
We narrowed it down to cane and there were so many options. I wanted one that looked sleek and modern. This inspiration bed fit the bill. It is over $1700 for a king. I liked that it had three panels rather than one long one (which makes it hard to keep the cane tight on the frame).
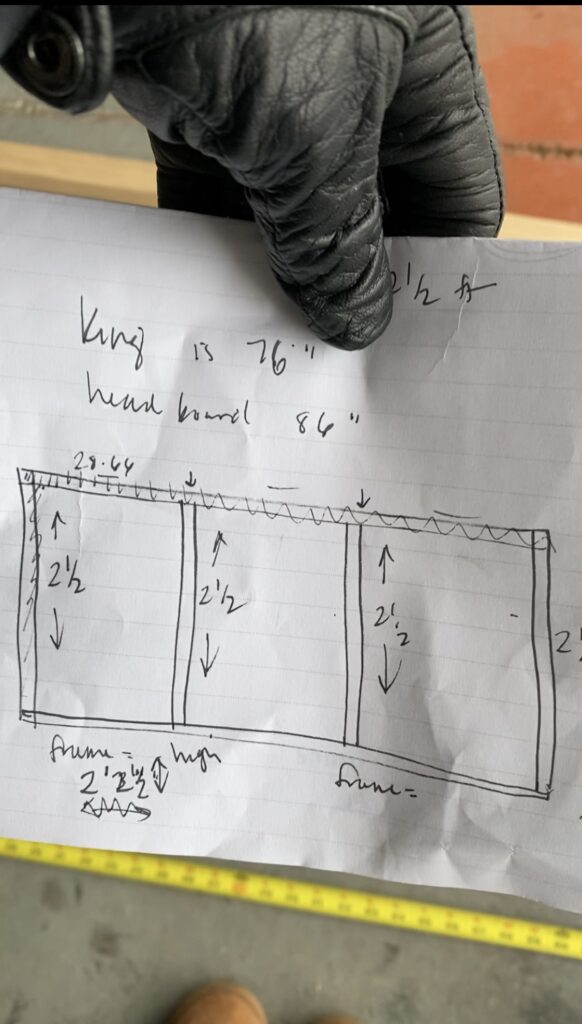
After a week of coming up with possibilities, it came to me: Make one large rectangle frame with three sections. Inside each section, I’d create a smaller frame to fit inside! Then attach cane to the smaller frames, and insert them into the larger piece.
I built the frame when it was 20 degrees outside and my fingers went numb a couple of times, but I really was determined to get it finished in the garage so that I didn’t destroy anything, like I did with my DIY modern floor mirror (IYKYK!)
Materials (linked below)
- 2 8 ft 2×2” select pine boards
- 3 6 ft 2×2” select pine boards
- a box of 2 1/2” Kreg jig screws (coarse thread)
- 4 8 ft common poplar 1’ x 2” boards (for the three smaller frames) I had leftover wood from the slat wall nook that I made, so I did not include these in the final cost.
- Wood Glue
- Wood Filler
- Staples
- OPTIONAL: Wood conditioner and stain (I enjoy raw wood, so I opted out of these steps)
- 8 Feet of Cane (W700 Fine Radio Weave in 36″ width for this one)

Tools used:
- Miter saw
- Kreg jig Pocket Hole System
- Pocket Hole Right Angle Clamp
- Wood Working Clamp
- Drill/Driver
- Orbital Sander
- 220 grit sandpaper
- Nail gun (or screw driver)
- Staple gun (I recommend an automatic vs manual)
1. BUILD OUTER FRAME
Using the 8 ft 2×2″ select pine boards, I built a rectangle frame. For the kind size bed, I cut two longer pieces to 86″ and the four shorter to 30″.
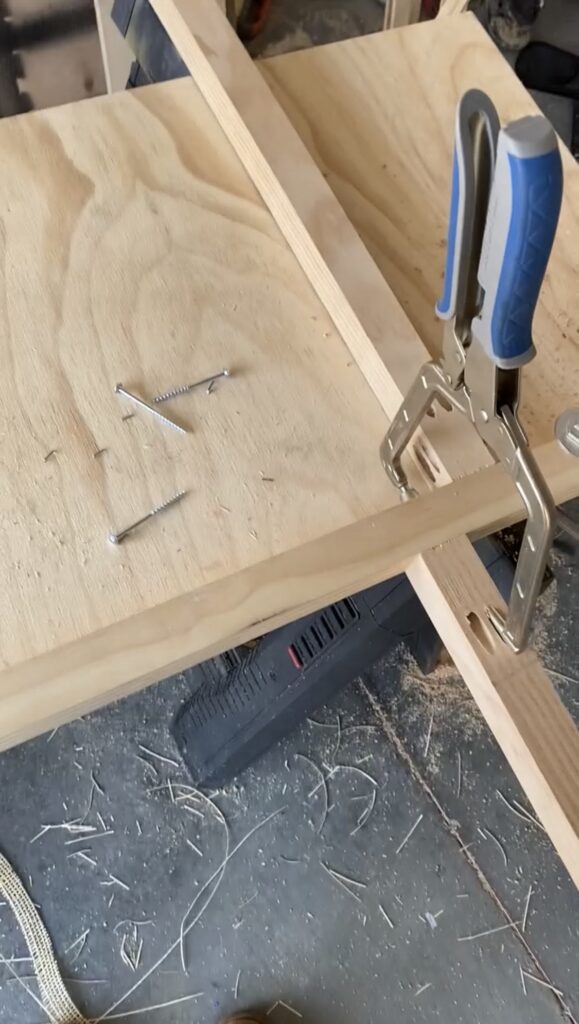
Using a keg jig, I made pocket holes in each end of the shorter pieces for a strong connection using 2 1/2″ screws. I suggest using wood glue as an extra bond. I first attached the two shorter outside pieces, then the center and finished with the long piece to complete the frame.
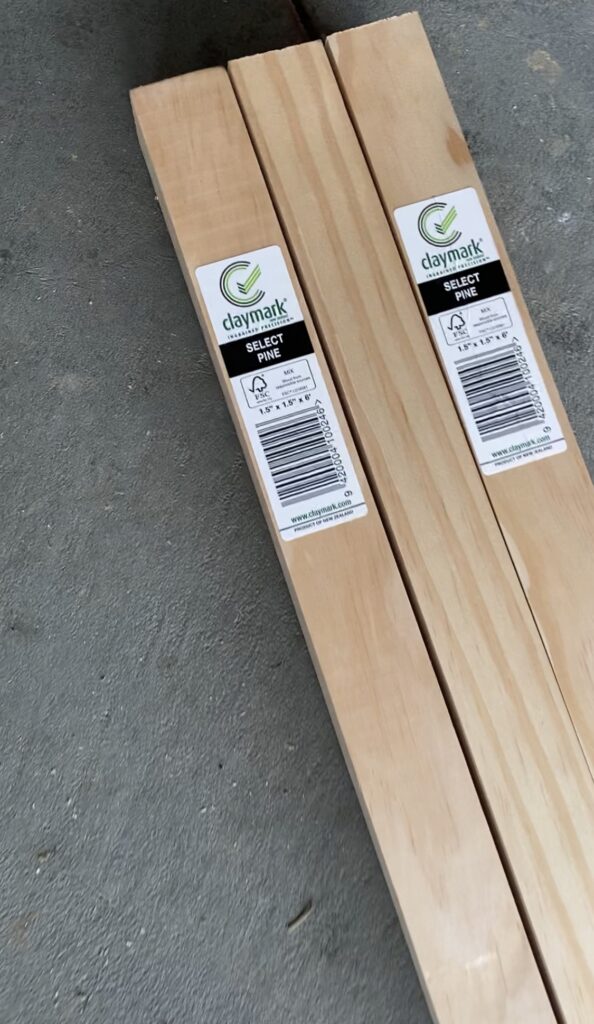
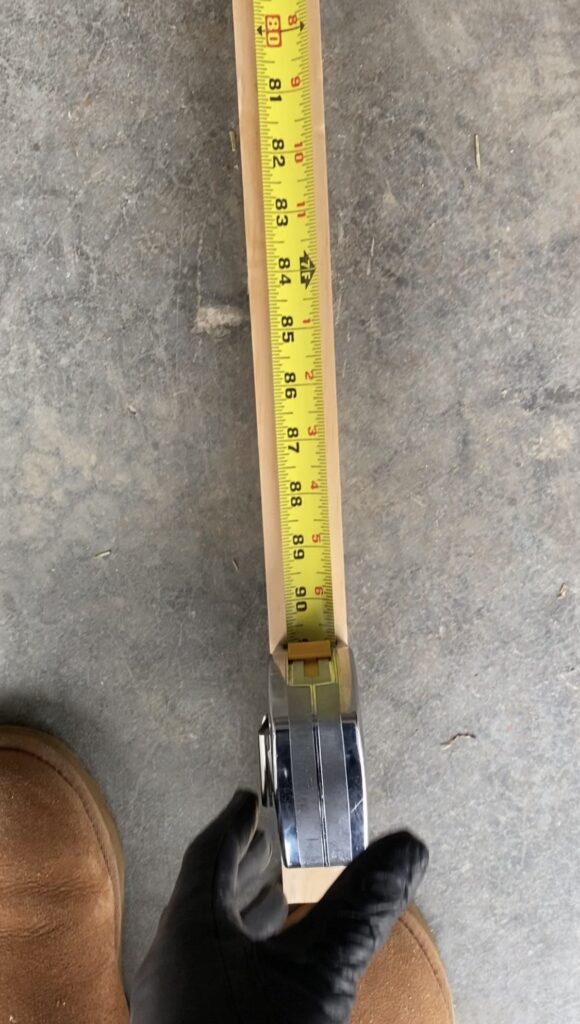
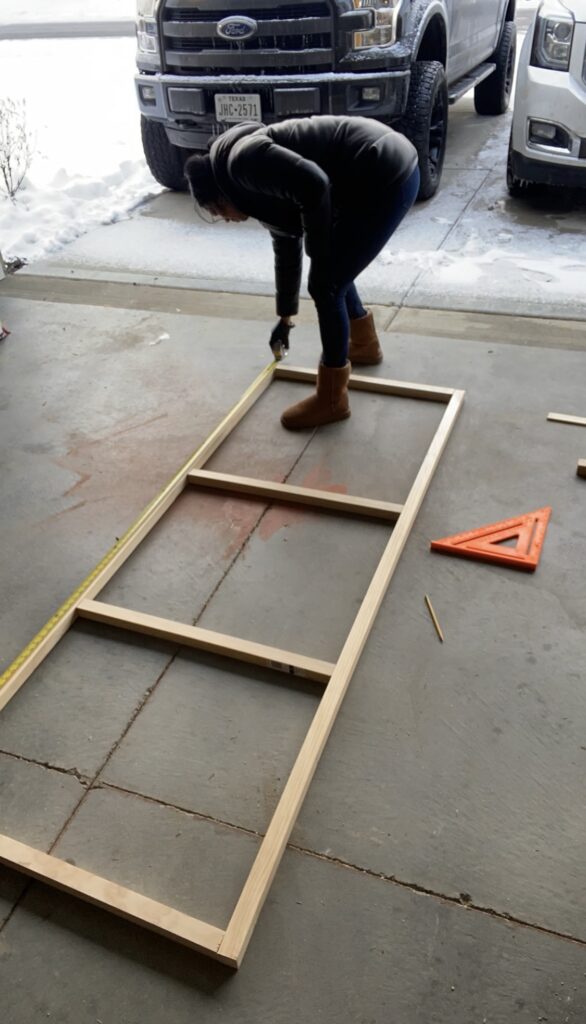
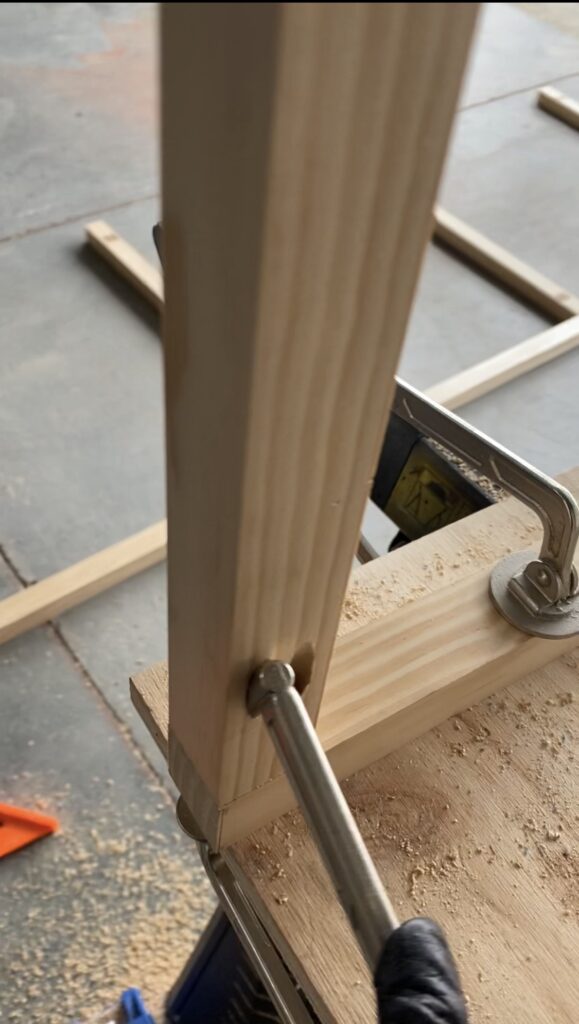
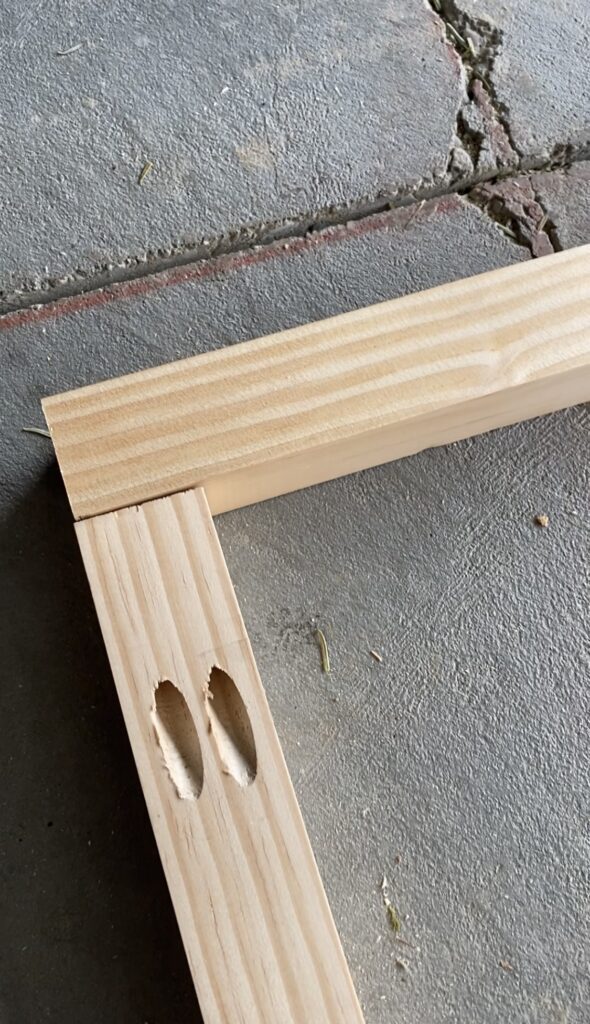
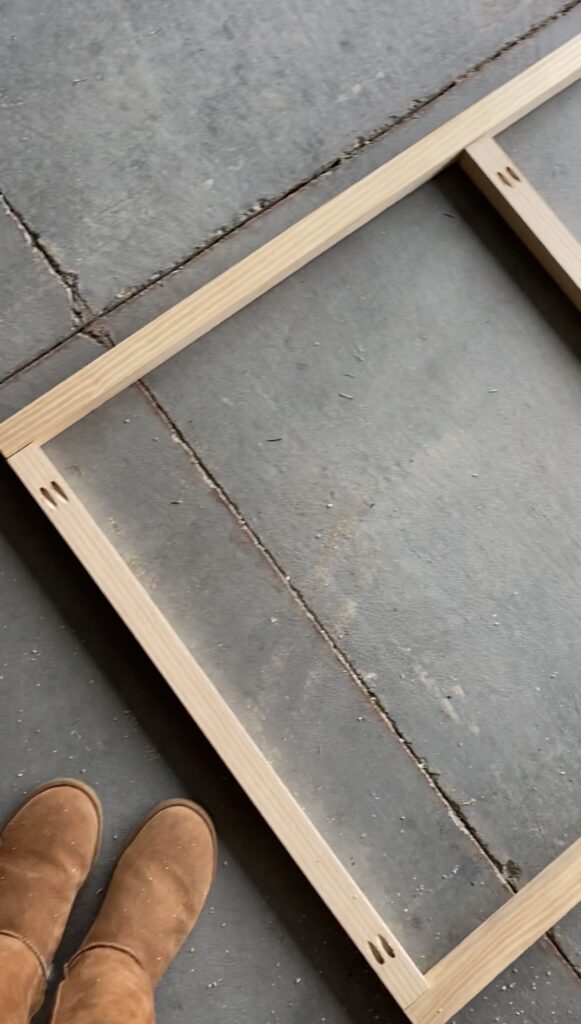
To complete the outer frame, I filled in all of the gaps with wood filler and sanded with my orbital sander and 220 grit sandpaper. This is where you would wood condition and stain your frame if you want! I opted for no staining.
2. BUILD THREE INNER FRAMES
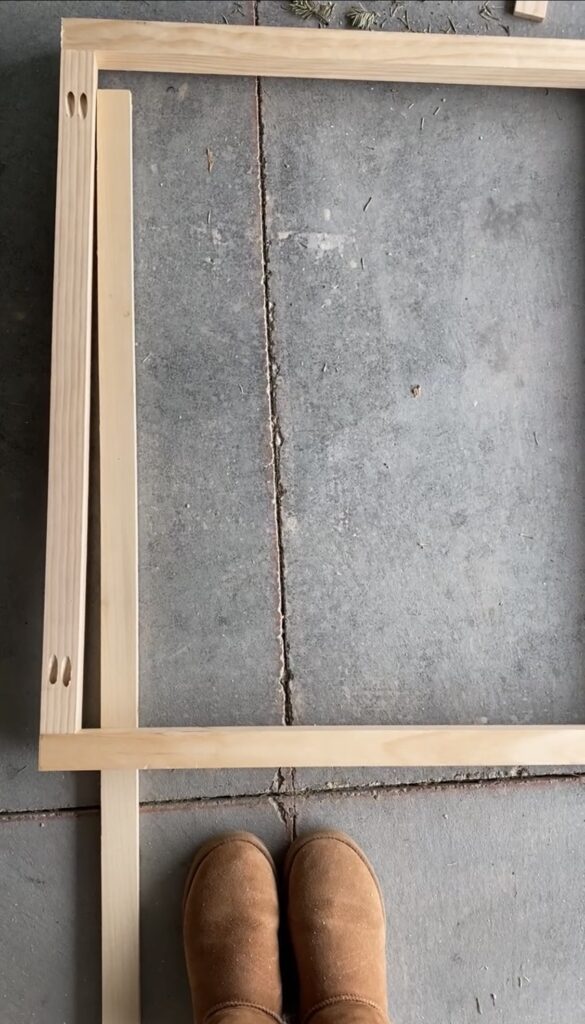
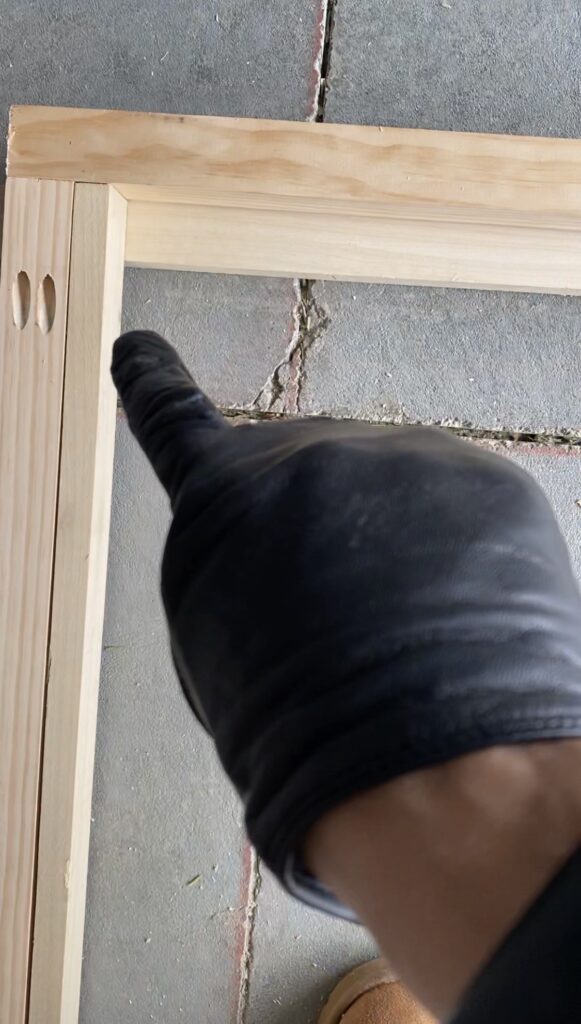
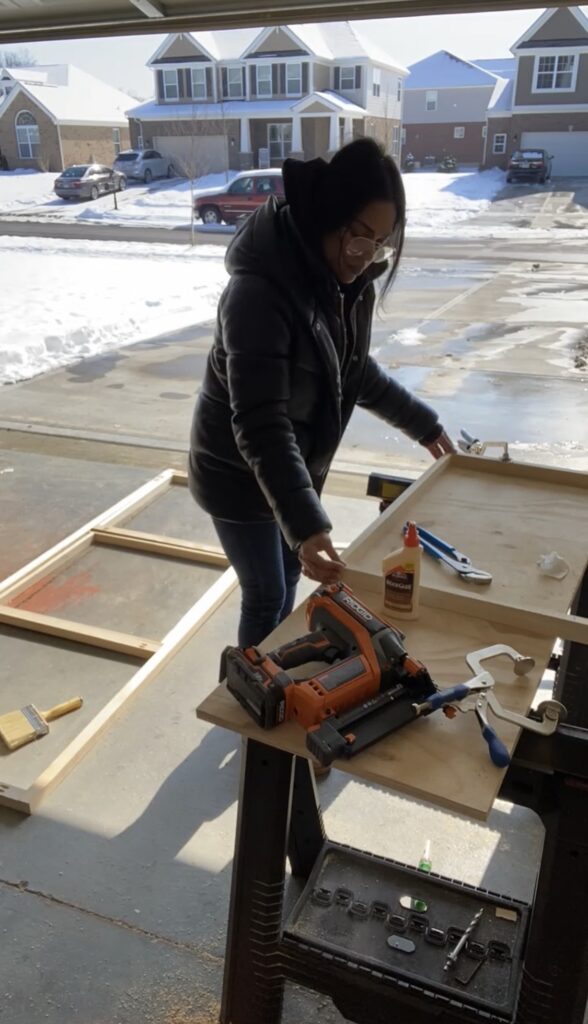
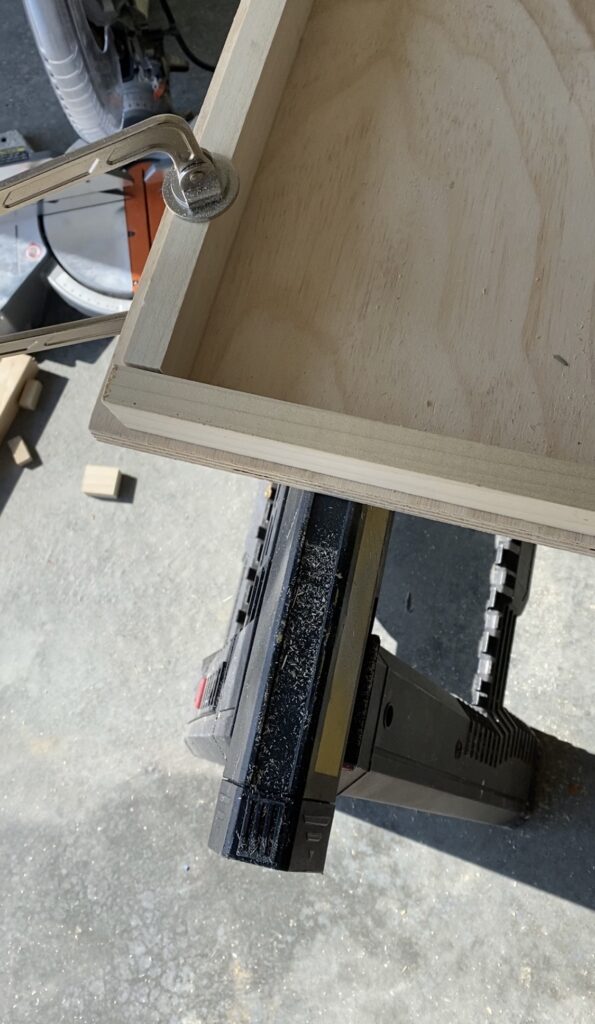
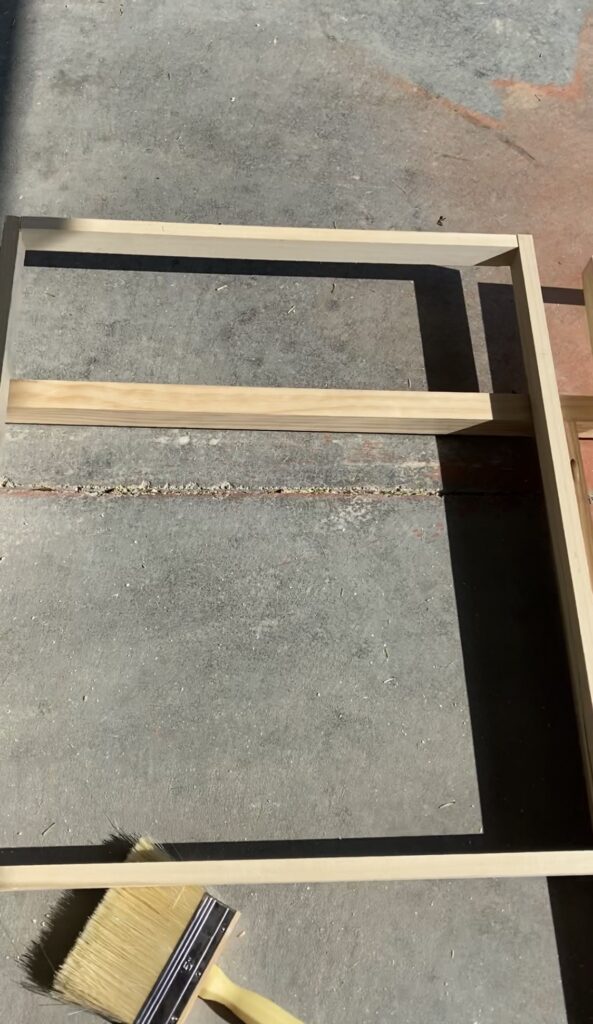
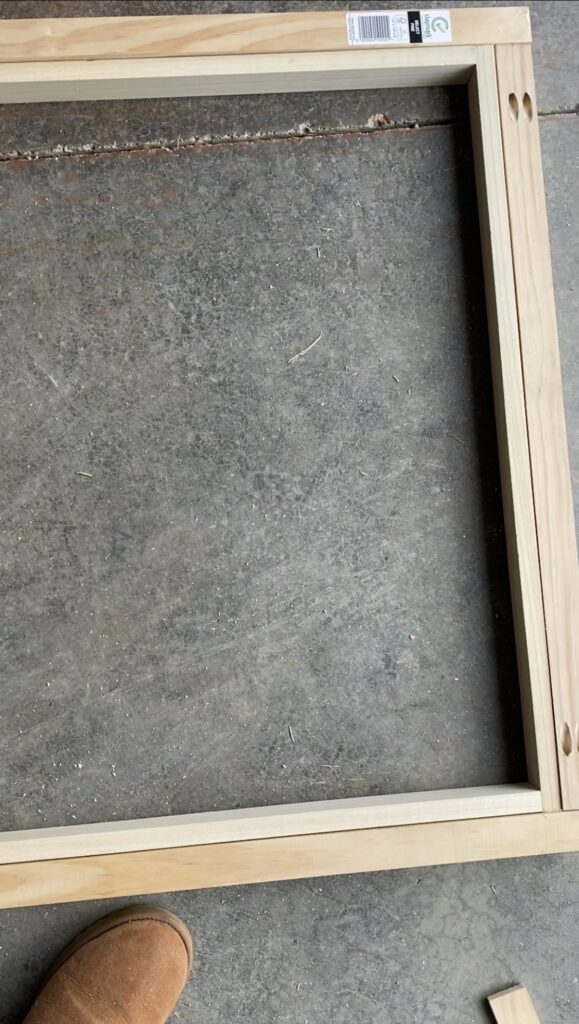
Using some leftover 1×2″ poplar wood from my slat wall nook, I created three smaller frames to insert into the larger ones. These would hold the cane. To get the measurements exact, I laid each piece under the larger frame and marked them from there before cutting with the saw. I shortened each piece by 1/8″ to make sure there was enough room for the cane.
3. MEASURE, CUT, SOAK THE CANE
After measuring the cane (2 inches larger all the way around each smaller frame) I cut three pieces and soaked for 30 minutes in the bathtub. Soaking is crucial for making the cane more pliable and once it is attached, it will dry taut. When the cane was finished soaking, I rolled the pieces in a towel and took out one piece at a time and rolled the others back up in the towel to keep them damp while I worked.
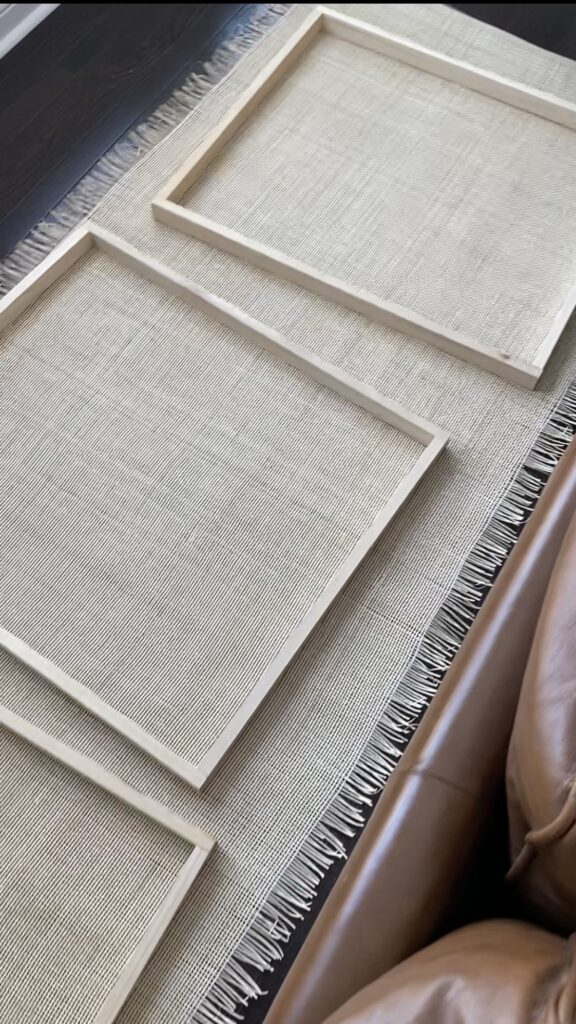
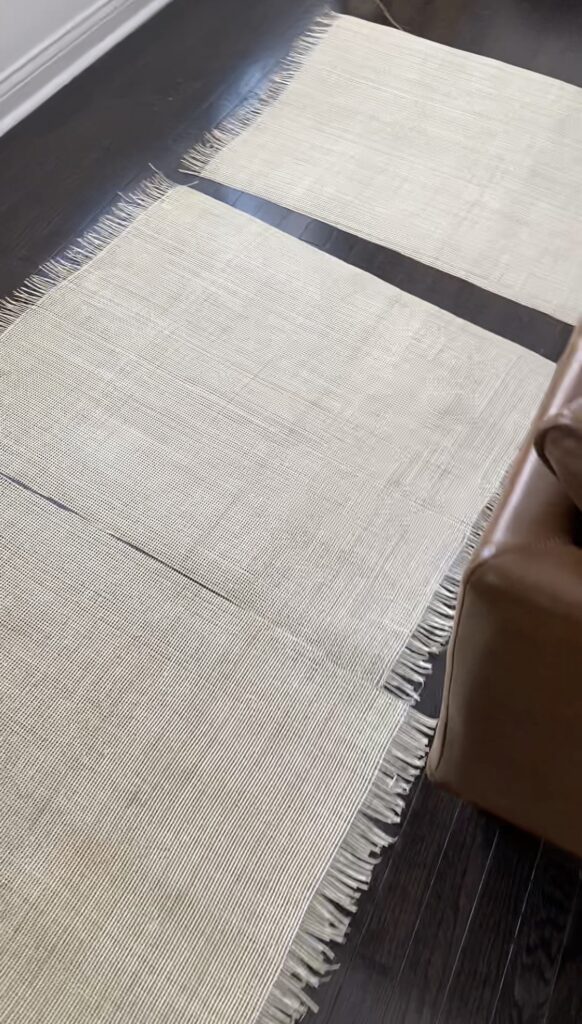
4. ATTACH THE CANE TO THE FRAMES
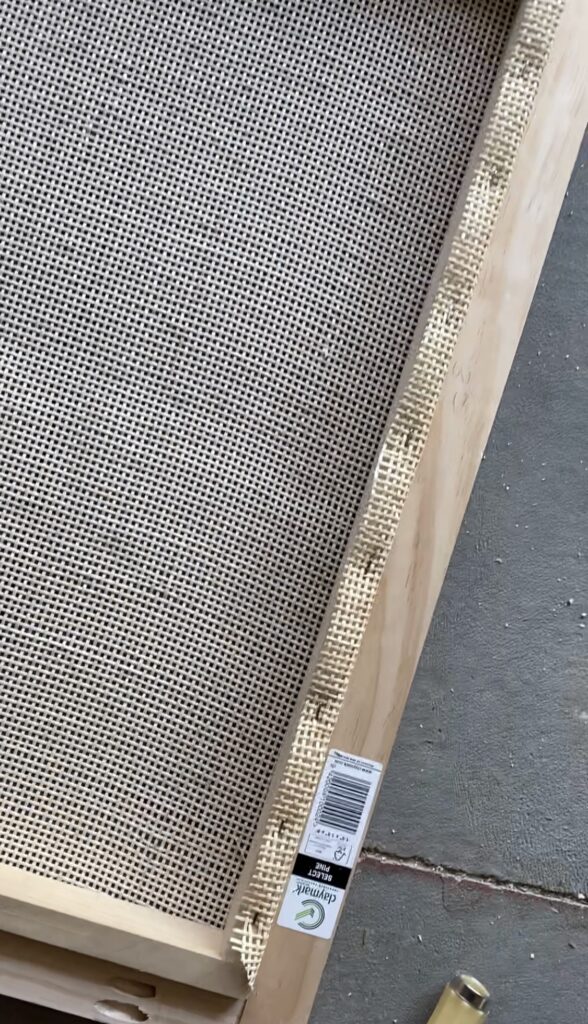
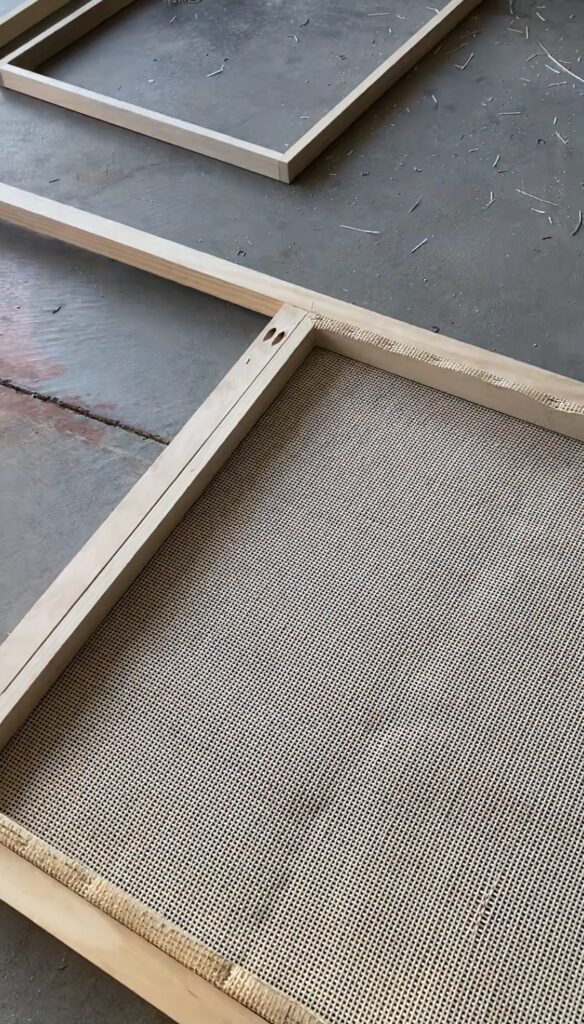
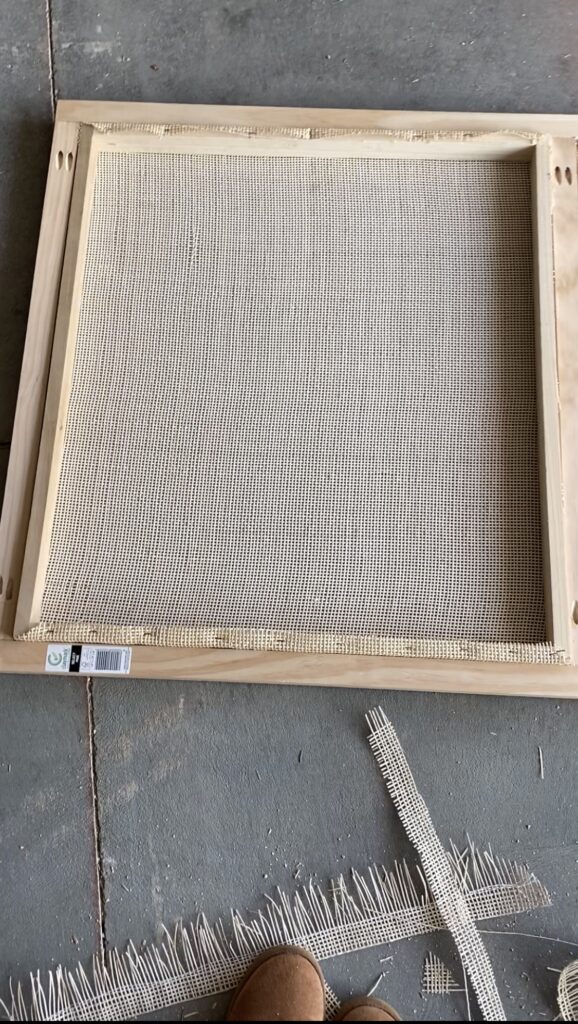
Using a staple gun, I stretched the cane around one side of the inner frame. Stretching the cane tight, I stapled across about two inches apart. Repeated on the other side, holding very tight as I went. I repeated on the ends and did the same process for all three frames. THIS WAS HARD! I suggest an automatic staple gun.
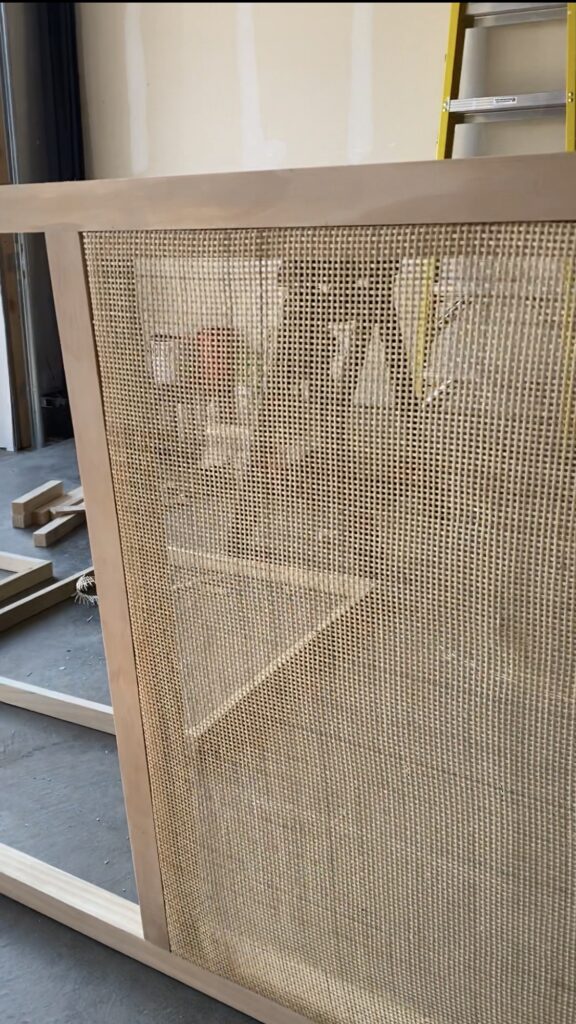
You could stain your cane here if you’d like. I opted out of staining anything.Placing the front side of the larger frame down on the ground, I pressed each small frame into its place from the back. Making sure it was flush to the front of the frame, I nailed the inner frame into place with my nail gun. You could also use flat head screws here.
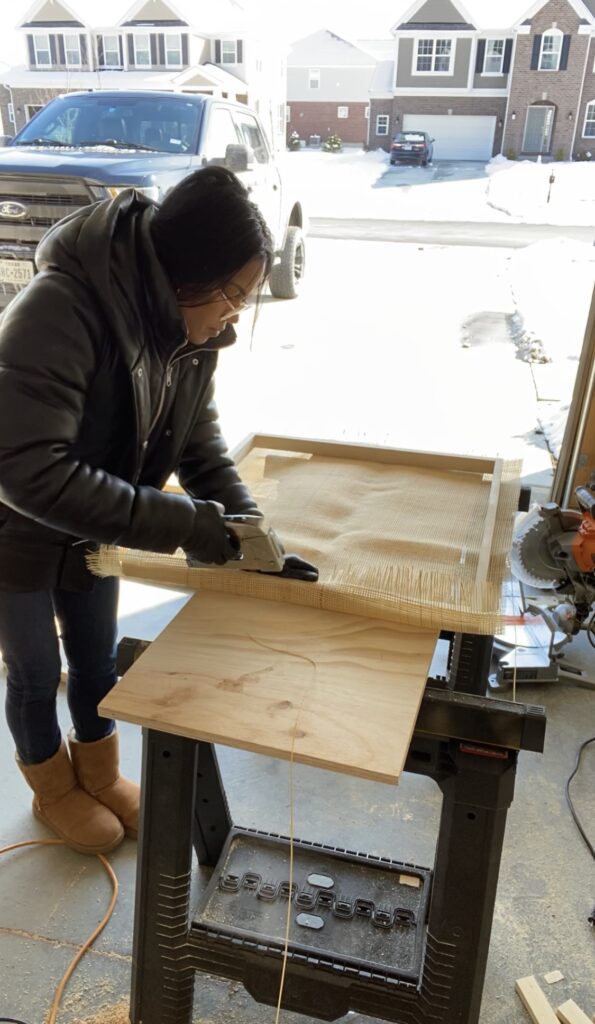
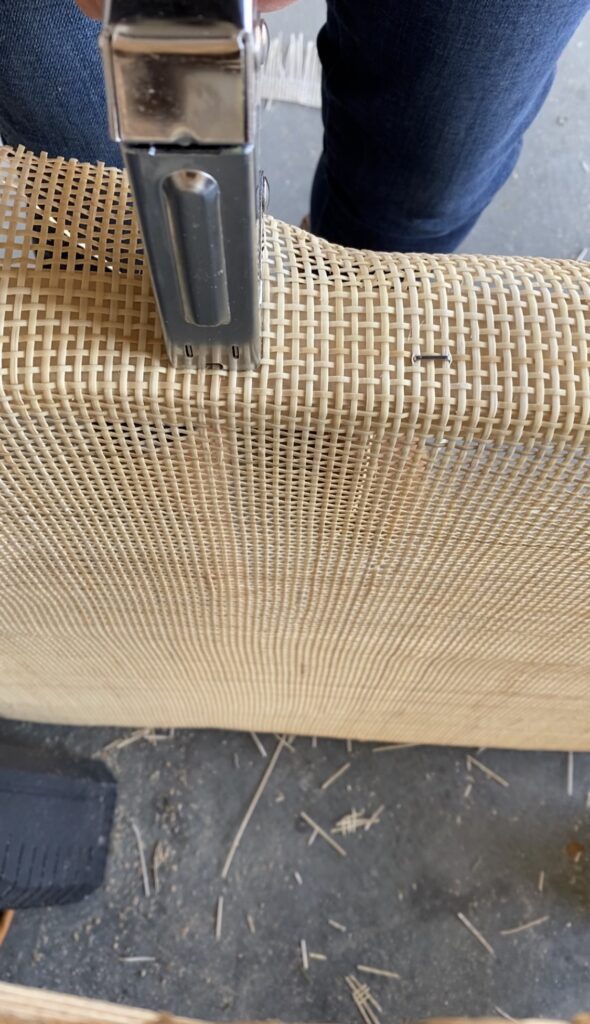
5. ATTACH LEGS (OPTIONAL)
I kept it simple here. I used the leftover 2” x 2” select pine to make two 18″ legs and attached them using pocket holes again.
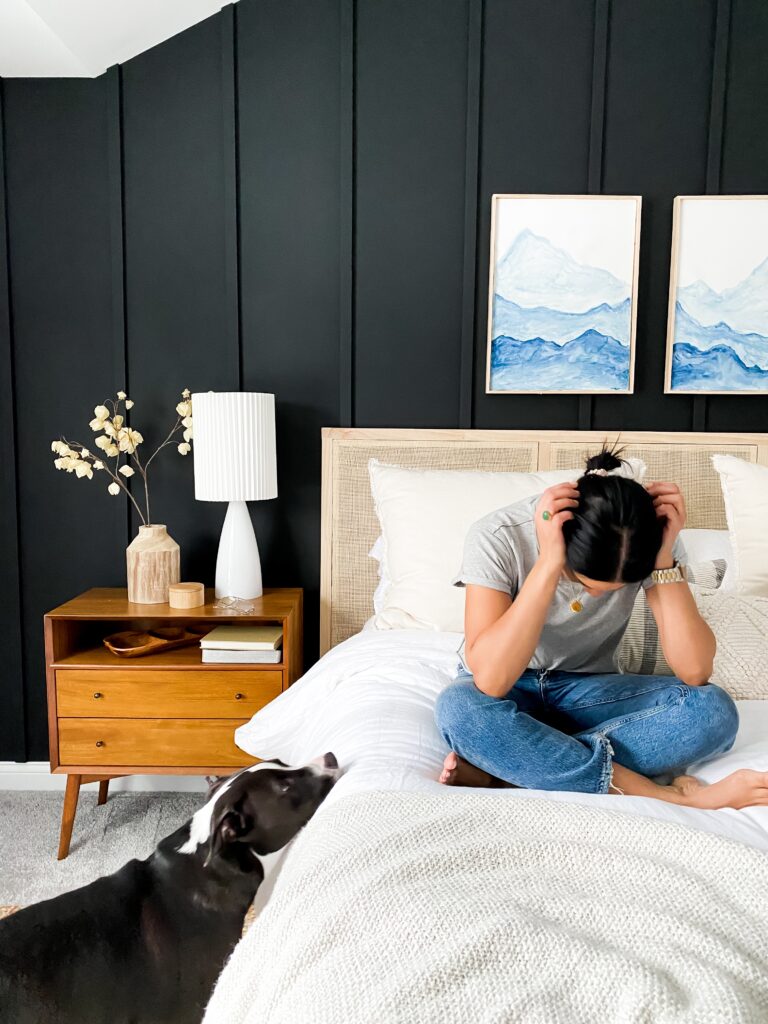
You could also just hang the headboard on the wall where you want it and not add legs at all. I got a lot of questions about how I attached the frame to the bed. I didn’t. I just leaned it against the wall since I have a sleep number bed frame. You can choose to attach or not- it’s up to you! Just a couple more pocket holes will do the trick. I don’t mind it wedged between the bed and the wall. It works great, just like my old headboard.
If you watched my stories, you will know that I am not an expert. I hope that watching the process made you say to yourself, “If she can do it, I can too.” I had to learn every part as I went, and I learned in front of all of my insta friends! I had a couple of embarrassing moments (like when I drilled all the way through the Kreg jig) see stories but you know what? It was worth it!
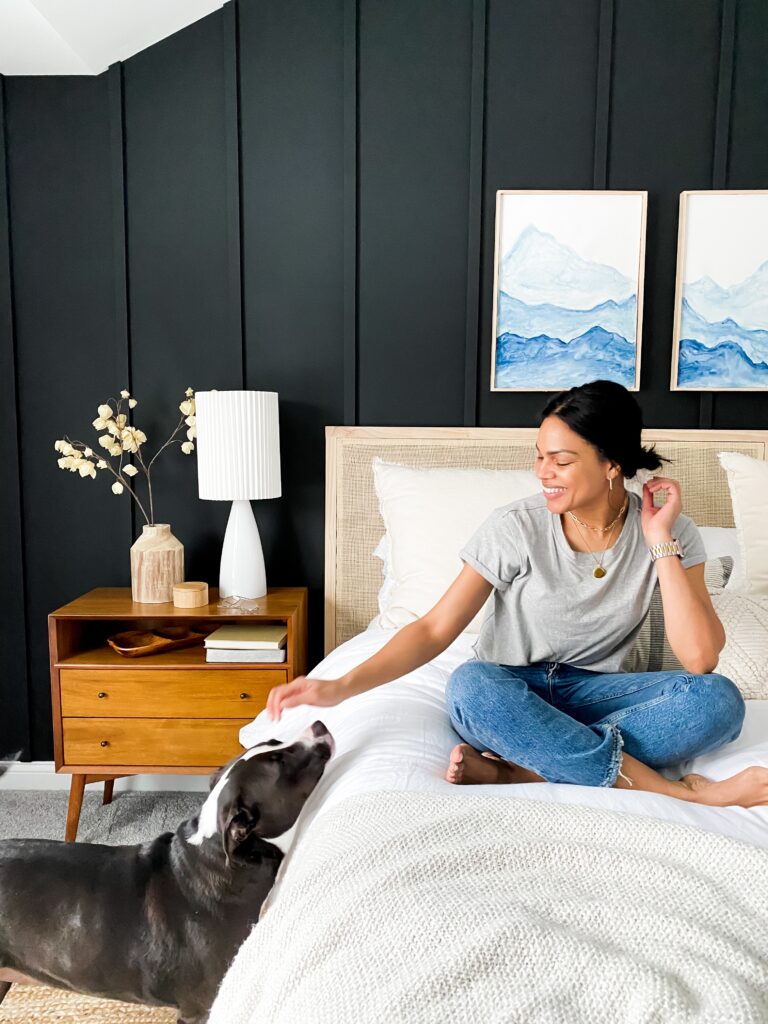
And that’s it! I love this headboard and the color and texture against the black board and batten wall. You can find all of the details about that in this post here.

Thank you so much for being here. Be sure to subscribe below, and follow me on instagram and liketoknow.it so you never miss a thing!
Share:
Categories:
A vessel sharing positivity through beauty, wellness, and personal style.
Website Design & Development by Garland Studios
Copyright © 2023 Anna Mae Groves
I would love to pay you to make one for mE
Ah I would love that- if only I had the time! ❤️
Beautiful job!! Very detailed with lots of inspiration
Thank you Krystal!
So beautiful! Question — I like to sit up against my headboard while reading in bed, do you think the cane would stretch out if I leaned against it too much? Thanks!!
That’s a great question! It should be fine but I thought the same thing and so I lean against the part in the middle where through wood is just in case!